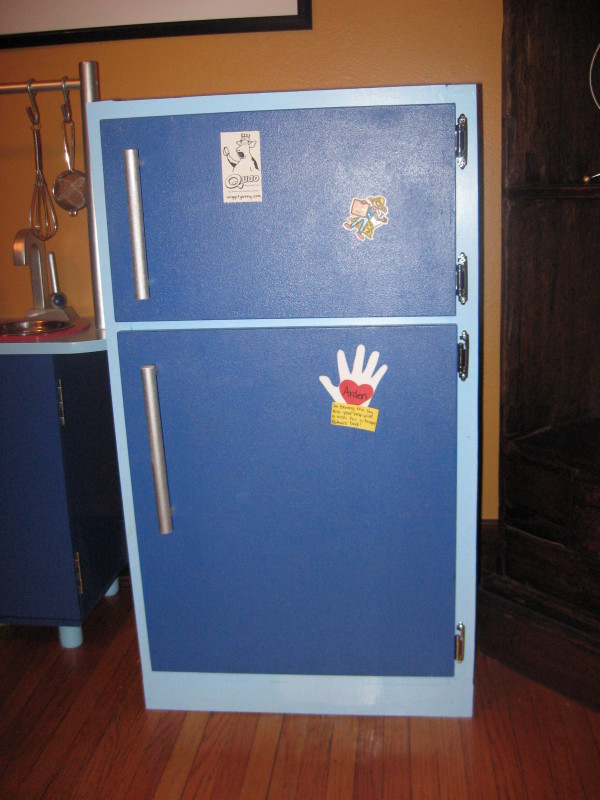
I am super-geeked about this project. Arden loves it already, and I am pretty darn pleased with myself for making it for her! Super-hubby Dave has been busy with major outdoor projects for several recent weekends (fence installation, garage demolition), so I decided that Labor day weekend would be my DIY weekend. I was inspired by Brittany on Mommy Words post for a DIY Play Kitchen. I found the same plans on Lowe’s that Brittany used.
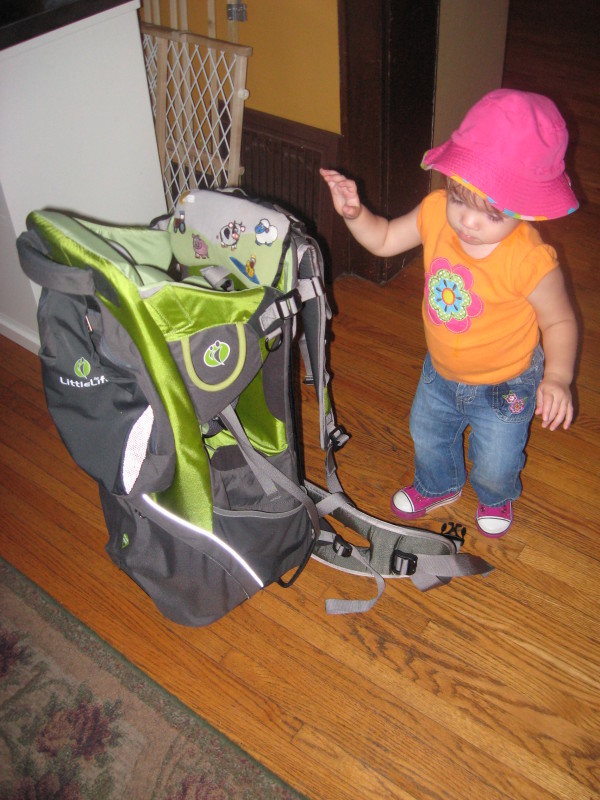
First, to get a little time without “help” from Arden. The win-win solution: A hike with Daddy!
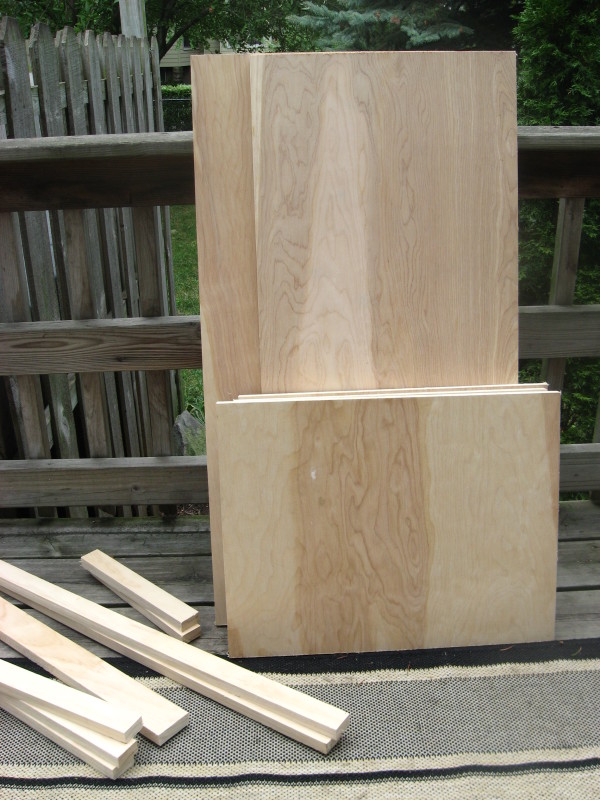
- I had the plywood cut at Lowe’s. Since I don’t have a table saw, this seemed like the easiest solution. They didn’t even charge me a cutting fee. I had to cut the 1x6x8 board for the rails, stiles, toe kick, and cleats using a skill saw.
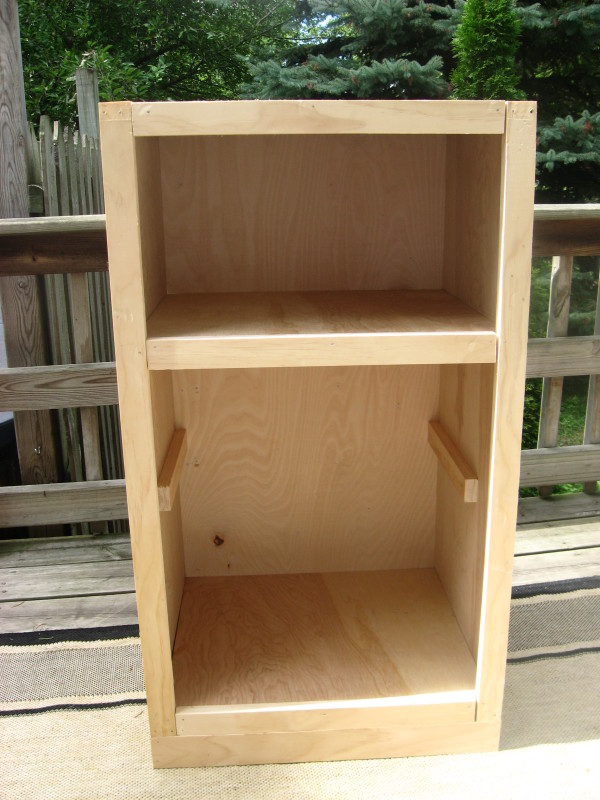
- Construction of the box. The plans called for actual cabinetry construction with pocket screws. I didn’t think this required that level of craftsmanship, so I glued and nailed the box together, and then glued and nailed the rails and stiles, etc. to the box. Much quicker and in the end, way easier to fudge the inaccurate cuts (Lowe’s, not mine of course!).
- I filled in the gaps, nail holes and the rough ends of the plywood with wood filler, then sanded everything down. Arden had since returned from her hike with Daddy, and was now “helping”. Good thing she wasn’t around for the sawing and hammering! Sophie the dog also got into the action by repeatedly stealing one of the sanding blocks and running away with it.
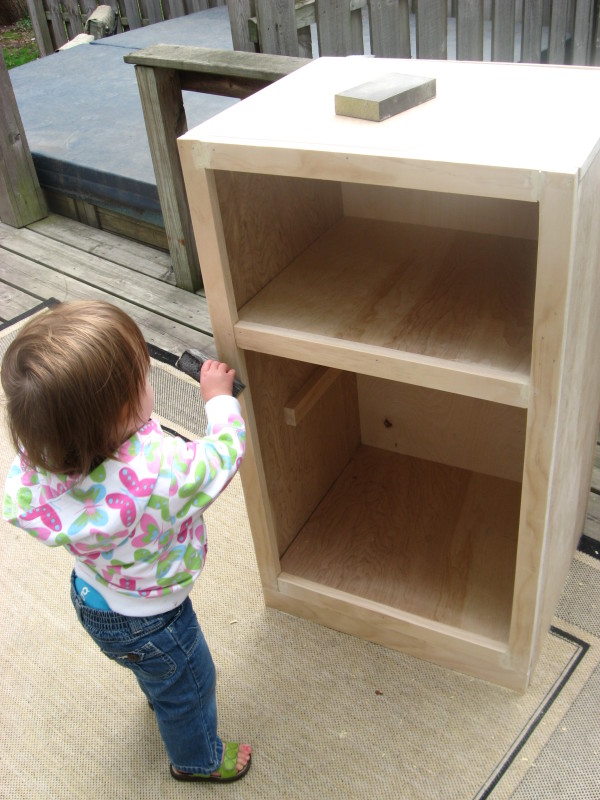
- I painted the cabinet light blue to match the garage sale find kitchen play set I already had, and put the 12″ deep wire shelving onto the cleats.
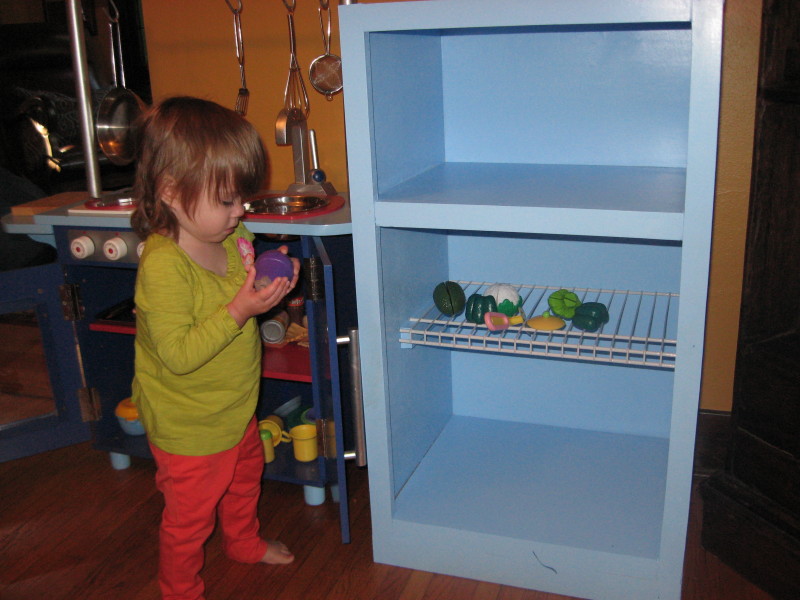
- I attached the doors to the cabinet using flush mount self-closing hinges. Arden “helped” some more.
Now for some of the things I did that I think are really cool:
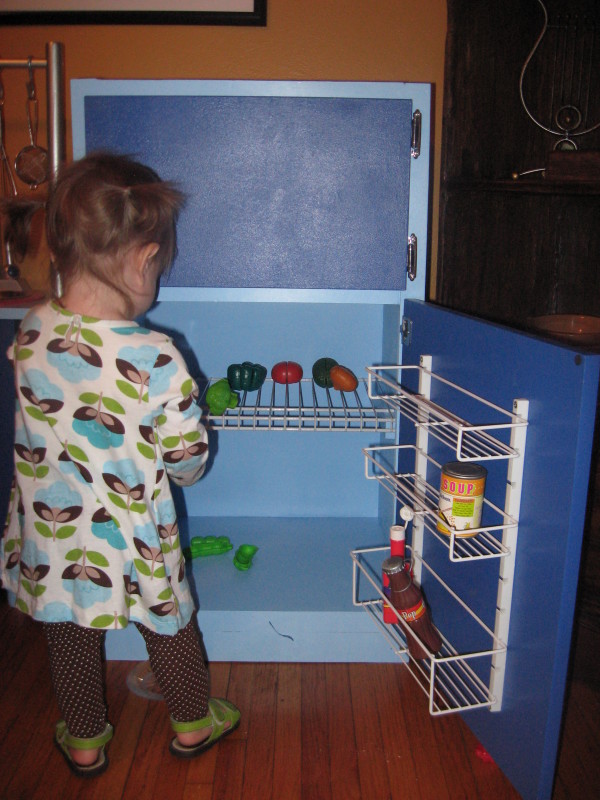
- I attached a Closetmaid spice rack to the inside of the refrigerator door to act like the door organizers.
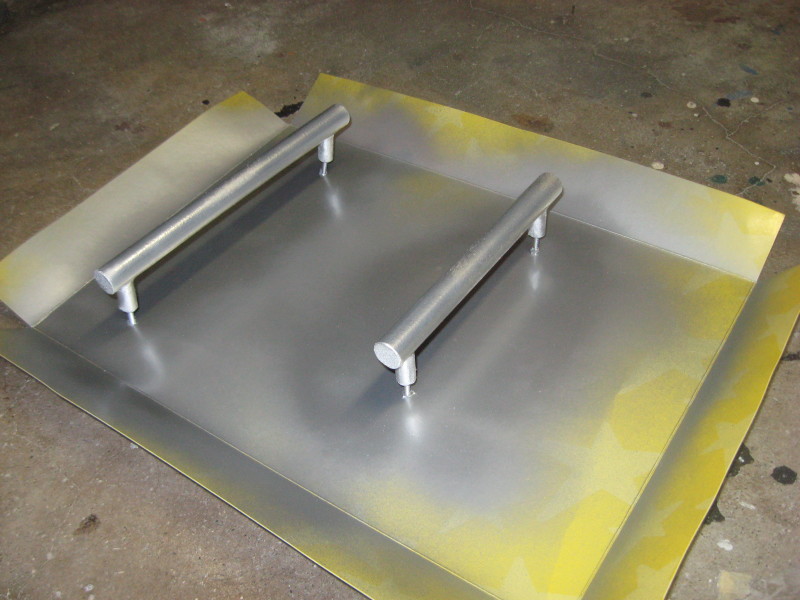
- I made handles out of dowels painted with stainless steel spray paint to match the kitchen play set.
- I primed the refrigerator and freezer doors with magnetic paint before painting them the darker blue to match the kitchen play set. Now she can attach magnets to her completed refrigerator! I love it!
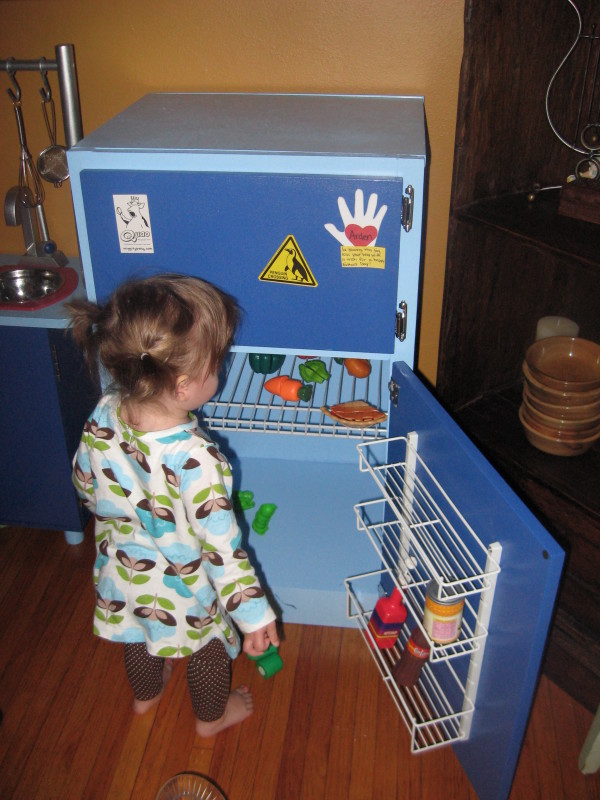
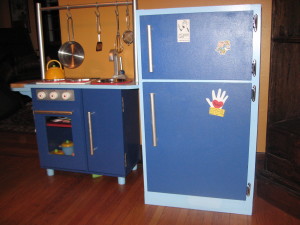
So, here’s the completed project with the kitchen play set I was matching it to. The scale is a little bit off, but I like the size of the play fridge for Arden.
Good luck! This was a pretty ambitious project for me, but I think it was totally worth it and turned out really well. Please feel free to comment with any questions.


It looks great and I am so excited that Lowe’s has the plans back up! Awesome idea on the magnetic paint I so might go back and do that!
Wow! Great job!!!
Thanks!
This is AWESOME! I love that you did this all by yourself and it turned out so well! Congratulations on a job well done.
I’m having a Scentsy giveaway on my blog right now–I’d love it if you could join! Have a wonderful night. alittleknickknack.blogspot.com
Oh my goodness! You did a wonderful job! You really should be proud.
This is sooo cute! I’ve seen people make the play kitchens before, but never the fridge! this is awesome!
That is awesome!!! You should be very proud of yourself! I don’t think I am brave enought to attempt something like that without the help from my hubby. Great job!
Thanks! While hubby Dave is pretty handy, I’m the DIY person around the house. My father was a home builder, so I think a lot is from osmosis!
Amazing! Your little touches really make it! Literally made me gasp aloud.
Thanks! The best part is she runs over to play with it every chance she gets.
[…] sale while I was running with Arden in the jogging stroller. She loves it! I made a matching play refrigerator over Labor Day weekend that she likes just as well. I also found a play set with swings, a little […]
[…] Dang Cute has a brand new competition – Crafting With the Stars. I submitted my DIY Play Rifridgerator project. Please, please go check out the entries and click on mine – number of views may […]
that is very cute….it turned out wonderful. Im going to try making a fridge to go with the kitchen I made for my daughter last spring. Thanks for this tutorial.
Thanks! I checked out your project – love it! I scoured Ikea for a cabinet to try to make into the fridge instead of making mine from scratch, but nothing quite worked, or was pricier than making my own.
how cute is that!!! please come on over and link up to MMM this week…I would love to feature this project 🙂 and thanks you for the info about magnetic paint!
This is so stinking cute! I love it!
Thanks for your comments on my kitchen post! I love your blue paint!!
We are having our first blog party this week. It’s specifically for kids and teens stuff- I’d love it if you’d stop by & become a follower and link up!!
Melanie
bearrabbitbear.blogspot.com