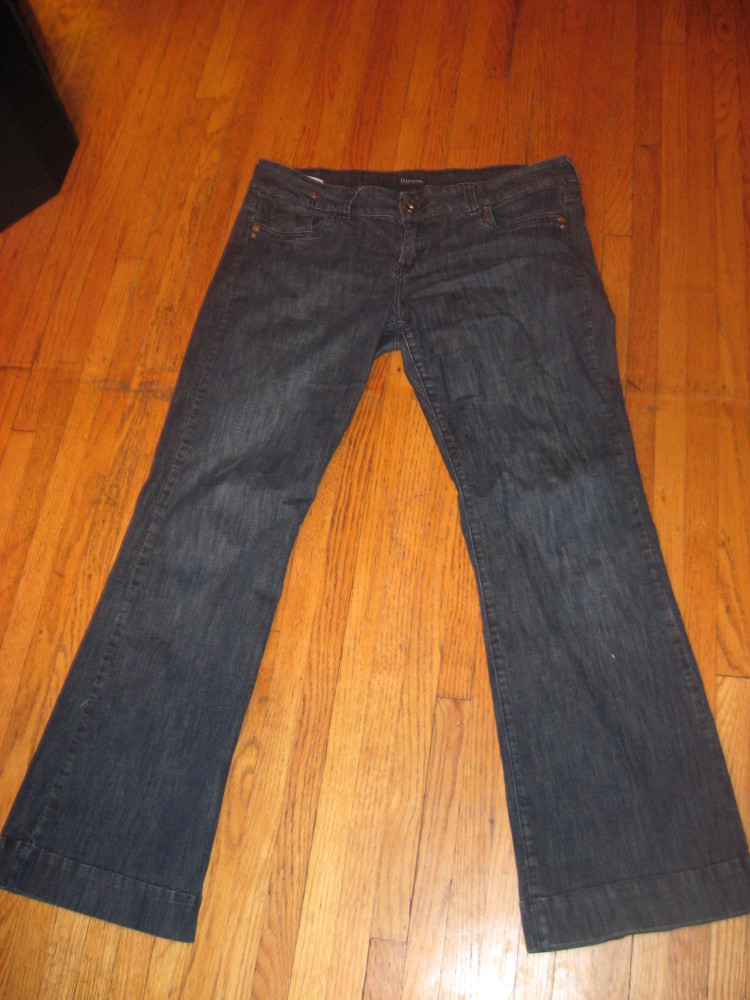
I have a pair of jeans I got in a post-baby attempt to be a little more current, but every time I wear them I spend the entire day hiking them up. I’ve begun referring to them as my “just say no to crack” jeans. So, into the refashion pile they went. I’ve seen a few tutorials on how to refashion jeans into skirts, but most of them show where you can see the crotch and leg seams and inset the fabric from the bottom of the legs in the middle. These are cute, but not quite what I was wanting. Homemade by Jill has a tutorial for refashioned jeans to maternity skirt that is exactly what I was looking for, minus the maternity band. So, here’s my version using Jill’s as inspiration:
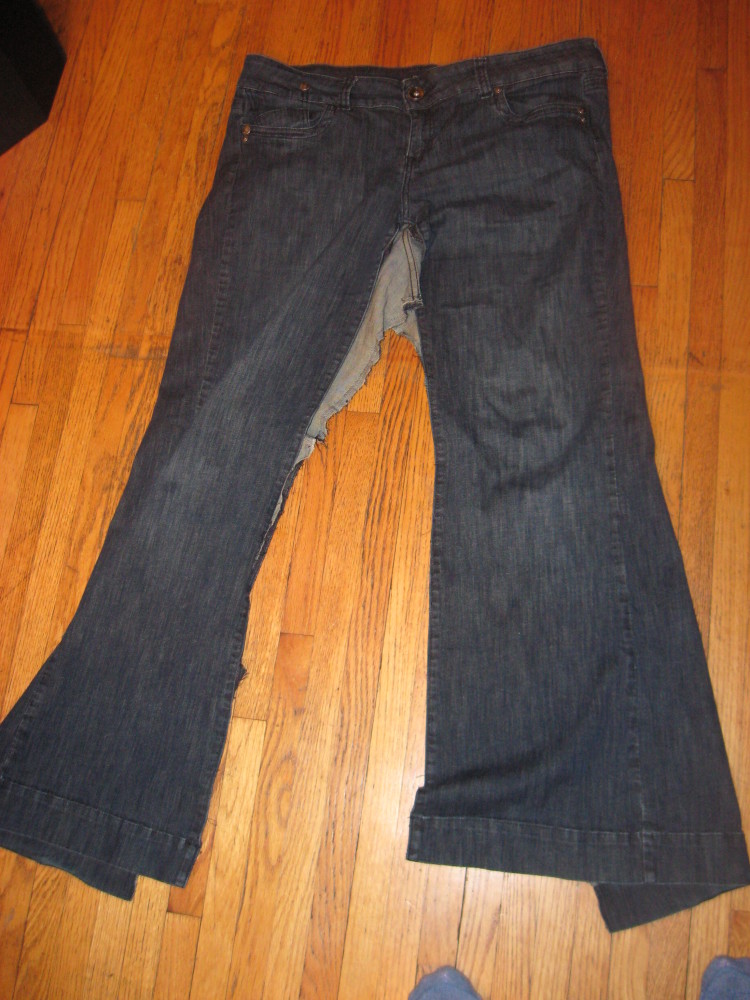
I started by using my handy-dandy seam ripper to rip out the inside seams. For cheapo jeans, these were surprisingly well-constructed, and this took a while.
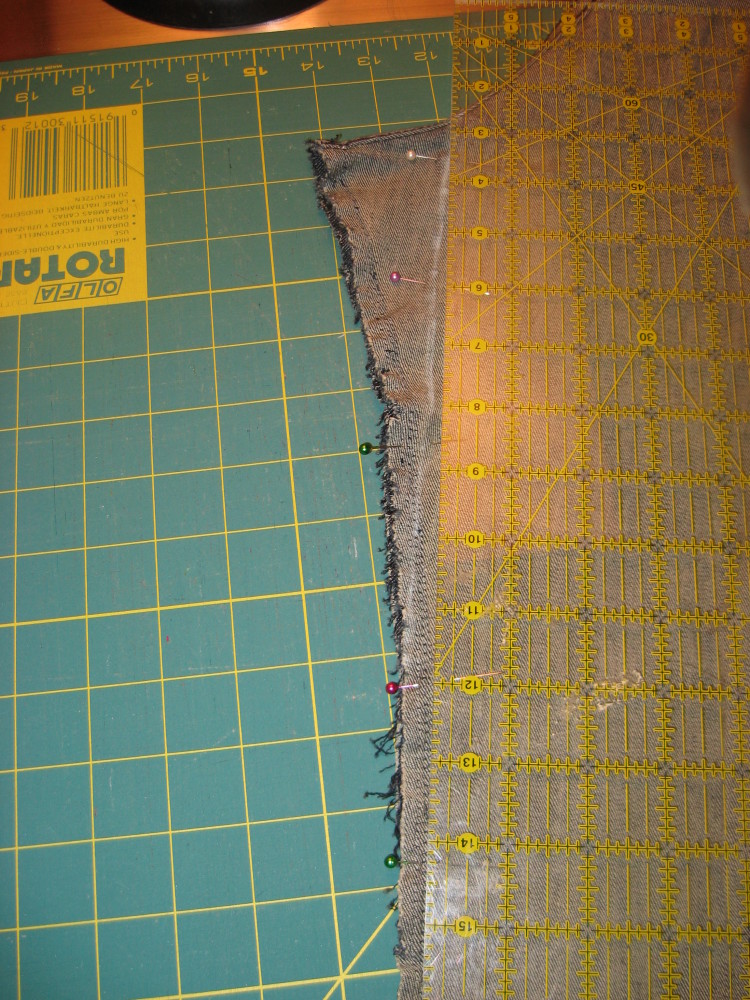
With right sides facing, I pinned the seams together and marked a line using a ruler and chalk to continue in a more or less straight line from the legs to the front and back seams. I had to sew the butt three times to get a nice smooth transition without any lumpy butt. I placed pins at the front and back where I planned to cut the skirt off, and stopped a few inches below the marker for a slit in the back.
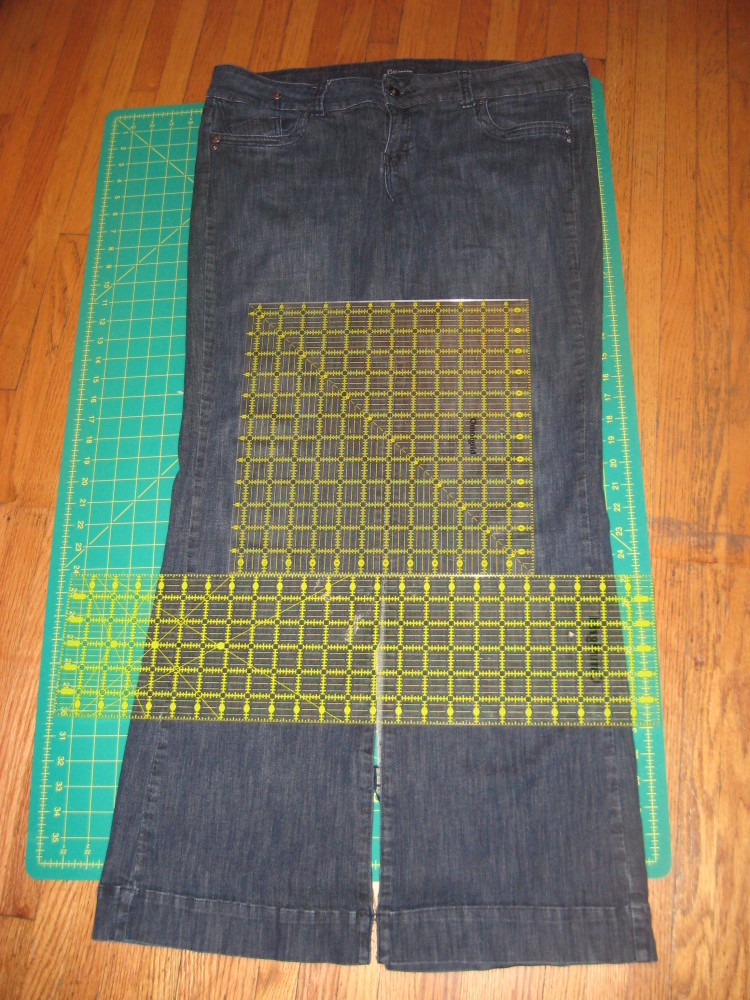
I tried it on again to check the length I wanted to cut (this is where the lumpy butt corrections came in) and marked it. Then using my quilting rulers to be sure I cut a line straight across, I cut the bottom off. I have plans for the bottom of the legs – watch for a related post!
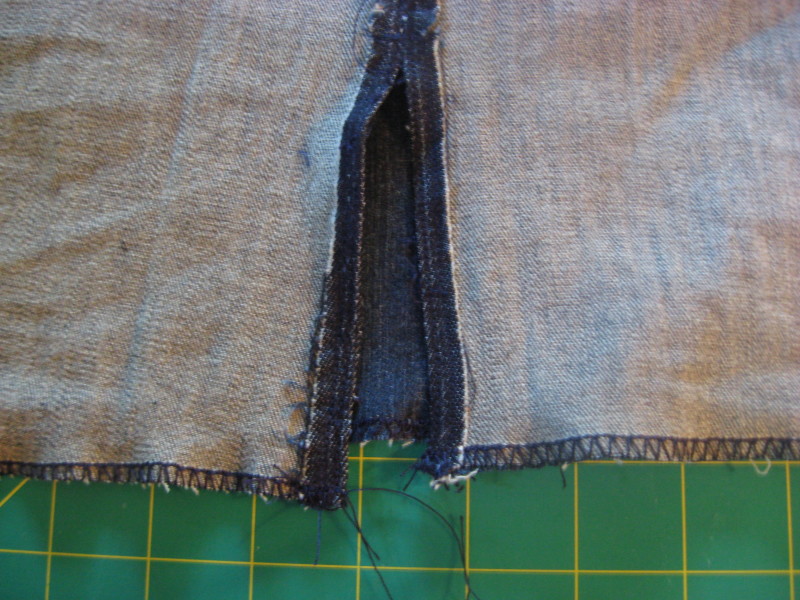
Then I finished all the raw edges with an overcast stitch. You could zig zag the edges, or do a rolled hem to cover the edges. If you have a serger that would be even better,  but until I get a serger, I like to overcast. I also top stitched the slit opening, using the existing crease from the original seam.
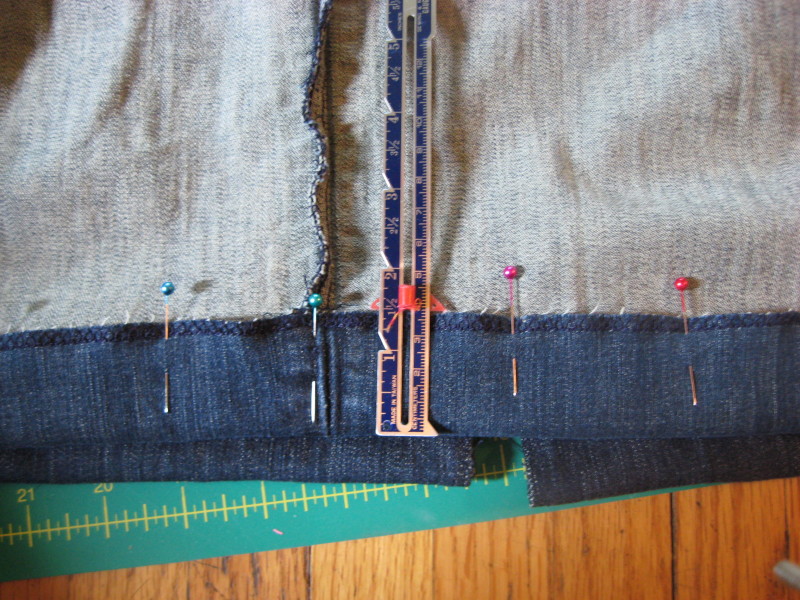
On to the hem. I wanted a hem nearly as wide as the jean’s orginal 2″ one, so I went with 1 ½”. I pinned the hem and sewed ½” from the overcast edge.
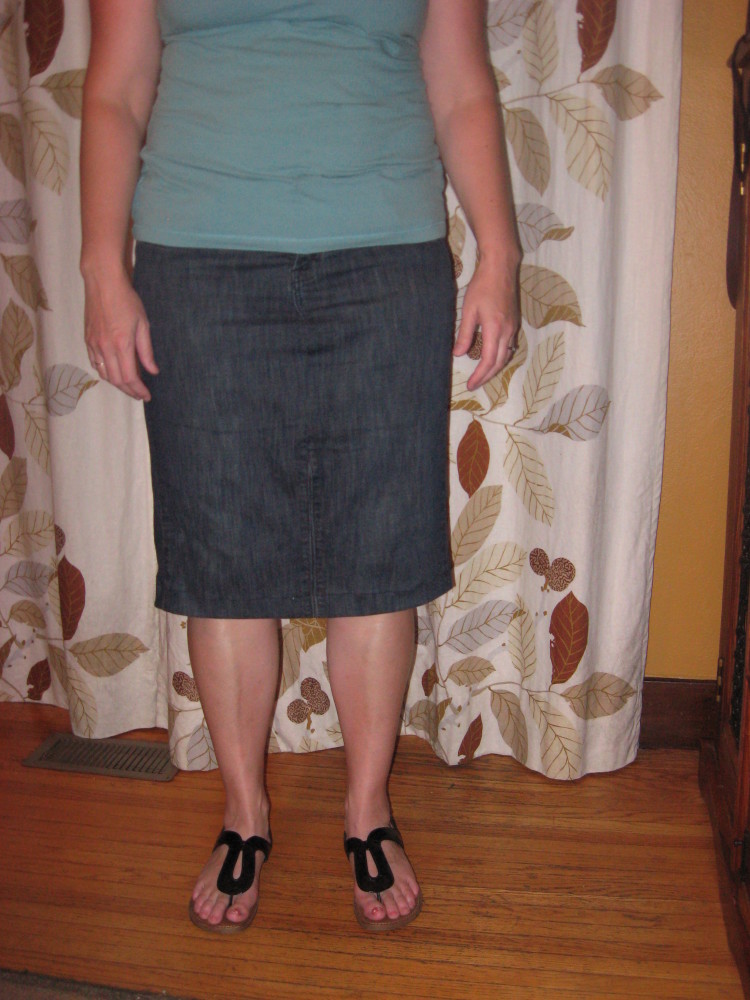
Lastly, I clipped all the stray threads, and ironed the hem. I’ve been wearing it since I finished it, and I think it’s going to work tomorrow! Final picture – I did have my husband snap one of the rear view, but I just couldn’t bring myself to post it.
The jeans had a lot of stretch, so these are surprisingly comfortable for as narrow of a skirt it is. I’m pleased with the final result, and I’m sure I’ll be wearing the skirt more than I wore the jeans, since I had to be very careful about choosing a top long enough to cover my rear.
Linking to:



WOW! That is great! Thanks so much for the tutorial! I laughed about the not so expensive jeans being hard to rip open. I have had that problem before. Anyways, I think this was a great jean make over! Congrats! Thanks for linking to It’s Stinkin’ Cute Craft Thursday!
[…] Tags: Jeans, Refashion, Sewing, Skirt, Toddler, Tutorial Remember the jeans I refashioned into a pencil skirt for me a couple of days ago? Well, here they are again! All […]