

Today I’ll be sharing a project I hope you find inspirational for Mother to Be – Maternity.
Remember to post your entries to the Mother to Be Flickr Group. If you have any trouble getting your project uploaded, please feel free to send your photo and description to me at deshazer(dot)jennifer(at)gmail(dot)com.
As a reminder, the guidelines for entry are for your project to be:
- Sewn in 2011: It doesn’t have to have been made specifically for this competition, but let’s keep it current – sewn in this year.
- Photographed on a person: Preferably on you, but since that can get difficult – just do your best!
- More than just embellished: I’m not saying that every stitch of the project has to be sewn by you, but if you’ve just added rosettes to an existing maternity top, then this doesn’t count. Refashions are great – let’s see some ingenious transformations! If you’ve used a pattern, let’s give credit for it!
Jenn of A Jennuine Life: Upcycled Maternity Tee

Items Needed –
Large long sleeved t-shirt
Sewing machine
Rotary cutter and cutting mat
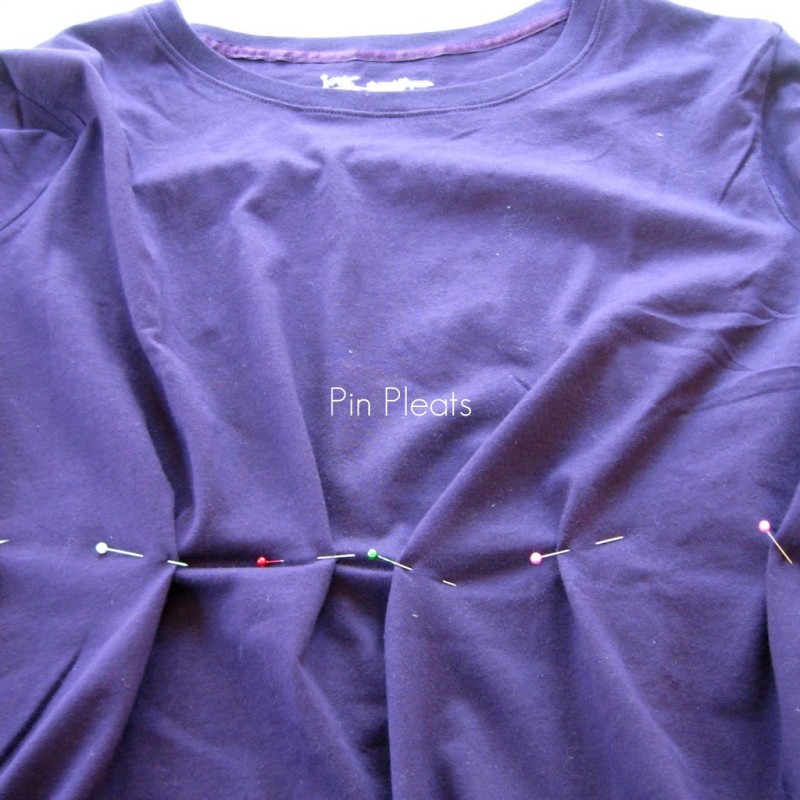
Pin Pleats – With the shirt on, pin pleats along the top of your bump pointing towards the center. I did three on each side. Then take off the shirt and arrange the pleats so the same amount of material is pinched and they are spaced evenly. I made the pleats deeper in the middle and shallower as they moved out.
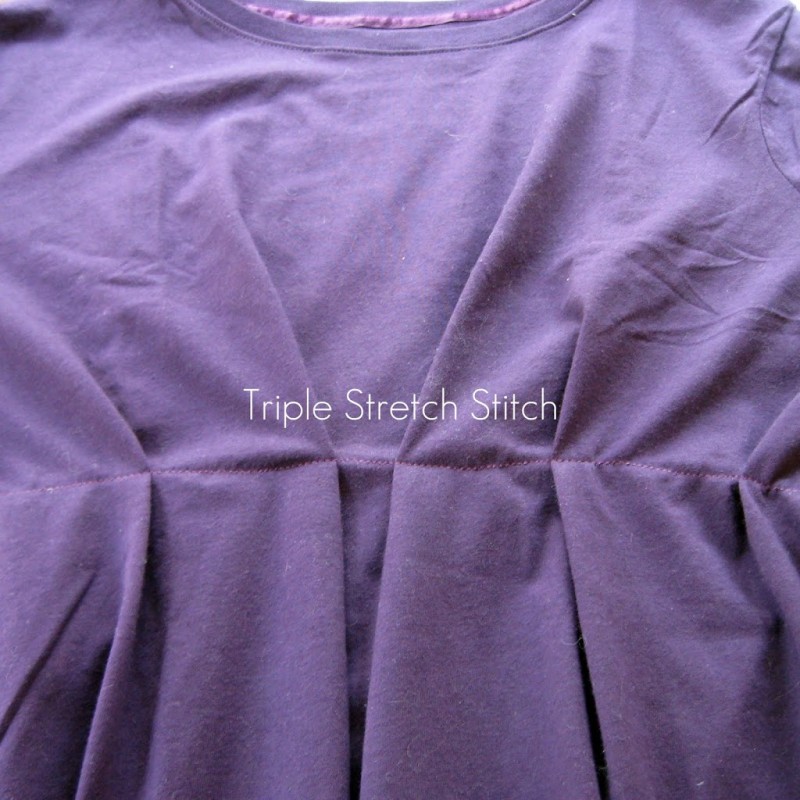
Stitch Across Pleats – Using a triple stretch stitch (you could use a different stretch stitch or elastic thread), sew across the pleats.
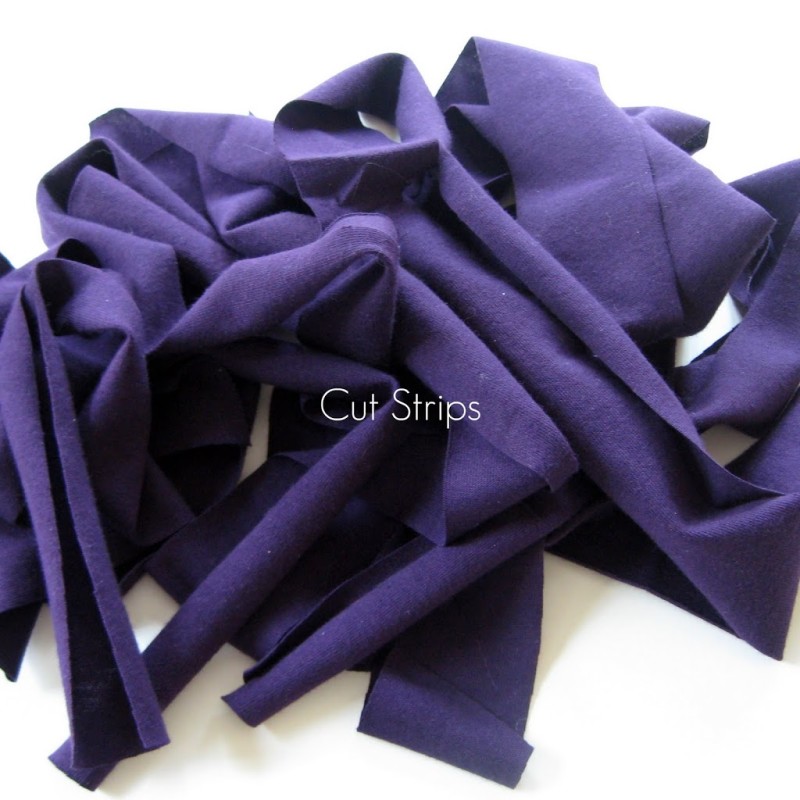
Cut Sleeves – Cut sleeves off a little above the elbow, and then cut the sleeve pieces into 1 1/2″ strips using your rotary cutter and cutting mat. You don’t have to finish the edges of the knit – they’ll just softly roll after being washed. Sew a few of the strips together along the short sides and then gather both edges 1/4″ from either edge. I used the longest stitch length and changed the tension on my machine to a 5 to accomplish this.
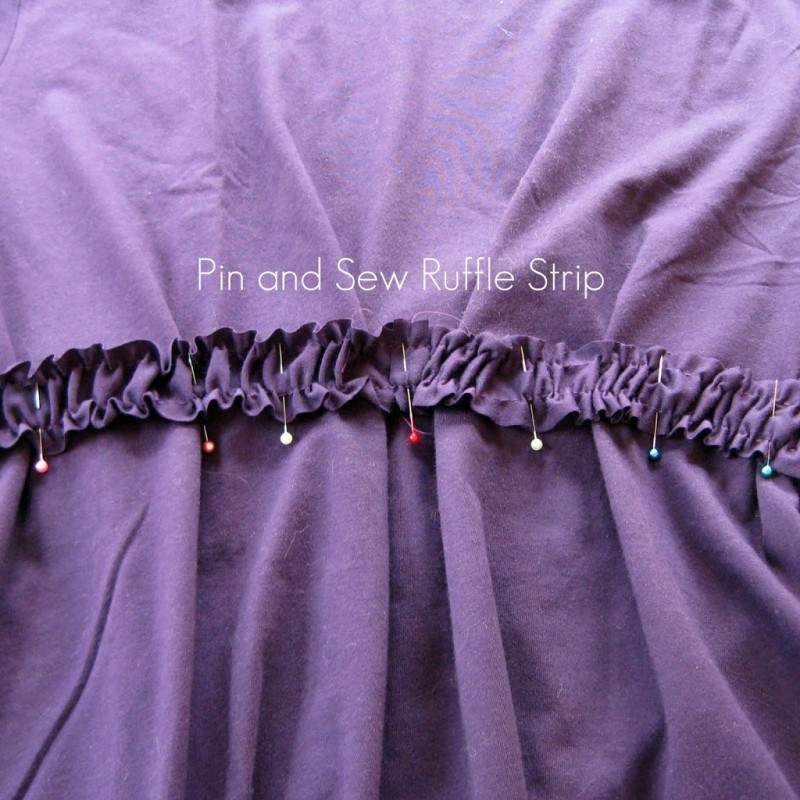
Pin and Sew Ruffle Strip – Pin the ruffled band along the stretch stitch you made earlier, adjusting the ruffles as needed. Sew in place along the gathering stitches.
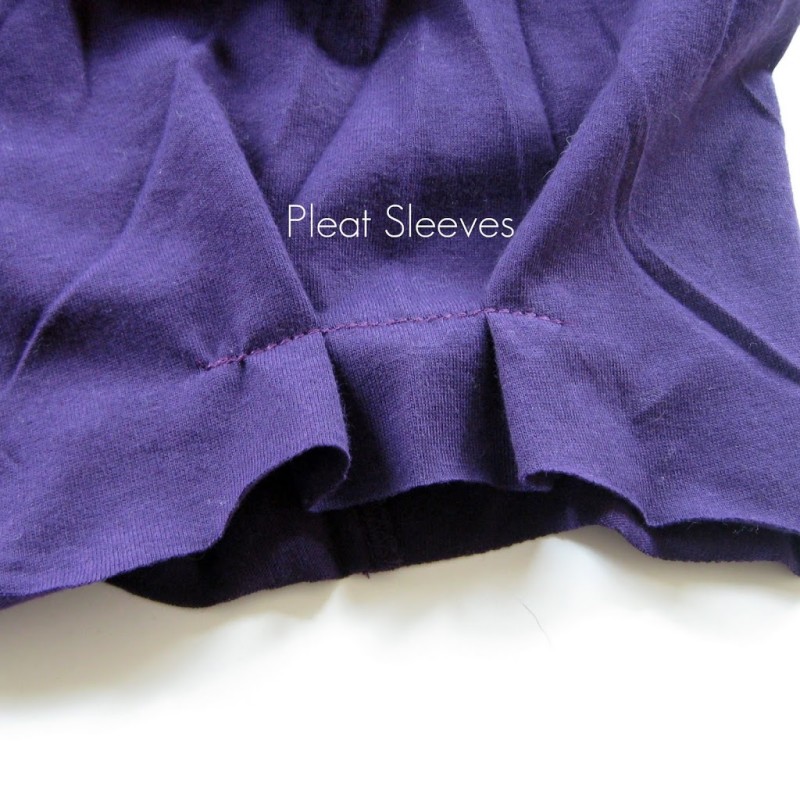
Pleat Sleeves – Creat two pleats facing center at the top of the sleeve. This took up some of the fullness in the XXXL sleeve. Stretch stitch across the pleats only. I then turned up the sleeve and stitched it in place close to the raw edge and another row about 1/8″ away, but I don’t have a photo of this step.
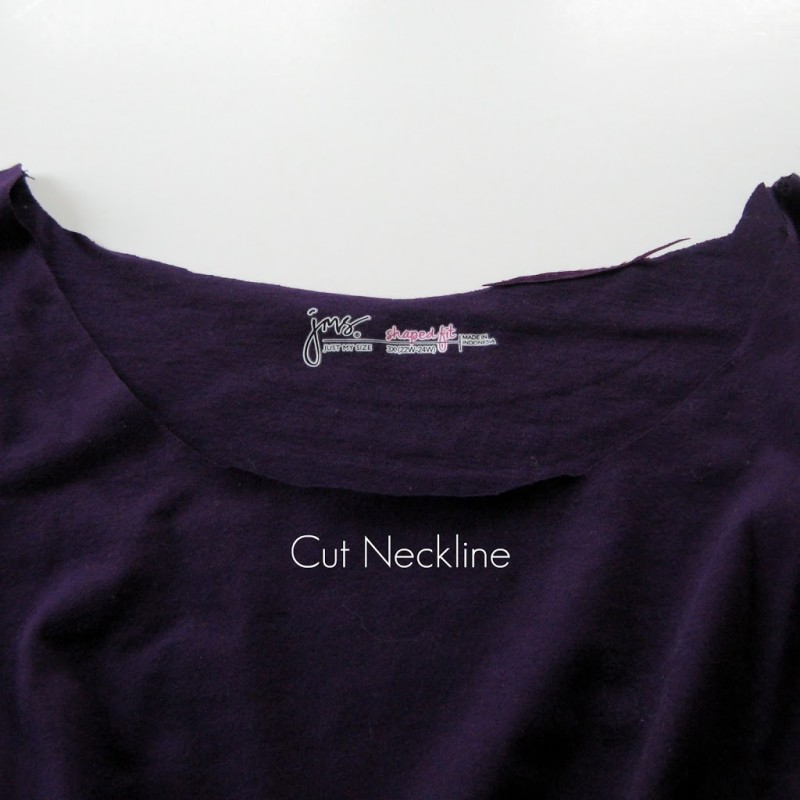
Cut Neckline – I sort of winged it by folding the shirt in half along the center and then just cutting off a gentle curve. This seemed to work just fine, but you might want to draw a line if you’re more of a perfectionist.
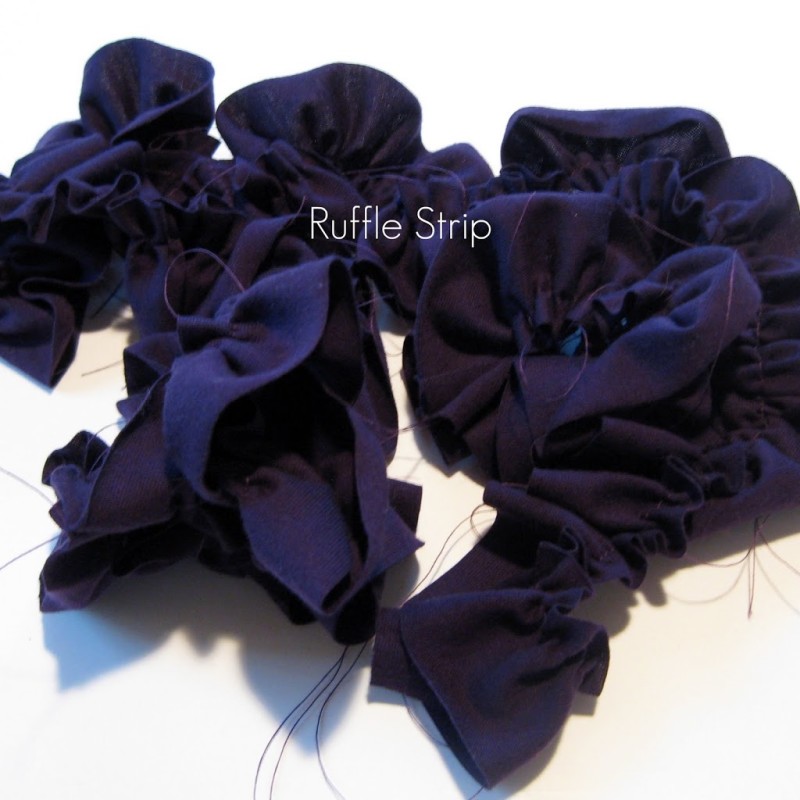
Ruffle Strip – Sew the remaining strips made from the sleeves into one long strip. Ruffle one edge 1/4″ from the edge similar to the ruffled band above.
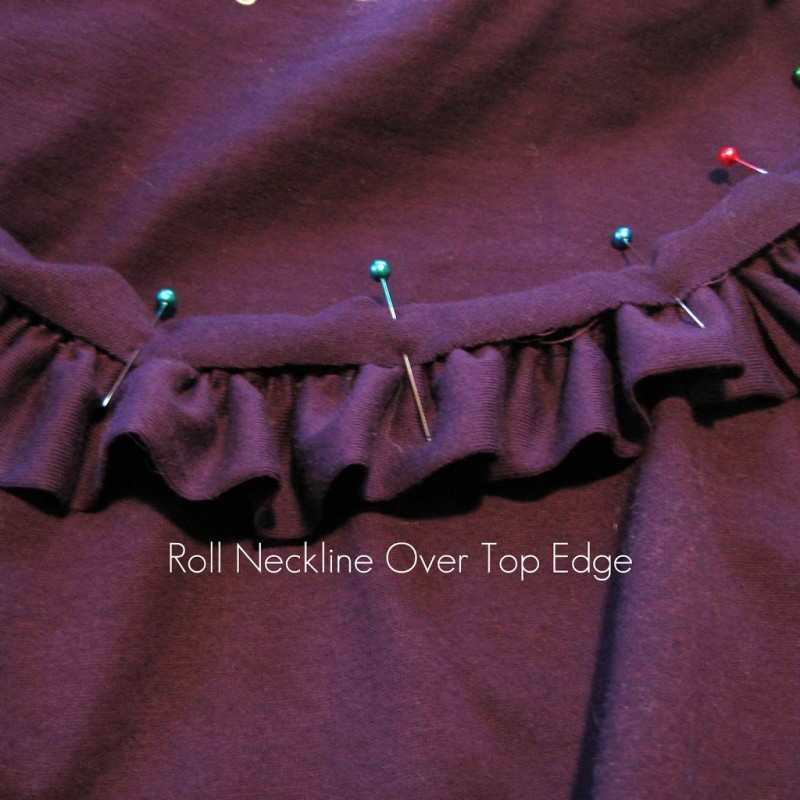
Roll Neckline Over Top Edge of Ruffle – Roll the raw edge of the neckline over the top edge by a little more than 1/4″ to cover the gathering stitch. Using a stretch stitch, sew close to the edge, and then another line about 1/8″ away from that.
Ta Da! You’re all done! Now you have a new maternity top for about $5 instead of $35.

CAHUTE!!!!!!
Wow this is such a cute top. I love how it turned out! Thanks for sharing.
Adorable! Great job!!! Thank you so much for linking to It’s Stinkin Cute Craft Thursday!
Oh my gosh, I love it. I had a daughter last year and got pregnant again three months later. I am always looking for good DIY maternity clothes! Thanks!
So cute!!!! I’ll have to remember this for when I have babies 😀
Thanks for linking up to Your Whims Wednesday! Hope to see ya again this week 🙂
This is so cute! And you made it look so easy to make! Thanks for sharing, Jenn! I am loving your header!