One of the main features of Arden’s nursery is a peg rail going around the room. The idea was a bit of a collaboration between my mother and myself. I knew I wanted some kind of a detail going around the room, but I didn’t like the idea of a chair rail. Mom suggested using knobs, an idea which I really liked. Once we had a general idea in place, I began getting the nursery put together.
I didn’t want a super girlie-girl room, since the ultrasound tech didn’t seem 100% sure that Arden really was a girl (she was). So, I went with two shades of green – lighter on top and darker on bottom for most of the room, and used the lighter green for the funky angles and little nook where the bench and two closets are. Pardon the picture of my gigantic belly, but it’s the only picture I have showing the painted room before the peg rail.


 |
| 25 Week Bump |
 Then I had to source the knobs. I wanted to find vintage/antique glass and metal knobs, but a couple of trips to the local antiques center yielded nothing. I found a few knobs at Home Depot, but I still wasn’t finding the right mix of knobs. I found an online store called myknobs.com (I know, a bit obvious, but they had what I was looking for), and rounded out my selection of knobs.
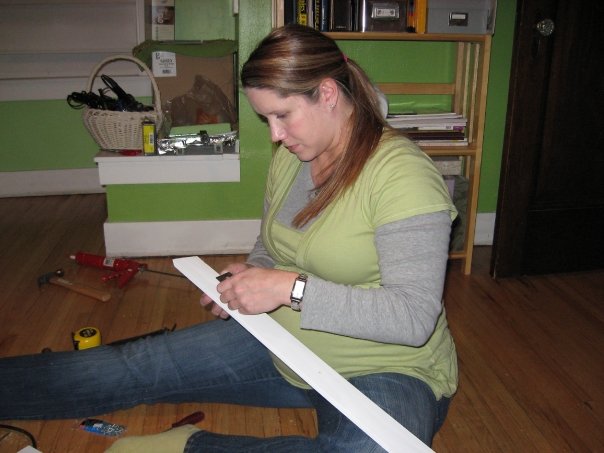
I got 7/16″ x 2 5/8″ pine molding to make the rails out of and painted them white. Since these were cabinet knobs and meant to mount on something of which you could access the back, I had to attach the knobs to the rail before installing it. As the lumber was thinner than a standard cabinet, I also had to get shorter screws of the same diameter so the knobs would lie flush to the lumber. I measured and cut the boards to the lengths for the wall sections, and planned out where the knobs would go. I think I used 11″ spacing, with the knobs centered on the wall sections for shorter sections.
I drilled the holes for the screws at the marked intervals. I needed the screw head to be below the surface of the board so it would mount flat on the wall, so I drilled a shallow hole on the back of the board larger than the screw head. I put tape around the drill bit to ensure I didn’t drill too deep.


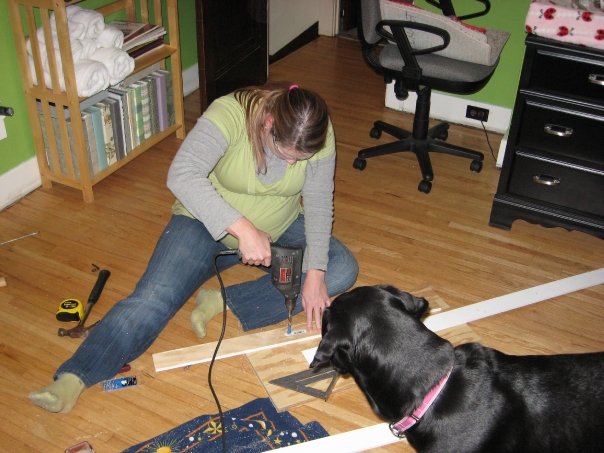 |
| Drilling the shallow hole on the back of the board. Sophie is “helping |
 
Then I attached the knobs using the shorter screw. They needed to be on good, as I wouldn’t be able to access the screw again once the boards were installed.


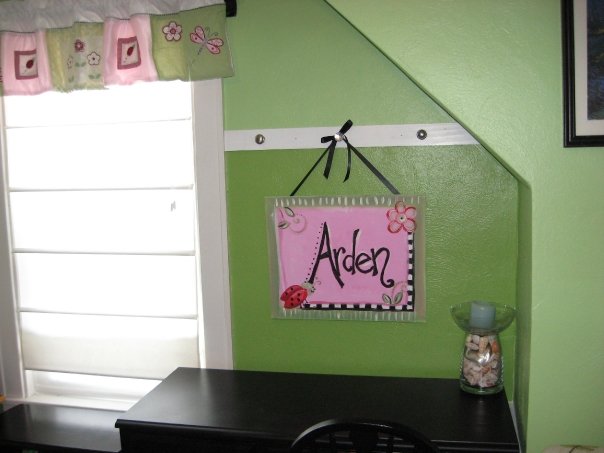 |
| Awesome sign made by my AXO sister Tina Doepker |
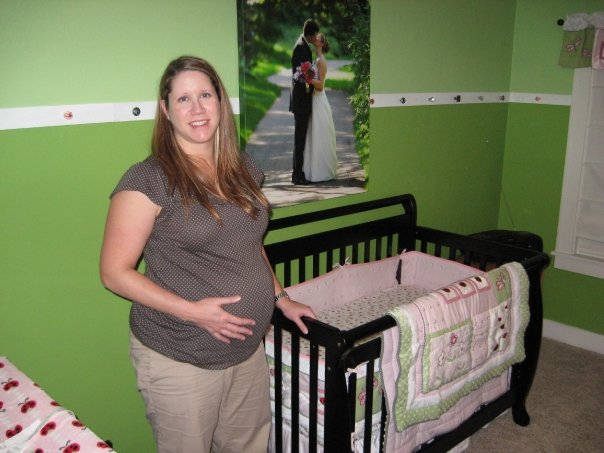
 I put up the curtains and all the bedding and had carpet installed. The dresser and desk were my childhood set that I painted black and changed out the hardware several years back. We got a black crib and everything looks really nice together. The crib is convertible to a toddler and then full size bed, so it will grow with Arden.
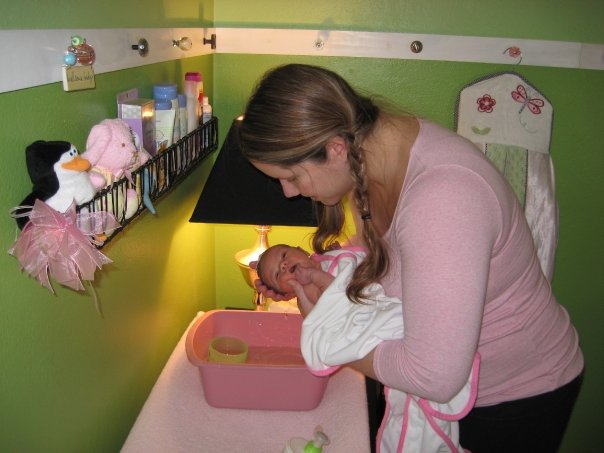
The peg rail has turned out to be way handier than I ever anticipated. We have signs, the diaper stacker, wet bags, coats, blankets, and towels hung on the knobs all around the room. Here’s a photo showing it in action during Arden’s first bath at home:


Hi 🙂 I found your blog a few weeks ago while looking for information on making a play kitchen for my girls. I love your fridge 🙂 and was wondering exactly how you made the handles for it…? I know you used dowel rods, but are the small pieces the dowel is attached to just tiny pieces of the rod too? And how did you attach that to the fridge? Screws, glue? I totally appreciate it…
Julie
myvibrantdesigns@gmail.com