
Items Needed –
Fabric – 1 1/3 yard – home decor weight or canvas will work best for this

Cut Fabric – I traced a dinner plate to get my base, which is a 10.5″ diameter. I then measured the circumference of that to get the width of my fabric (plus 1/2″ seam allowance), which totalled 34″. I cut the fabric to length from the fold at 24″.
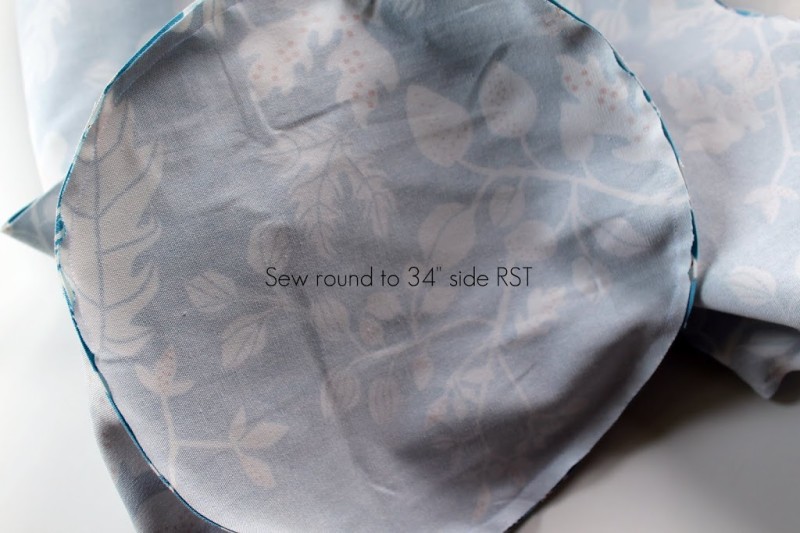
Sew round to width with RST – Start 1/2″ from the edge, and you should finish up with about 1/2″ remaining. Stay stitch at beginning and end of seam.
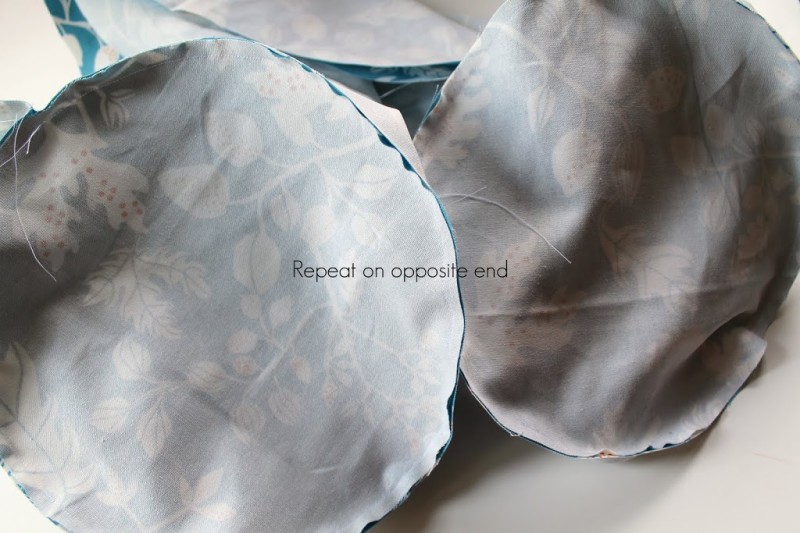
Repeat on opposite end – you should now have what resembles a really long duffel bag.
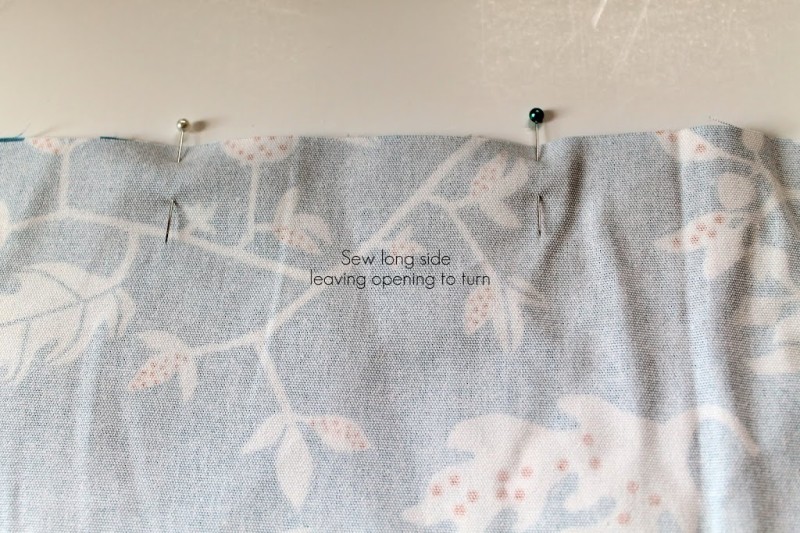
Sew long side – with RST, sew long side together leaving ~ a 4″ opening beginning about an inch away from the fold. This will be the opening for turning the duffel right-side out, as well as the area we will make the casing for the drawstring.

Turn right-side out – reach in and turn the bag right side out. I didn’t find I needed to clip the curves at the base because they were gentle enough, and the seam allowance seamed to stand up in the bag nicely.
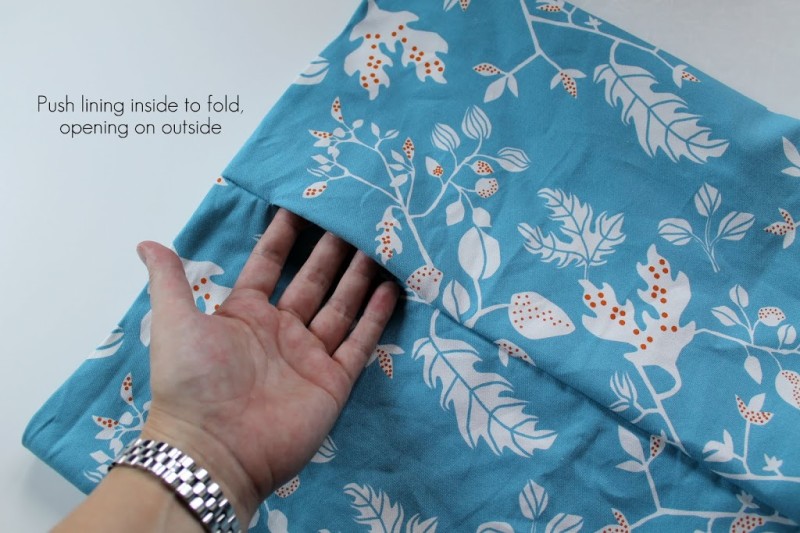
Push lining inside – use the fold as the top edge, placing the 4″ opening on the outside of the bag.
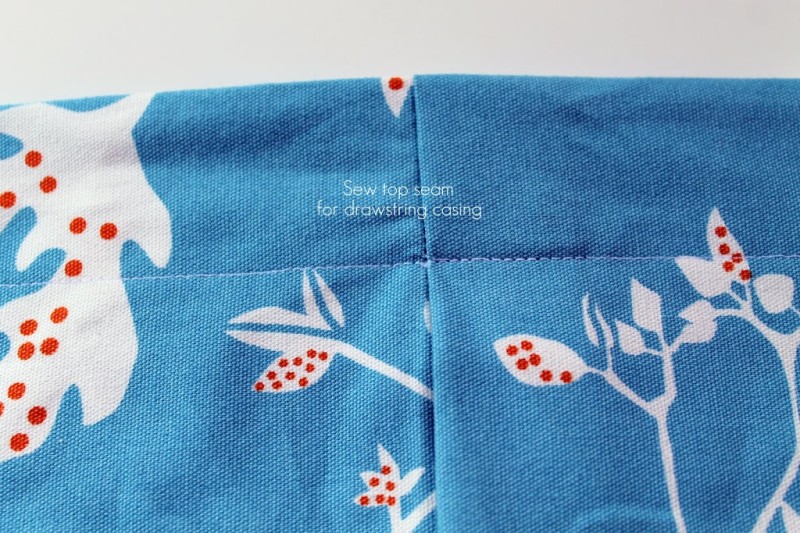
Sew top seam – for drawstring casing right at the top of the opening.
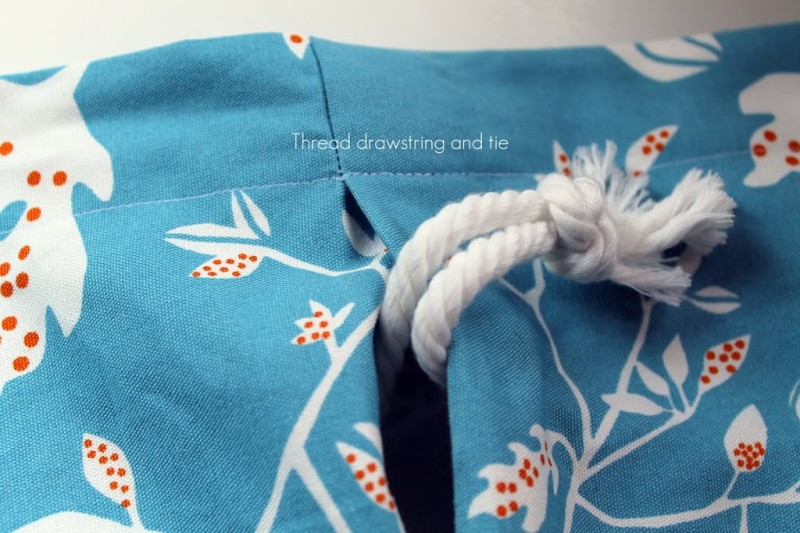
Thread drawstring – around the interior of the bag. Just grab an end and push it around. Tie the ends together. Work the drawstring up towards the seam.
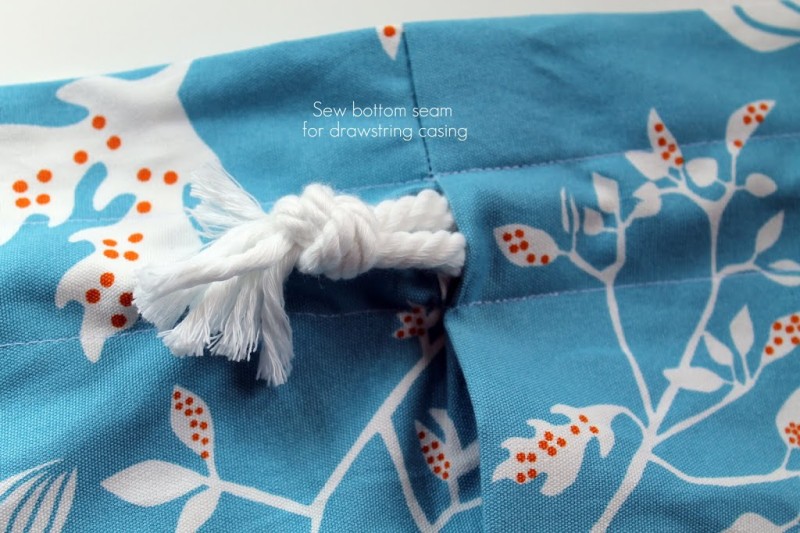
Sew bottom seam – for drawstring casing about 1″ below the top seam. Try to get the bag to lay as flat as you can around the drawstring, and keep working the drawstring to lie close to the completed seam as you sew.
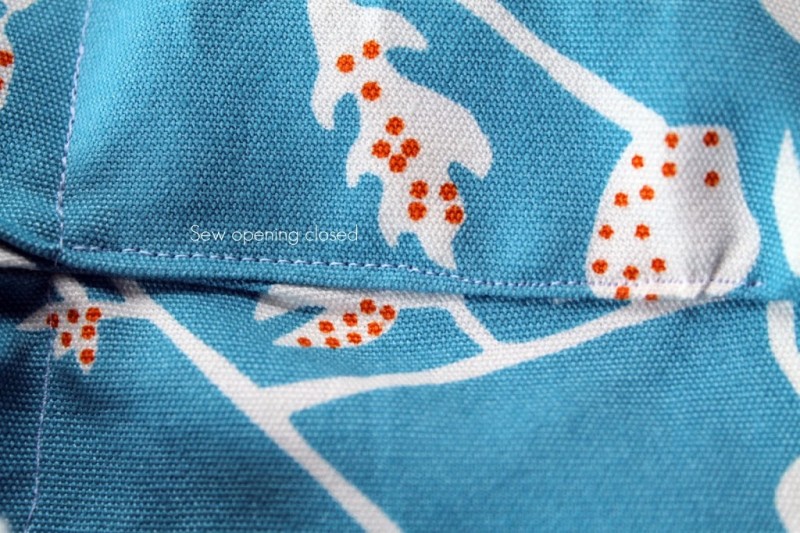
Sew opening closed – with a top stitch close to the edge. This seam will be mostly covered by the carrying strap, so it’s okay if it shows. If you’re super persnickity about the details, you could stitch this by hand with a hidden stitch.
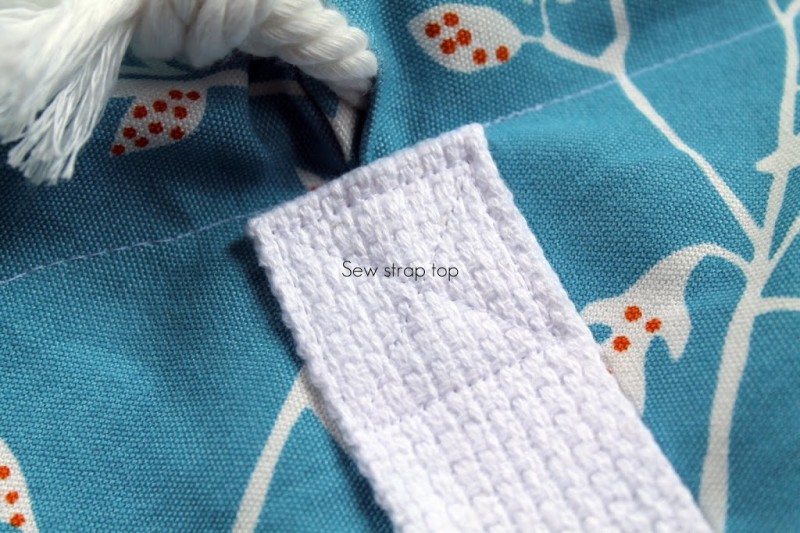
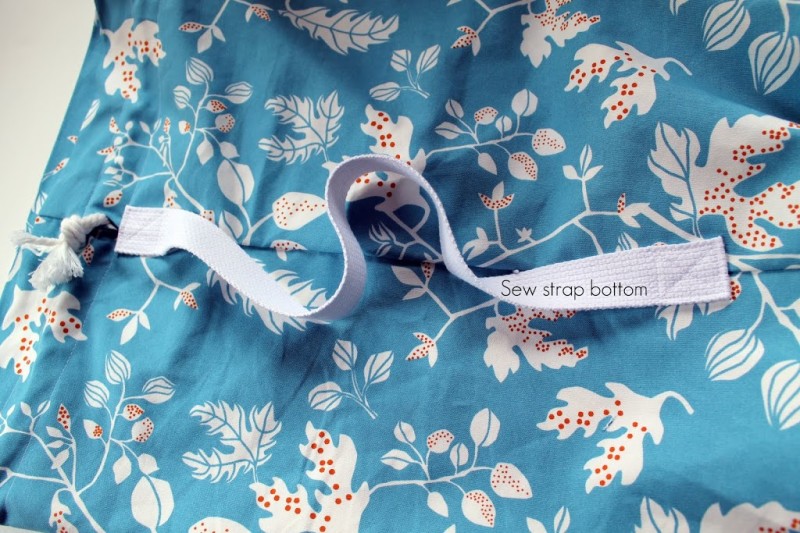
Sew strap top – just below the bottom seam of the drawstring casing. Double it over so the raw edge is underneath. I folded under 1.25″ as this was the width of my cotton webbing. Sew on using an X and box pattern to ensure it’s nice and secure.

I can always use another good bag pattern! thanks for the great tutorial! BTW, I love that fabric!
Your newest follower,
Rikka J.
Ricochet and Away!
ricochethandbags(at)hotmail(dot)com
Cute duffel! I need like 10 of these for my house right about now, we are so behind on organizing – and I know I need to do something about it before Christmas rolls around!!!
And PS – I love the tunic your daughter is wearing in the post previous to this one! So cute!
What a cute duffel bag! Great tutorial!
Quilting by the River
I’m in love with this little bag! ADORABLE! I love how you personalized it as well! So cute! Please follow me back at http://www.romanianprincess.com
XoXo Nicole Mariana
What a lovely tutorial – love the fabric! Saw you on linky party and now google following you, Karima 🙂 http://www.karimascrafts.com
This looks amazing-I’m your newest follower-stop by for a visit!