

**Note: I’ve been informed that the correct phrase should be Un Petit Pouffe, as a pouf is masculine. Apparently, the way I’ve titled this is an insult -I’d change it, but my links would all break…
I’ve titled this a mini-tutorial, as I didn’t take photos of every step along the way, and I don’t have exact measurements for everything. But you’ll get the gist…

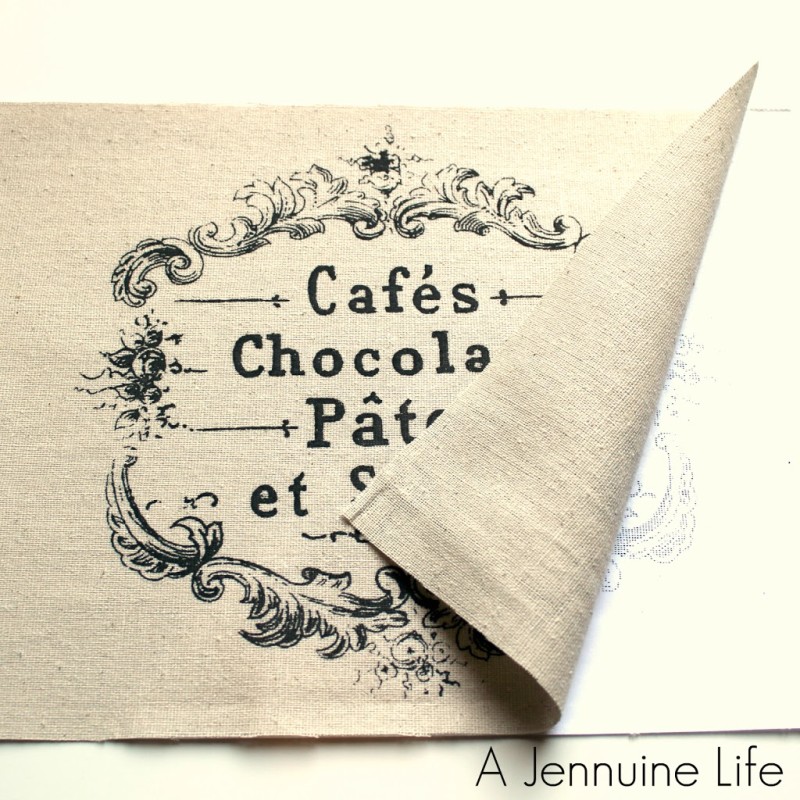
1. Find an amazing graphic at The Graphics Fairy. Save to a file location on your computer.
2. Prep your fabric for printing. There are a few different ways to do this – freezer paper can work as well, but I chose to use full-size adhesive sheets. These were Avery brand.
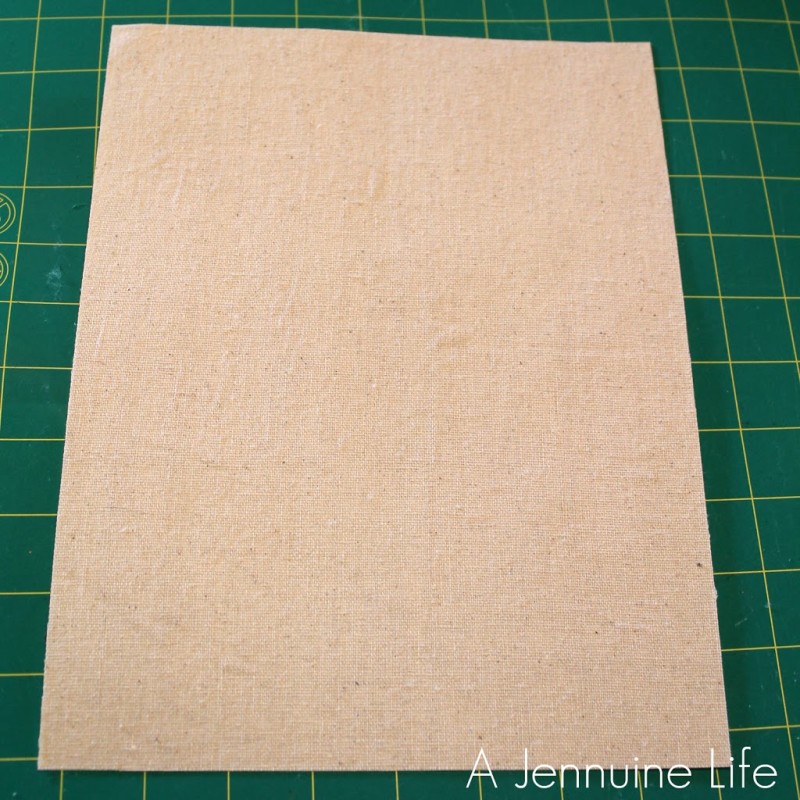
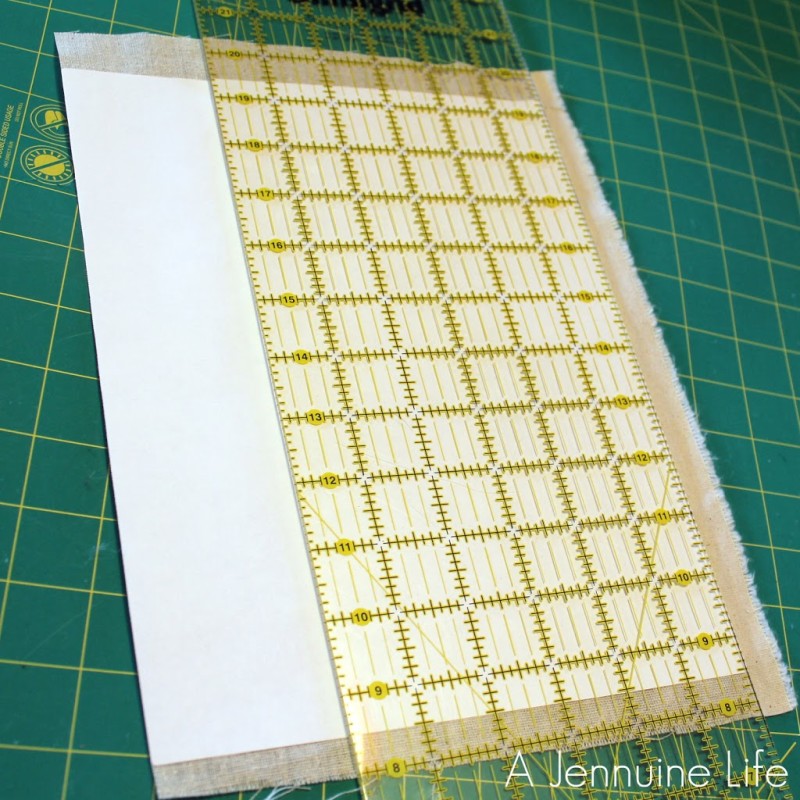
3. Trim fabric to the same size as the 8.5″x11″adhesive sheet.
4. Remove adhesive backing.
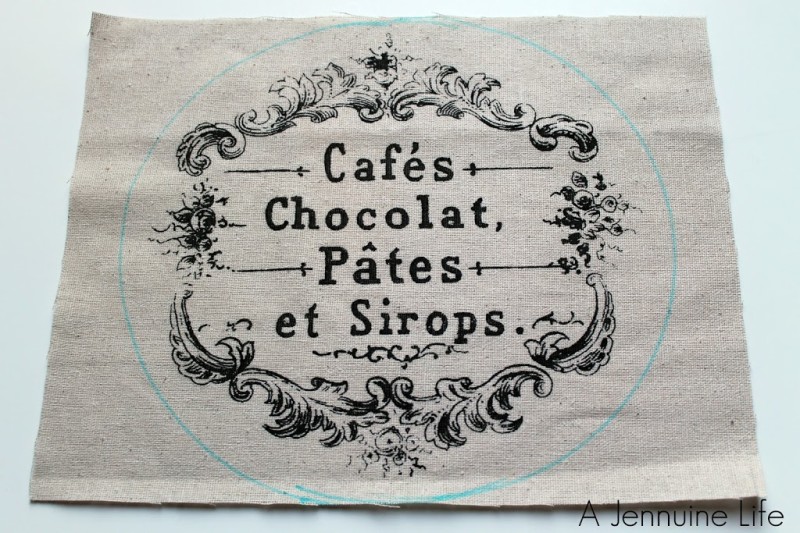
5. I used a dinner plate to draw a line for cutting around my image. The image wasn’t completely circular, so I lined up the plate about 1/2″ from one side of the image and traced it with dissapering ink and then slid it to the other side and traced.
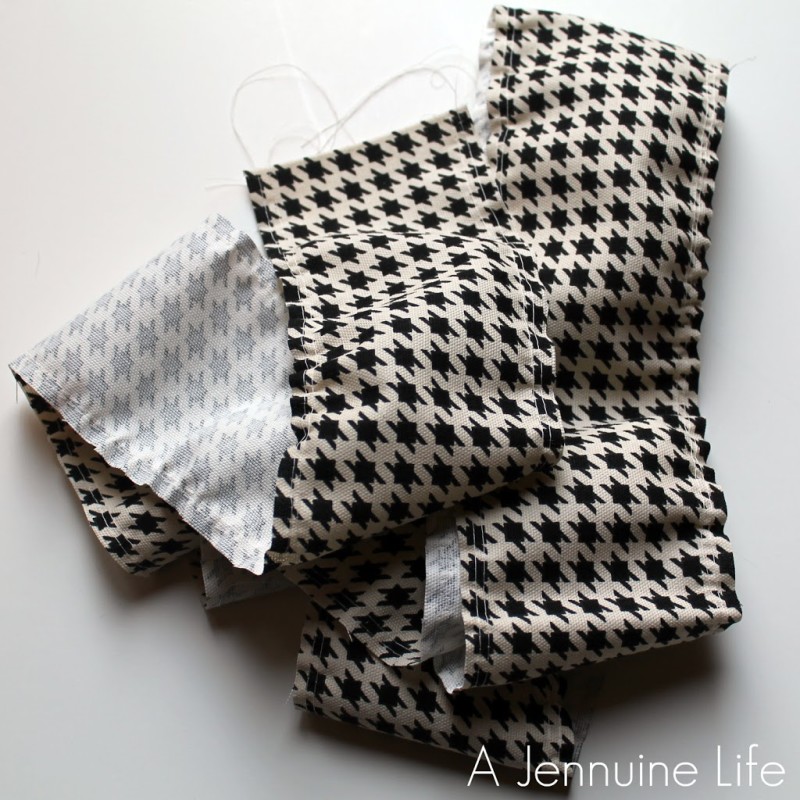
6. Sew basting stitches to both sides of the fabric to surround the image. I think my strips were about 4″ wide and I used 1 1/2 times the circumference of the fabric I was using for the sides. I used the full-width of the fabric, which should have been about 45″, so 1 1/2 strips for the gathered strip cut on the fold for each side – I put the image on the top and bottom of the cushion. Join pieces as needed with right sides together (RST). Stop sewing about 1/4″ from the end and then join the band in a large circle with RST.
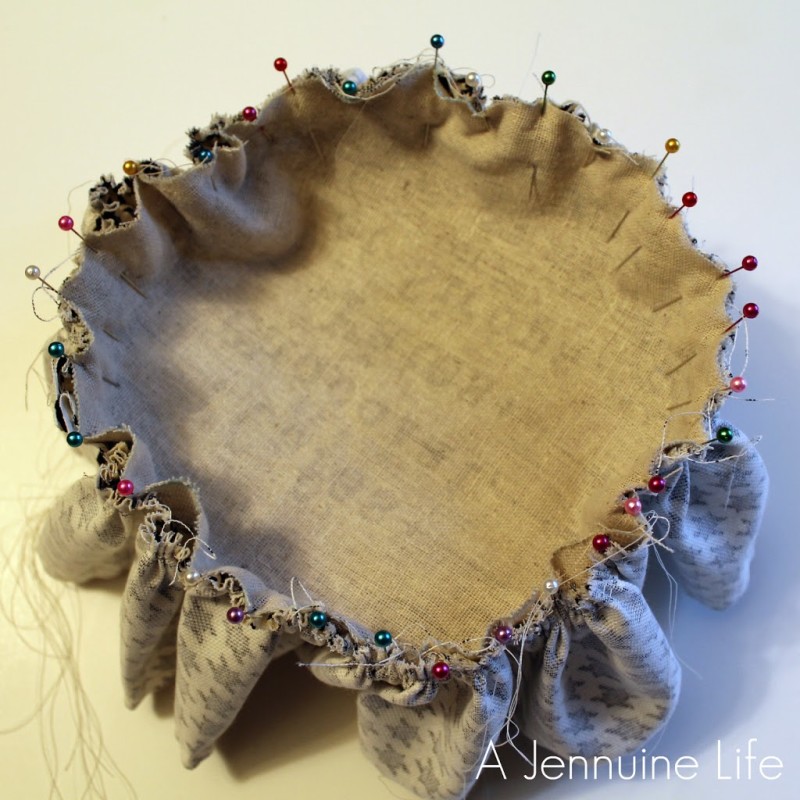
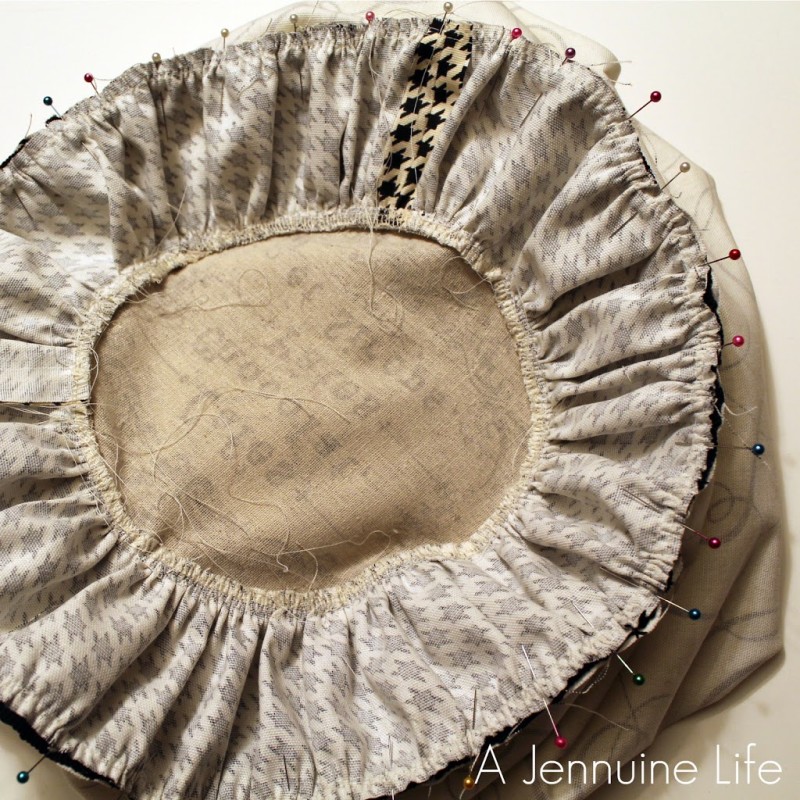
7. With RST, pin the band to be gathered to the image piece. To try to keep the gathers even, I pin at 12 o’clock and 6 o’clock at the halfway point of the strip, and then at 3 o’clock and 9 o’clock halfway between those. Pull bobbin threads to gather. Evenly distribute the gathers and pin in place.
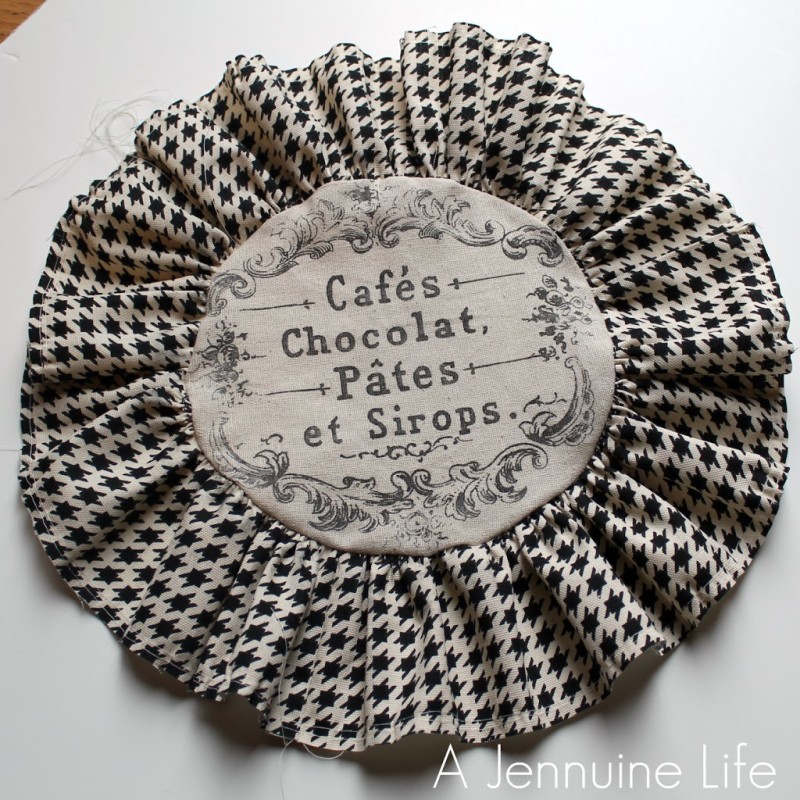
8. Sew gathered strip to image. I don’t have a photo of the step to add the decorative trim; just press the seam open and sew the trim right on top of the trim. Fold the unfinished end under about 1/2″ on top of the beginning to enclose the raw edges of the trim.
9. Cut side piece. I used the full width from selvedge to selvedge and then however tall you want the cushion to be. I think mine was about 18″. Sew in a zipper along selvedge edges. I don’t have photos of this step, but I do mine pretty much like Ashley from Make It and Love It describes here. I used a zipper salvaged from an old sofa cushion – yay, free!
10. With RST, pin the top to the sides using the clock method described above. While gathering and pinning, sandwich the ball fringe in the middle with the ball part inside. Repeat for the bottom, opening the zipper slightly to allow for turning.
11. Stuff cushion – if using loose stuffing or foam pieces, a little fabric bag or pillowcase to contain everything might come in handy – just sayin’, since I skipped this step in my haste and had foam scraps everywhere and it will be pretty crazy if I ever need to wash the cover! Stuff it very firmly to make it sturdy for sitting.

Adorable! It is perfect for a little girl’s room, especially if you haven’t much space. Thanks for the tutorial!
Hi all First I love your blog
but your title is an insult in french we say a little poof in the masculine
otherwise it means “a little bitch”
thank you for all your decorative article that inspires me a lot
Whoops! I went back and forth a lot with Google Translator and my husband’s rusty High School French – he said it should be feminine and pouffe didn’t translate. I hope the French speakers who see this will excuse my mistake – pardon my French, as it turns out!
Wow it looks like its from Ballards! Love it!
This is a great tutorial. A few blog friends and I introduced a new challenge idea Monday and it would be so fun if you want to join. If you have a second, check in at http://thespacebetweenblog.wordpress.com/2012/01/09/imagine-the-impossibilities-challenge/ to learn more, and feel free to email me if you have any questions!
Karah @ thespacebetweenblog = your newest follower
Jenn – I KNEW this one was yours! It’s so cute! I’m LOLing at the Un/Une. I took 3 years of French in high school and would’ve used the feminine as well. 🙂 Your brag blocks had me seriously sweating this week – it is such a great idea! I was coming over here to see if you had them posted yet so I could pin them!
hello do not apologize on male female is sometimes complicated in french, one word can mean different things in women or men! in any case does not detract from ca very good article from your blog