
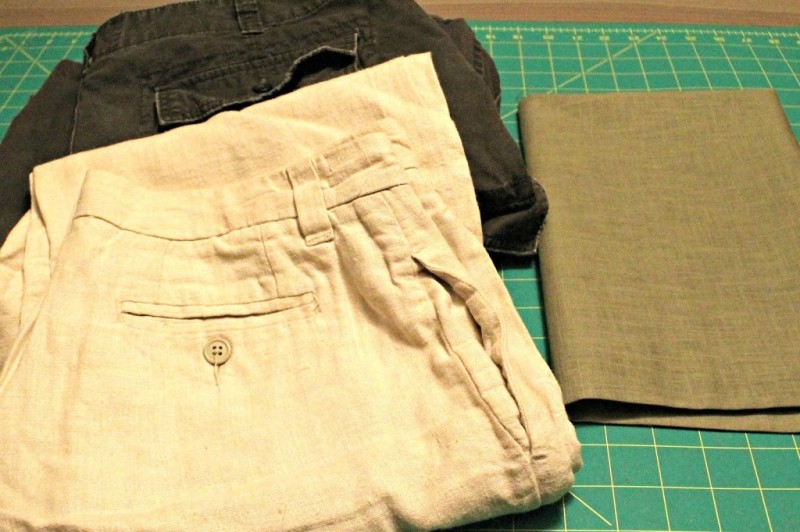
Dave has lost quite a lot of weight over the last few months, so I nabbed a pair of his cargo shorts which no longer fit and a pair of linen capris which no longer fit me (ahem, for the opposite reason sadly) and some linen-look bottomweight fabric from JoAnn’s. Not pictured is the double fold bias tape that was so considerate as to match the green fabric perfectly.

Now the fun part, I used a 2T dress bodice as the rough guide for drafting the pattern, but Alex is turning four and is big for his age. So I sized it up until I thought it would fit a five or six year old and extended the center front seam to allow for a button closure. If anyone is interested in the pattern, I can give our new scanner a whirl and try to upload it.
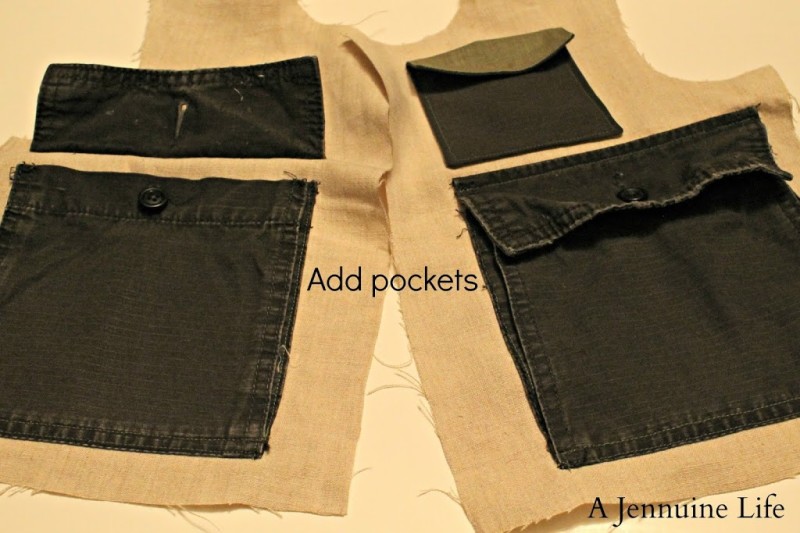
After cutting my outer and lining fabrics, I picked the cargo pockets from Dave’s shorts. This took for-ev-er. They apparently didn’t want them coming off; who knew?
Sew them to the right side of the front pieces by sewing closely along the side bellows of the pockets and then two lines of stitching at the bottoms, matching the original stitching lines. Sew the flap on by sewing along the fold with the flap up and then folding it down and stitching along the original stitching.
The little top pocket that I have the pattern piece for is a piece of the cargo shorts and a piece of the green fabric stitched right sides together (RST) and turned. Figure out where the fold will be and topstitch the top to just below this line. Then pin the pocket to the vest front and sew from the fold down and around the sides and bottom.

In my pattern I said to cut four pieces for the pockets because I was going to put two of the flat pockets on, but then I decided to whip up a little name patch. I used my embroidery machine to make his name on the linen. I should have used some stabilizer, but I’m averse to it unless expressly directed for some weird reason. I then sewed it to another piece of the ripstop fabric from the cargo shorts and trimmed close to the stitching.
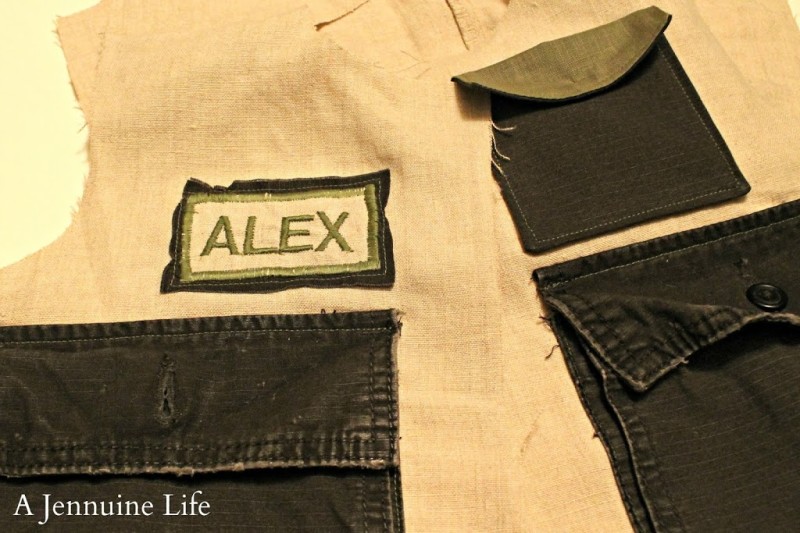
Using a tight wide zig-zag or satin stitch I sewed over the line of stitching enclosing the raw edge. Again with the stabilizer thing so it puckered a bit, but I kind of like the roughness it gives. I’ll fray it a bit to enhance that. Sew in place to the front of the vest.
Sew the front pieces to the back pieces at the shoulders and sides with RST for the outer and lining at this point.
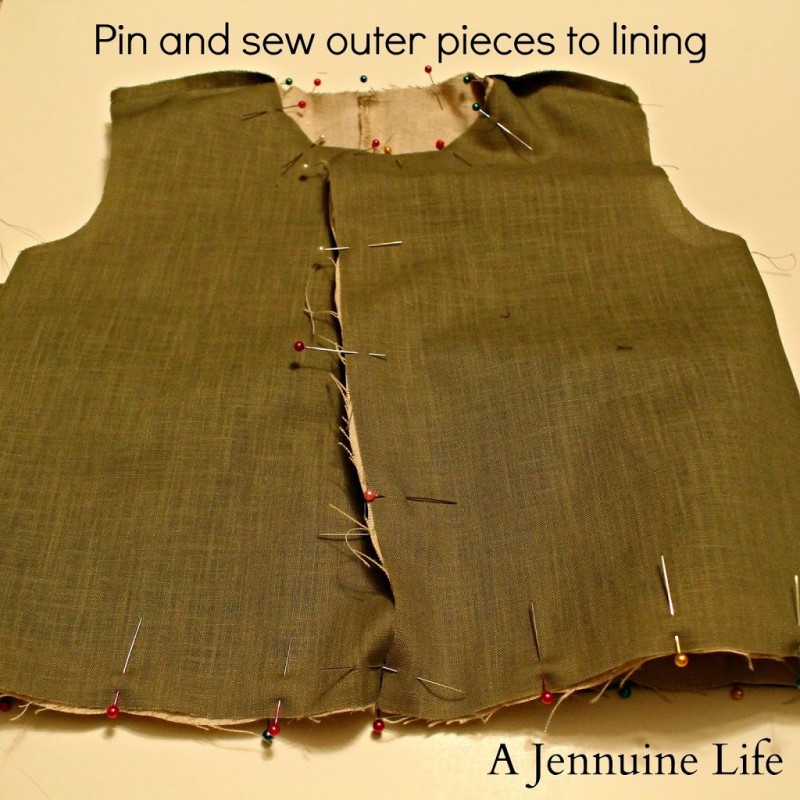
With RST, pin and sew the outer vest to the lining, leaving the armholes open. Clip corners and curves, turn, and press.
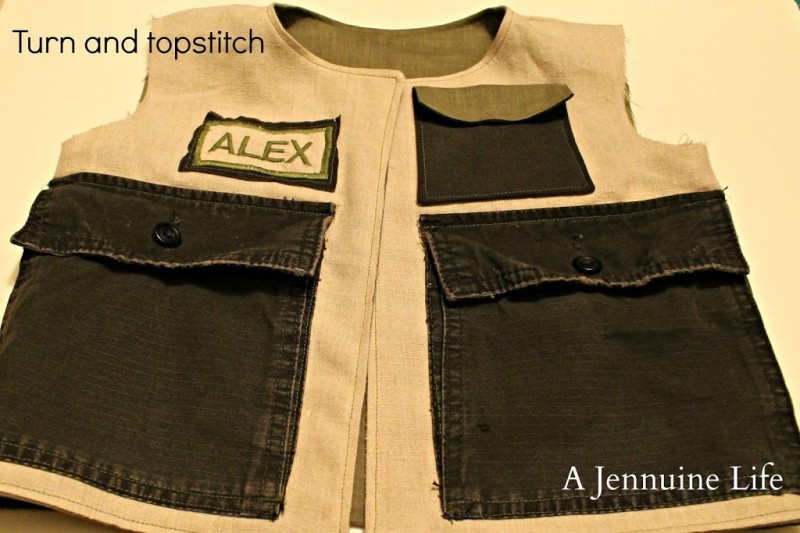
Topstitch around the entire outer edge.
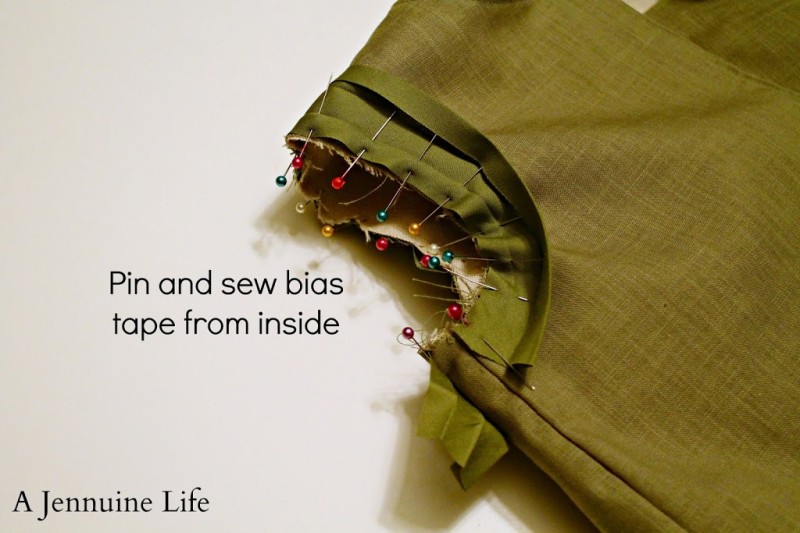
Attach the bias tape to the armholes by pinning the living daylights out of it from the inside. Make sure to open up and pin the edge of the slightly smaller side of the double fold bias tape. This picture gives evidence that I always have to stop and redo the way I have the raw edges lapped the first go-around; the part I’ve folded back should be under the raw edge of the other side.
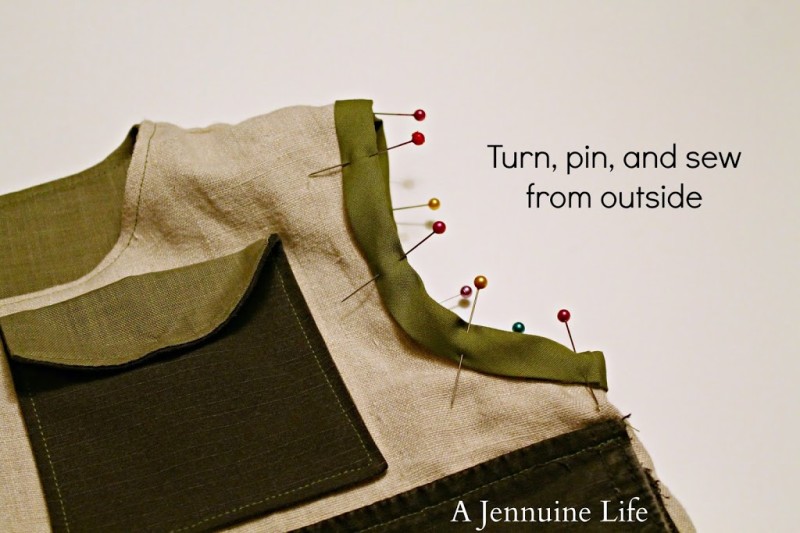
Now turn the whole thing right side out and pin and sew the tape in place from the outside.
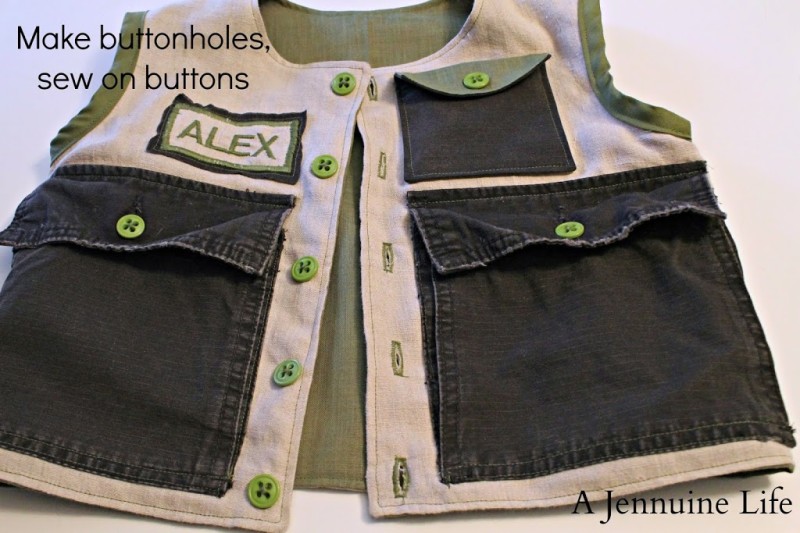
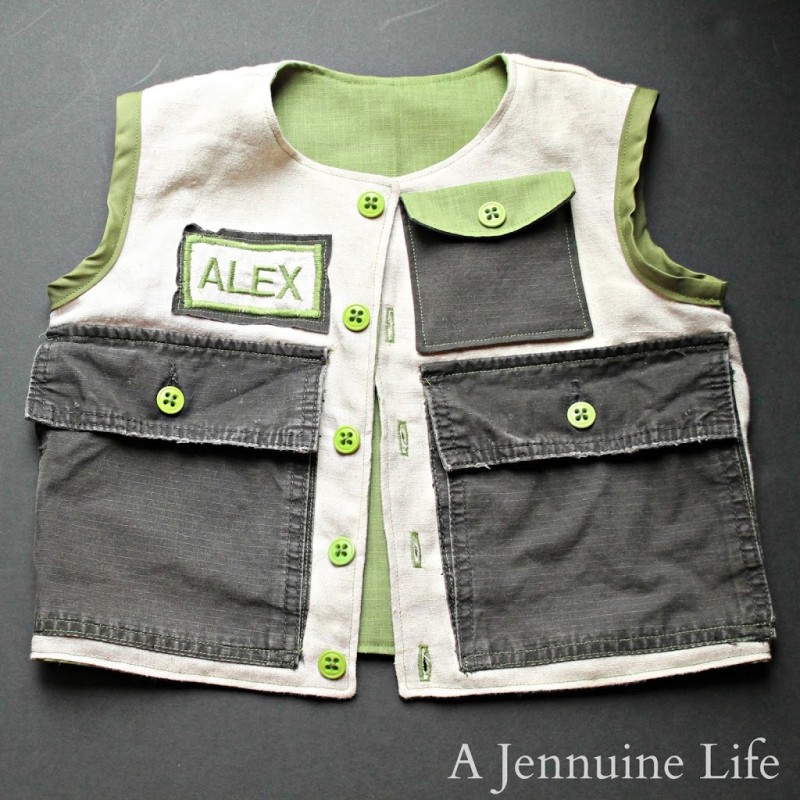
Add buttonholes, and sew on buttons. I decided to replace the brown buttons with green ones from my button jar.

Mondays Making the World Cuter Monday – Making the World Cuter Made By You Monday – Skip to My Lou Craftastic Monday – Sew Can Do Making Mondays Marvelous – C.R.A.F.T. Market Yourself Monday – Sumo’s Sweet Stuff Creative Me Monday – The Southern Institute Tuesdays I Made It Without My Hubby – Shanty 2 Chic Sew Cute Tuesdays – Creative Itch Take a Look Tuesdays – Sugar Bee Craft Edition Shwin&Shwin Wednesdays We Did It Wednesdays – Sew Much Ado Sugar and Spice and Everything Nice – Seven Thirty Three Show & Tell – Blue Cricket Design Show Me What Ya Got – Not Just a Housewife Your Whims Wednesdays – My Girlish Whims Thursdays Strut-Your-Stuff – Somewhat Simple Make It, Wear It – The Train to Crazy It’s Stinkin’ Cute – Sew Stinkin’ Cute Show Off Your Stuff – Fireflies and Jellybeans Making It With Allie – What Allie’s Making Now Pinspirational Thursdays – The ArtsyGirl Connection Fridays Furniture Feature Friday – Miss Mustard Seed Weekend Wrap Up Party – Tatertots and Jello Feature Yourself Friday – Fingerprints on the Fridge Friday Fun Finds – KojoDesigns Weekends Check Me Out Saturday – A Vision to Remember Show and Tell Saturday – Be Different Act Normal Sunday Scoop – I Heart Naptime Sunday Showcase Party – Under the Table and Dreaming A Pinteresting Party – Tutus & Tea Parties Sunday Roundup – A Rosie Sweet Home

You are sooo creative! That is a great idea! Alex will love it!
Oh, this is super adorable! My boys would love this!
Love this!!
This is a great project. I like how it is cute (in a boy way), practical, and sustainable!
Thanks for linking to Take-A-Look Tuesday at Sugar Bee Crafts – I featured you last week! (http://www.sugarbeecrafts.com/2012/12/showing-off-my-picks_12.html – I’m a little slow with notifying this time around!)
–Mandy, http://www.SugarBeeCrafts.com