

In the last lesson, we replaced the needle and began practicing on lined or graph paper to work on guiding the paper in a straight line, as well as to get a feel for how the feed dogs pull the paper forward.
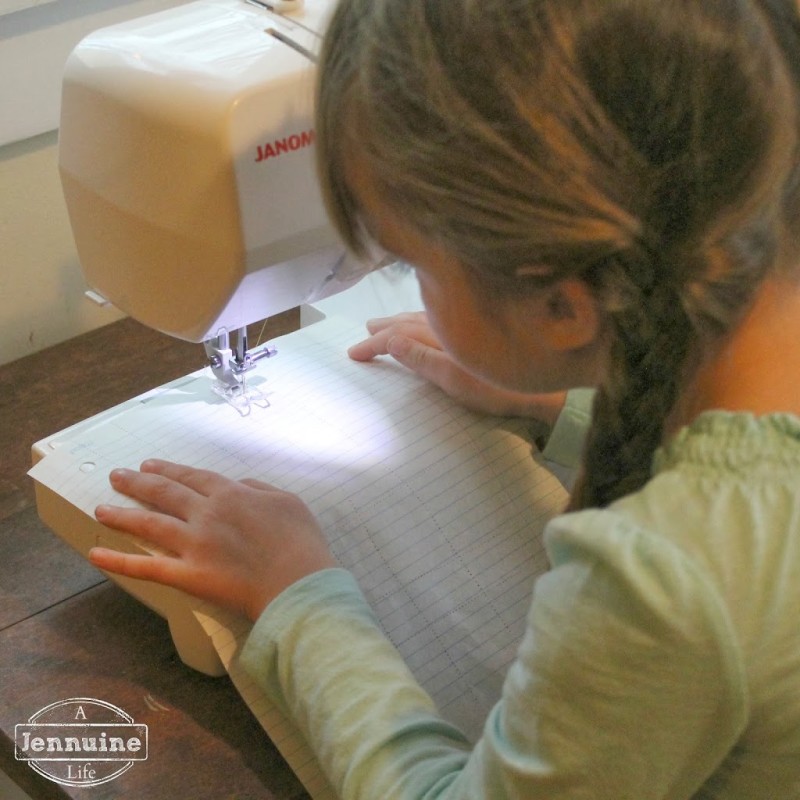
Today, we sew with the machine threaded for the first time. Â I didn’t teach Arden to thread the machine at this time. Â We’re already advancing at a pretty slow pace and I wanted her to be able to start seeing the results of her learning. Â We’ll cover threading the machine at a later stage when she’s already completed some small projects. Â I did talk about what I was doing as I threaded it so she begins to get the idea of threading.
If you don’t know how to thread a machine, you should be able to review the owner’s manual or online instruction for threading.
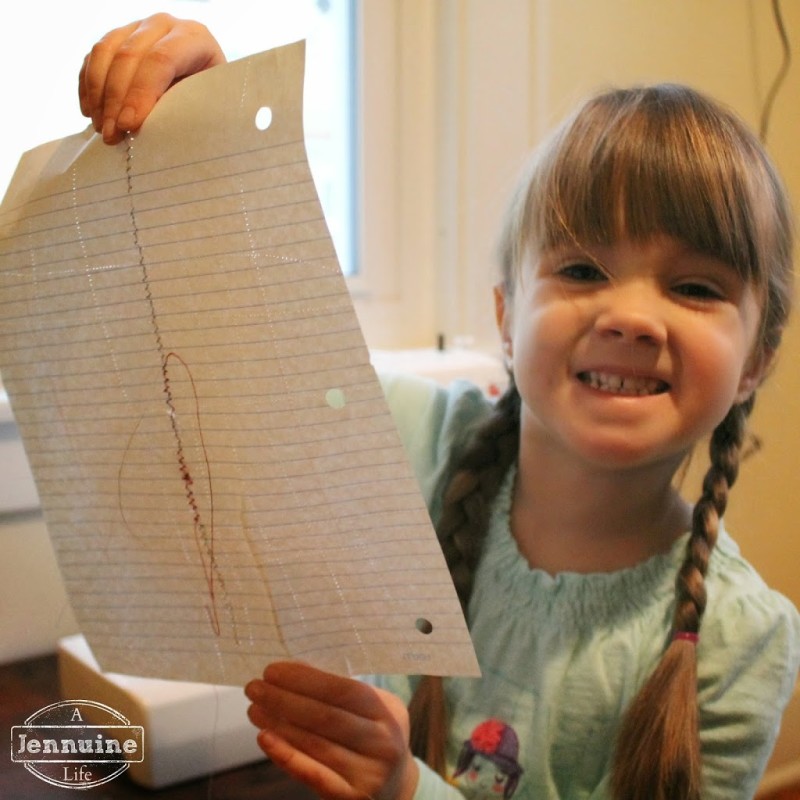
Arden liked the idea of sewing with some fancy threads, so I broke out the three metallic threads in my stash. Â She also wanted to do a decorative patchwork stitch and I didn’t see any reason to object, so you’ll see that it’s not a straight stitch.
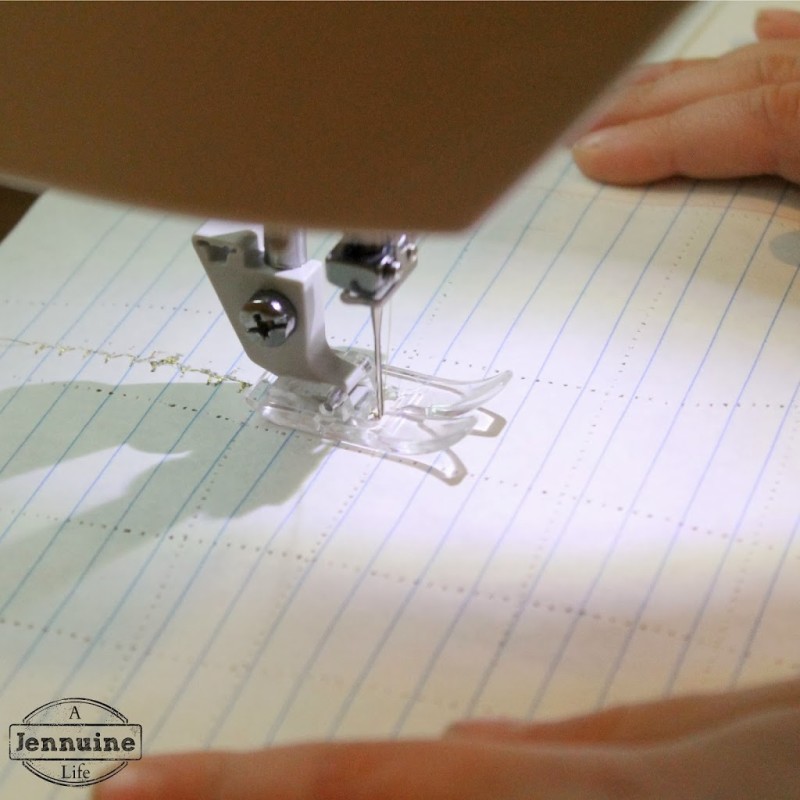
Same as before, I gave her the paper and had her put it in place under the presser foot, lower the presser foot, and begin to sew. Â I showed her how to pull the threads to the back of the presser foot before beginning to sew, and how to pull the paper away from the machine afterwards and bring the threads up the to cutter. Â I think most machines have a cutter bar along the left side of the machine, but if yours doesn’t, show how to clip the threads with a pair of scissors or a pair of snips.
Keep on practicing until you and your child are ready to move onto the next step: sewing on fabric.
Next up: Lesson 5


Cute look how proud! I remember learning how to sew on paper like this 🙂
Have you thought about using zigzag or wave templates for her to follow in order to learn how to stop and turn, or curve. I have found some cute printable templates designed for children to practice cutting with scissors that I believe would work well for sewing tutorials.