Tiny Sewists: Teaching Kids to Sew :: Lesson 3

Welcome to Lesson 3 of Tiny Sewists: Teaching Kids to Sew!  If you’re just joining, this is a series I’m sharing as I teach my four year old daughter Arden to sew.  Be sure to review the first lessons on setup and safety, and getting familiar with the machine.

Up until this point, we’ve been practicing without a needle.  This will be the first lesson with the needle back in place.

Before you replace the needle, review what you have covered so far:

  • where the power switch is
  • the different stitches and what they’re used for
  • major parts of the machine
  • the “danger zone” or the area surrounding the needle and the path leading to the needle.
  • how to lower and raise the presser foot
  • starting and stopping the machine using the foot pedal.
  • raising and lowering the presser foot to begin sewing
  • “driving” the machine with the foot pedal
  • guiding the fabric with hands to the sides; away from the path of the needle.

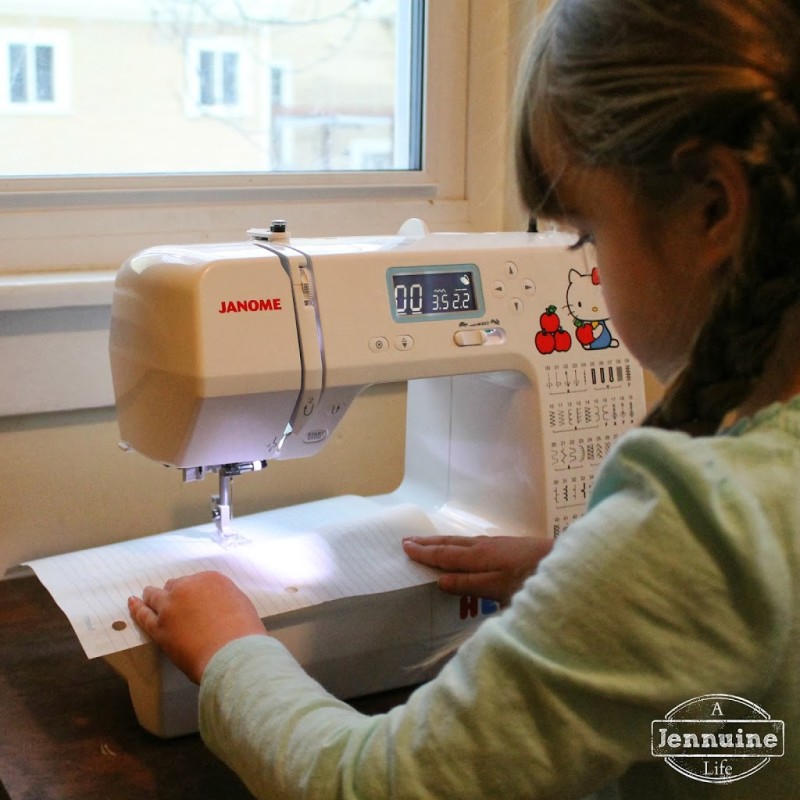
Once you both feel confident that your tiny sewist is ready to begin practicing with the needle, put it in place.  If your machine has a speed setting, move it to the slowest speed.

With the needle in place, there is one more part of the machine you will need to introduce – the hand wheel, or the needle up/down button if your machine has one.  Arden’s machine has a needle up/down button, so I showed her to make sure the needle is up before she tries to put the paper/fabric underneath.

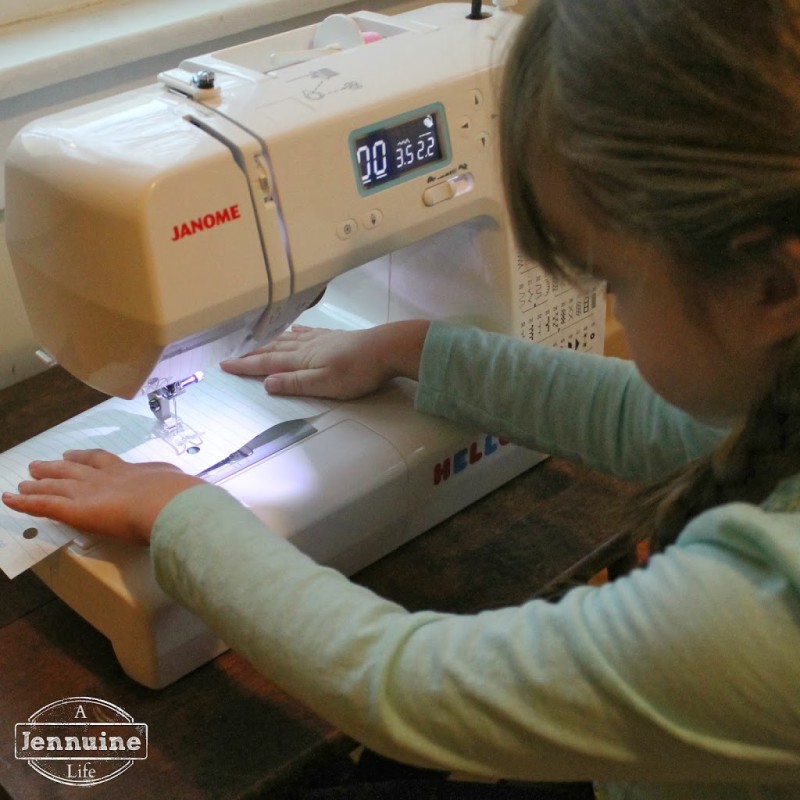
Grab a piece of lined or graph paper to use as the “fabric” for this lesson.  Paper works well at this stage because it easily shows where the needle has pierced it, and it is stable in two dimensions; it doesn’t shift or pull as readily as fabric.

This third lesson’s objectives are to:

  • continue to gain comfort with the steps for preparing to sew
  • practice guiding the paper in a straight line
  • get a feel for the way the feed dogs pull the paper forward
I gave her the paper and had her put it in place under the presser foot, lower the presser foot, and begin to sew.  I did not thread the machine for this step – we’re just poking holes in the paper so she can see how straight the lines she’s making are (or aren’t!).
My friend Hayley at Welcome to the Mouse House is sharing her own Kids Can Sew! series, and she has several printables you can use in place of lined or graph paper.
Keep on practicing until you and your little one are ready to move onto the next step: sewing on paper with thread.

Next up: Lesson 4

Photobucket

Pin It

Follow on Bloglovin

4 Responses to Tiny Sewists: Teaching Kids to Sew :: Lesson 3

  1. Mindi Carwin January 9, 2014 at 2:18 AM #

    This is so awesome!! I have been wanting to teach my daughter and I am excited to try this! Pinned! Thanks!

Trackbacks/Pingbacks

  1. Tiny Sewists: Teaching Kids to Sew :: Lesson 5 | A Jennuine LifeA Jennuine Life - April 29, 2014

    […] sure to review the first lessons on setup and safety, getting familiar with the machine, practicing with a needle, and sewing on […]

  2. Tiny Sewists: Teaching Kids to Sew :: Lesson 11, Project 3 | A Jennuine LifeA Jennuine Life - April 29, 2014

    […] to review the first lessons on setup and safety, getting familiar with the machine, practicing with a needle, sewing on paper, sewing on fabric and using Wonder Tape instead of […]

  3. Tiny Sewists: Teaching Kids to Sew :: Lesson 10 Threading the Machine | A Jennuine LifeA Jennuine Life - May 12, 2014

    […] be sure to review the first lessons on setup and safety, getting familiar with the machine, practicing with a needle, sewing on paper, sewing on fabric and using Wonder Tape instead of pins, sewing a […]

Leave a Reply

This site uses Akismet to reduce spam. Learn how your comment data is processed.

Site by Spunmonkey