
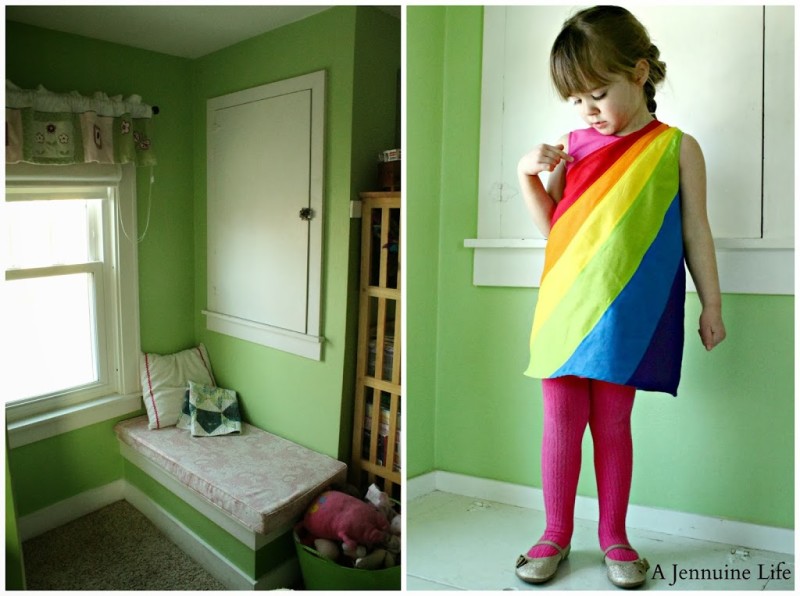
This little area has a built-in bench. Â It’s covering the angle from the ceiling of the stairs going down below that little closet – it has an angled bottom from the stairs which go down right to left to the floor below as you look at this photo.
Attributes:Â The window is facing East, so it gets pretty nice light in the mornings. Â White cubby door and green walls.
Equipment: None used, though this is another area where the reflector would probably work nicely, though I haven’t yet used it there.
Prep: I open the shades on the window and pull the little cushion I made for the bench off and have whomever’s modeling for me stand on top.
Arden’s Room:
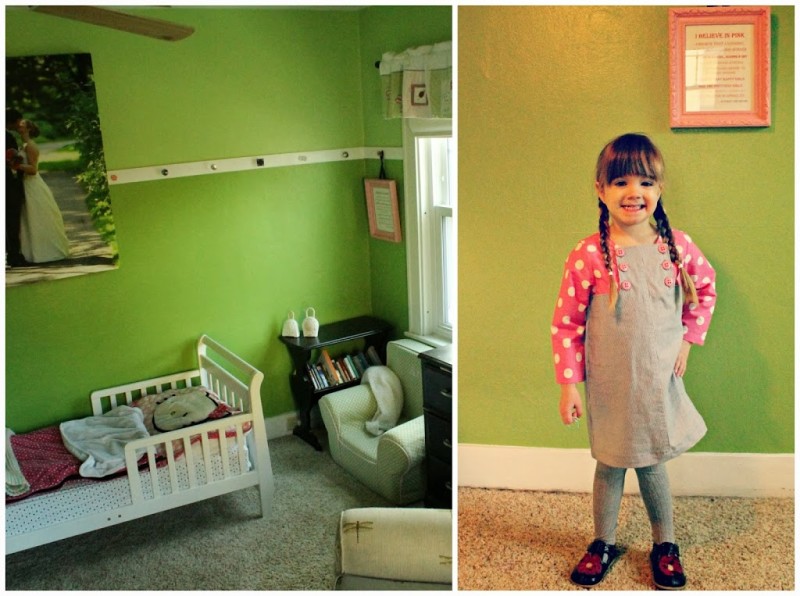
This is the opposite side of Arden’s room; the photo was taken from the nook with the bench. Â The furniture is a little different now as we moved the rocking chair out and the desk at the right edge is now in Hadley’s room.
Attributes: Â Green plaster walls and a North-facing window. Â It doesn’t really get enough light, so this is my example of a location that really doesn’t work that well. Â This photo was also taken over a year ago and I think I’ve gained a much better understanding of my camera. Â I had the incandescent light on because there wasn’t enough light and I didn’t have the white balance quite right, nor did I adjust it properly when editing.
Equipment: The pulled back shot was taken with a tripod to allow a long enough exposure to let more light in.  A tripod with a long exposure wouldn’t work as well for a modeled shot, unless either 1. your kids are able to stand very still, or 2. you’re looking for motion blur in your photos.
Prep: Â I opened the shades on the window. Â For the modeled picture I had the overhead lights on. Â Natural light will always give a better final picture if it’s at all possible.
Hadley’s Room – Blue Wall:
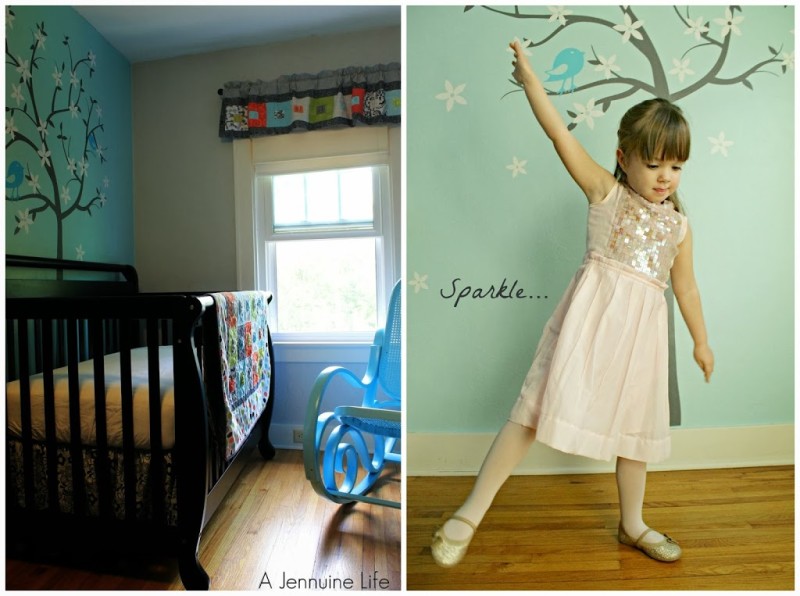
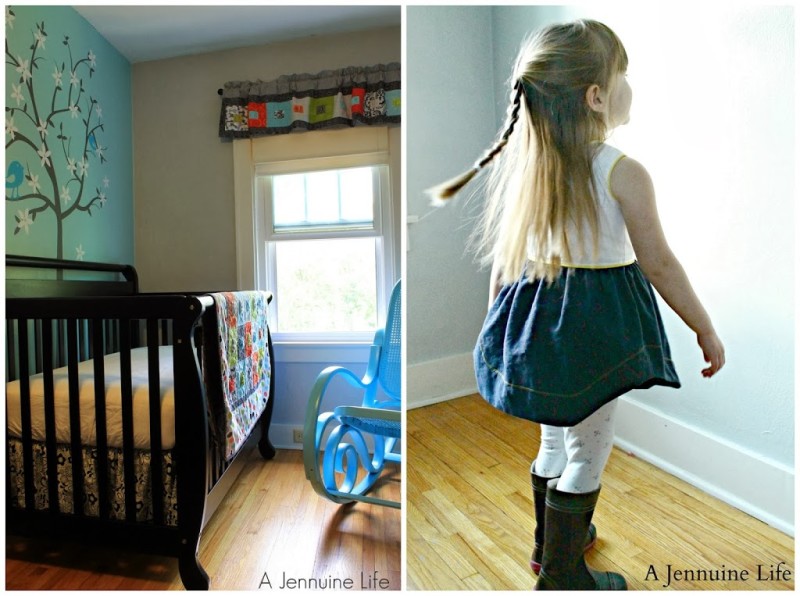
Hadley’s room is my favorite place to shoot inside our home. Â It has a window facing West and a door with a window facing South. Â The combination of these two windows and the colors I painted have turned out to work really well for photography.
Attributes:Â I painted two walls in this room Tiffany blue. Â This wall has a vinyl decal that I think gives some interest without being too distracting. Â Hardwood floors and wide, white baseboards.
Equipment: Â No equipment used.
Prep: To take photos in this corner of the room, I have to shove Hadley’s crib to the middle of the room. Â This is already the smallest room in the house; that blue rocker is in the very corner of the room. Â The desk from Arden’s room is now there. Â I open the shades on both windows.
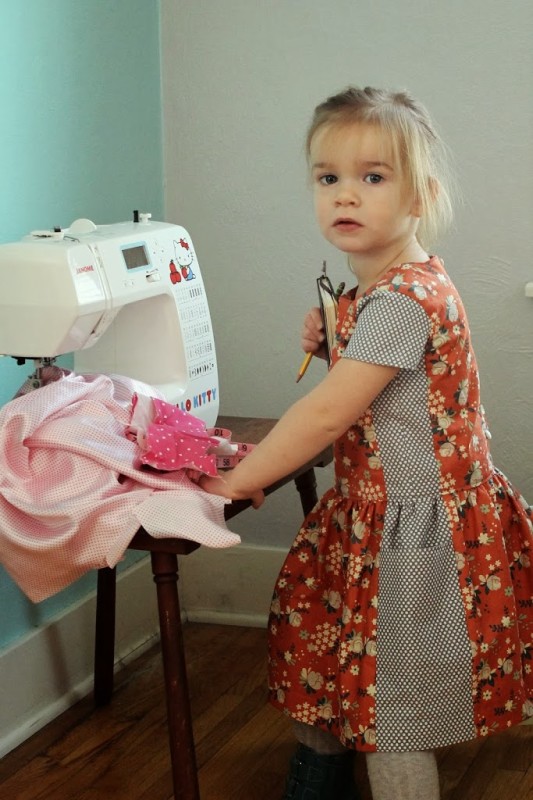
This is also the room where I staged Hadley’s sewing scene for the Let’s Go to the Movies theme for Project Run & Play. Â If I set up just right, I can crop out the decal, so it’s quite versatile.
Hadley’s Room – Grey Wall:
Attributes:Â The rest of the walls in Hadley’s room are painted a pale grey. Â Hardwood floors and wide, white baseboards.
Equipment:Â Â No equipment used.
Prep:Â When this modeled picture was taken, the rocker was still in place, so I moved that out in addition to sliding the crib out of the way. Â Now that the desk is there, I haven’t used this wall unless I’m using the desk as part of the staging. Â I open the shades on both windows.
I still have more to share with you – the setup for Arden’s Tiny Sewists series and a few other photo shoot locations, as well as tips for taking tutorial or small project photos.


[…]  In the first post, I covered some less-obvious locations, then a couple spots in each of the girls’ bedrooms, and last week I showed my setup for the Tiny Sewists series.  Today I’m showing my typical […]