

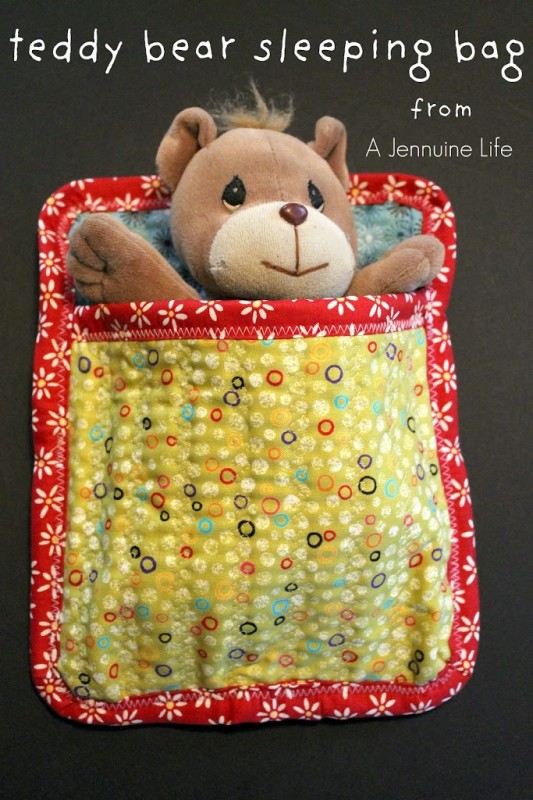
Arden wanted to make a bag for this bear she’s named Carrot. Â We sorted through my bins of fabrics and binding and together we chose these three fabrics. Â The dog fabric is quite exciting, no? Â Some of the ears and puffs on the poodles are sparkly!
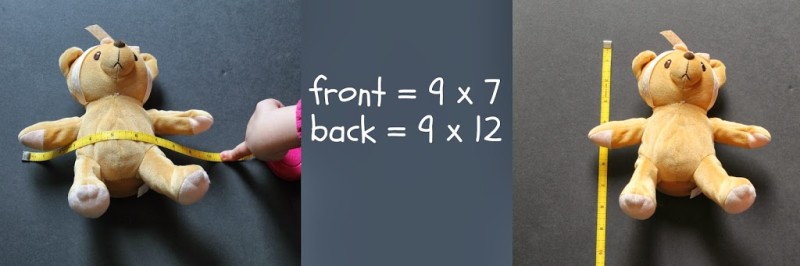
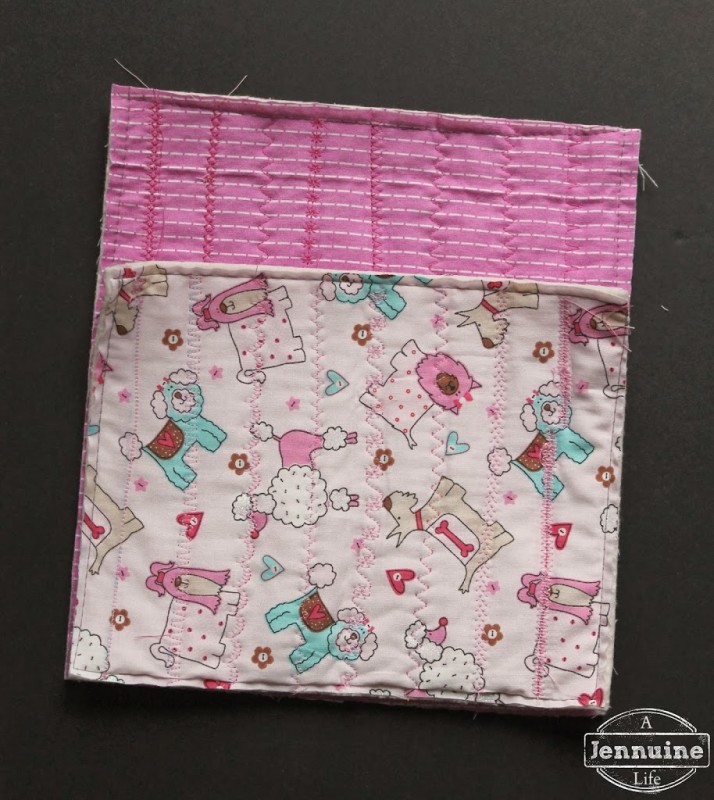
We began by measuring Carrot to arrive at the dimensions needed for the bag. Â Ours came out to 9″x7″ for the front and 9″x12″ for the back.
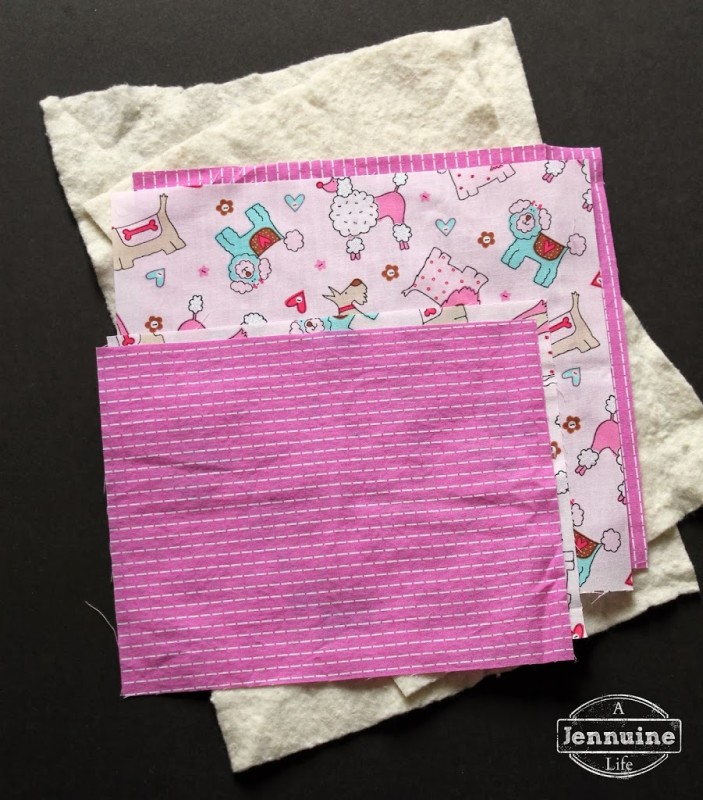
I used a quilting ruler and rotary cutter to cut one piece of each dimension from each of the outer and lining fabrics. Â I also rough cut pieces of warm n’ natural quilt batting to slightly larger than the fabrics.
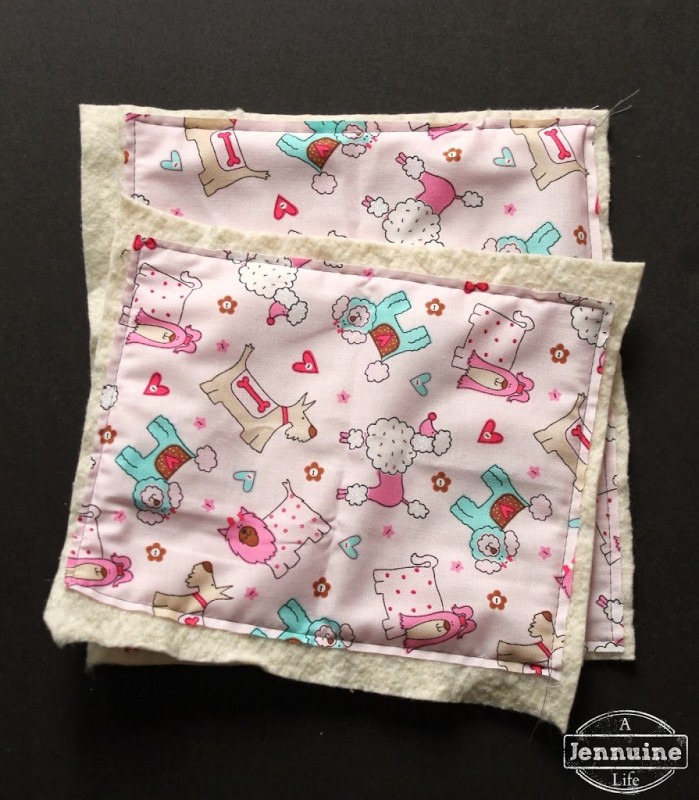
I made a quilt sandwich with the batting in between the two fabrics wrong sides together. Â I basted a line of stitching all the way around to hold everything together so Arden could concentrate on stitching, not avoiding quilt pins. Â You could hand baste, or if you have basting spray this would likely work even better! Â Not pictured is that I marked vertical lines every 1″ with a disappearing marking pen for Arden to follow with her stitching.
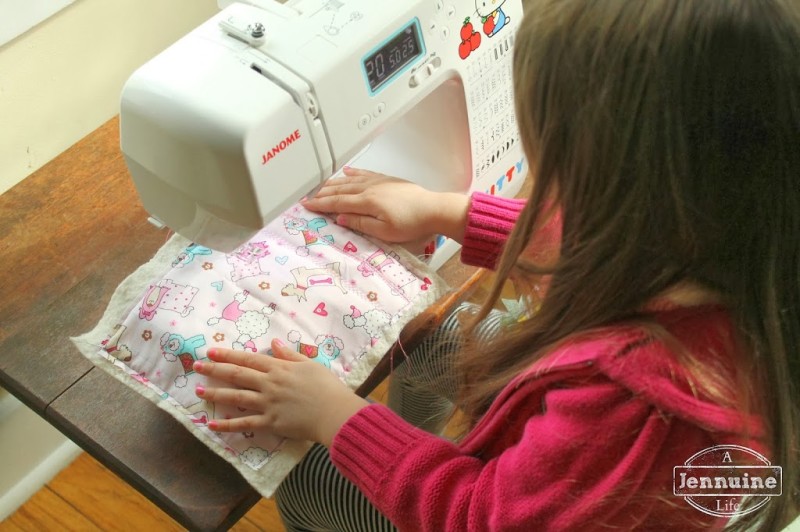
Now it’s Arden’s turn! Â She chose all different fancy stitches on her machine and followed the lines I had drawn. Â She even chose a blind hem and overcast stitch. Â This was really fun because she got to be in control of the stitches used in her project. Â Since we didn’t use a walking foot, there was a little bit of creasing at the bottom edge, but that will get covered up with binding. Â I think introducing a walking foot would be a bit much for this beginner project.
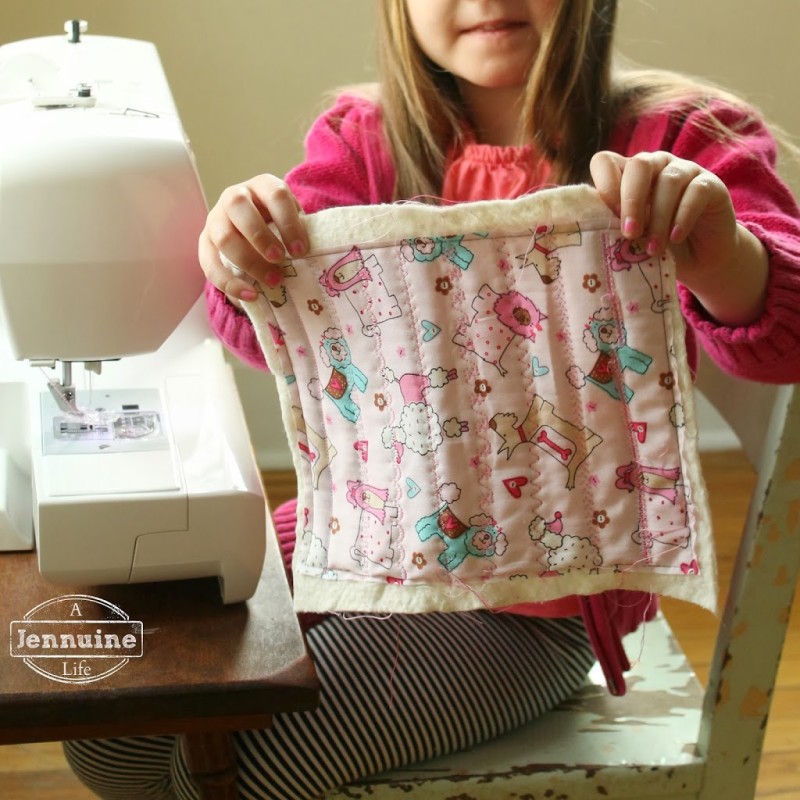
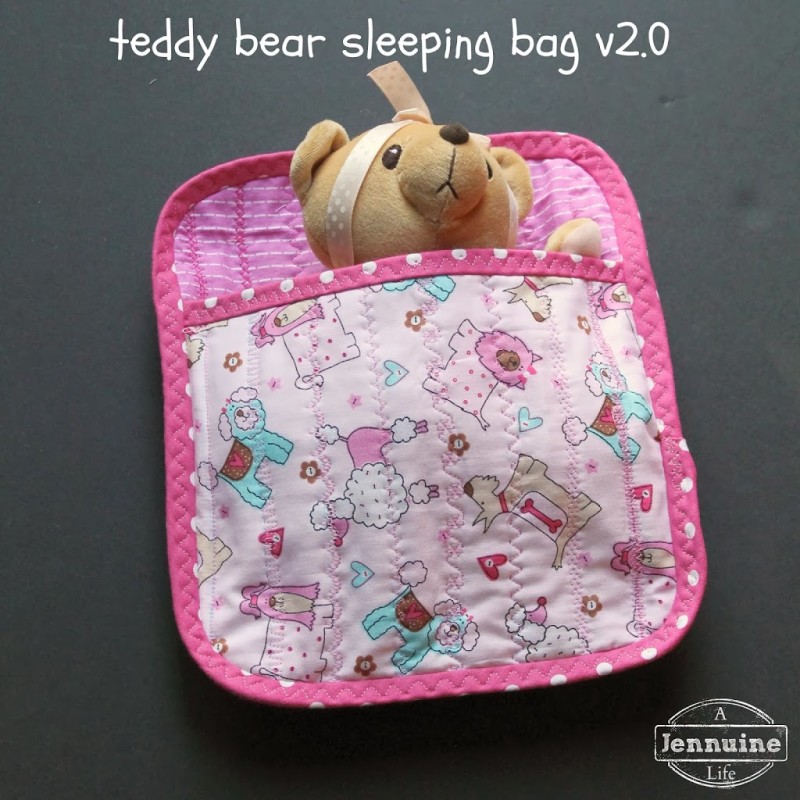
Here’s the first piece all finished! Â Repeat on the other.
Then I trimmed the batting away and got it pretty close to squared up. Â On Thursday, we’ll finish up the project with an easy “cheater” quilt binding appropriate for a young sewist.
Next up: Lesson 9


Yet another cute first project. This series is making me so excited for when my girl is old enough 🙂
I think I’m having even more fun watching her learn and seeing her excitement!
love this! It might even interest my girls to try to sew with me! I am going to show them tomorrow. (Mine are picky about sewing)
I’d love to hear if they took the bait. Sleeping bags for everyone!