
We’re halfway done with the Clipper Shorts Sew Along!  If you’re following along you should have the front of your shorts completed. Check back for Day 1 and Day 2 posts if you need to catch up.
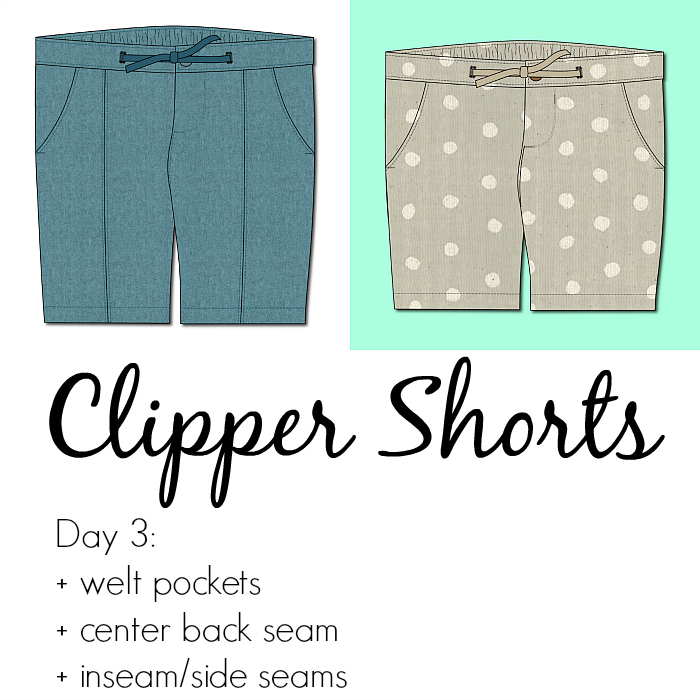
Dun-dun-dun!!!  Today is mostly about those welt pockets!  We’ll also get the shorts back ready and sew the front and back together at the inseam and side seams.  Remember, I’m trying to follow along with the steps in the tutorial, so you’ll see that the welt pockets begin at Step 27.
Welt Pockets
Step 27:
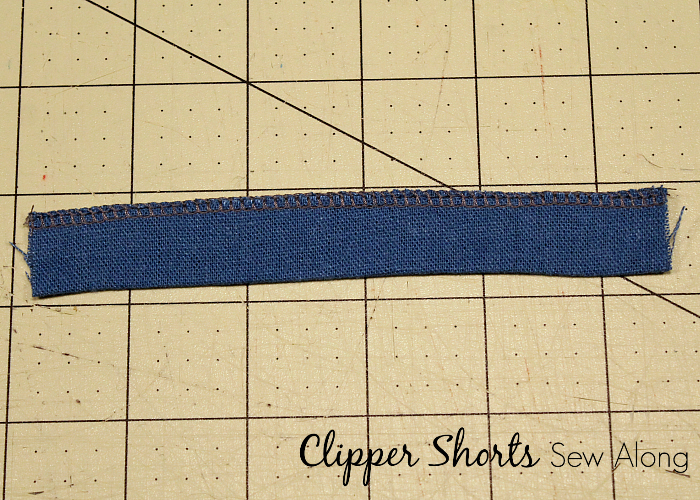
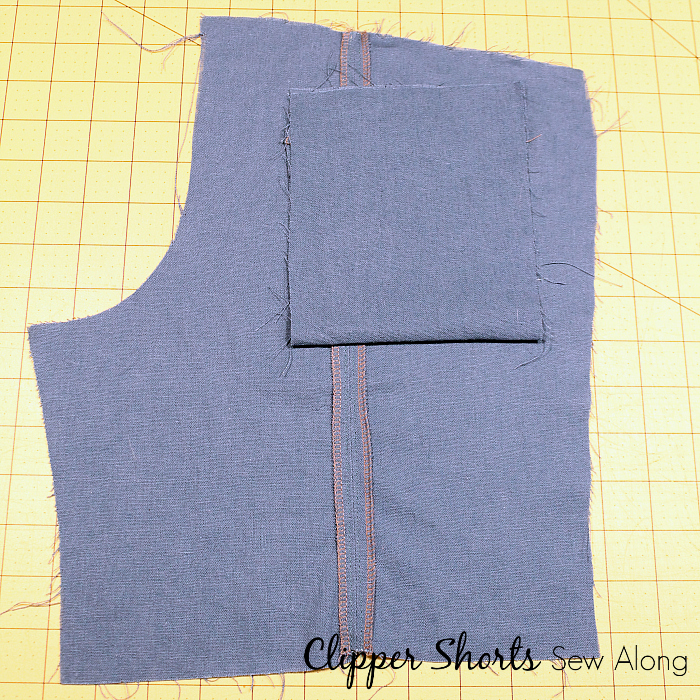
Prepare the welt: Â Fold the welt(s) in half along the short edges with wrong sides together (WST) and press. Â I used spray starch to keep the linen I’m using crisp. Â Finish the long edge.
Step 28:
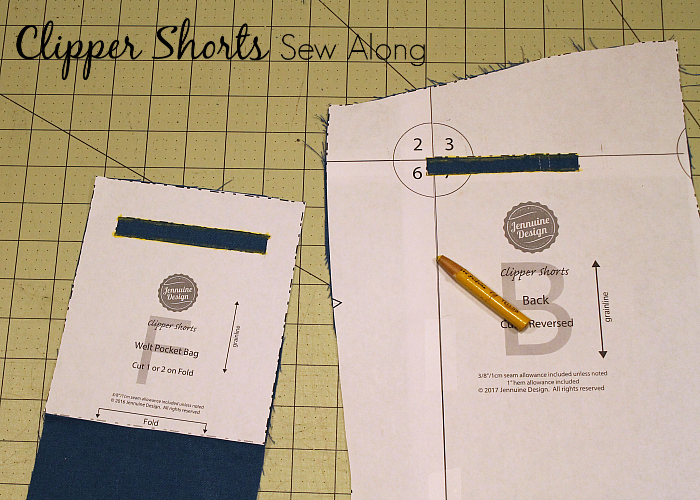
Mark the welt openings on the shorts back and the welt pocket bag. Â Make sure the lines are parallel and the ends are even with each other. Â Also mark the center line, or you can measure this in the next step.
Step 29:
Center the raw edges of the welt halfway between the two horizontal markings. Â I finger press to find the vertical centers and use a clear ruler to find the horizontal center. Â Pin in place temporarily.
Step 30:

With RST, position the welt pocket bag so the marked welt openings are exactly over the markings on the shorts back. Â I like to put a pin directly through each marking end of both pieces and then bring the fabrics together along the pin. Â Pin in place, moving the pins from the welt so they’re not between the layers.
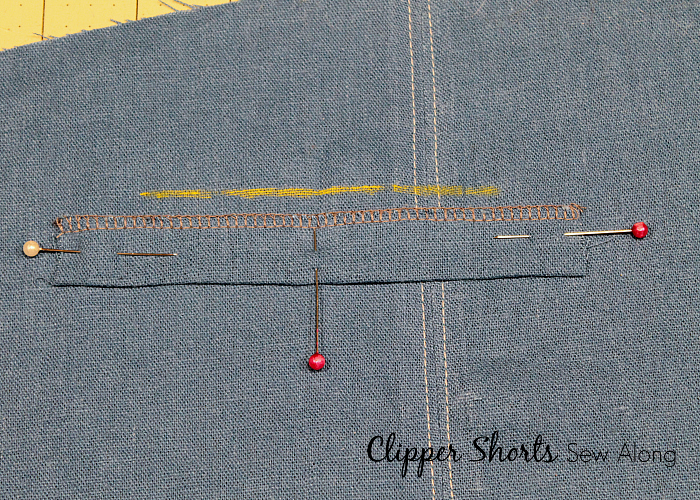
Step 31:

Carefully stitch along each horizontal line of the marked welt openings. Â Backstitch at the beginning and end to secure, keeping the ends of the stitching precisely at the marked ends. Â My stitching looks wonkier than it is, but I had sewn the top line underneath my marking so I did re-sew that one which you’ll be able to see in the next photo.
Step 32:
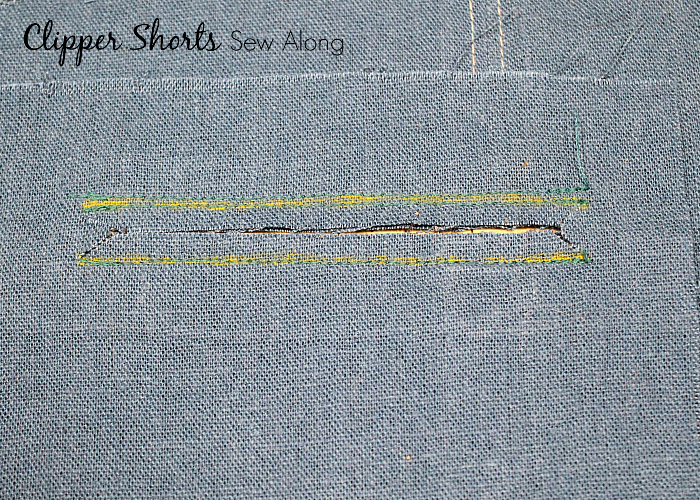
Carefully cut through all layers between the stitching lines, making “Y” shaped cuts at each end to just inside the ends of the stitching. Â I re-cut the ends of my angled cuts to end at my higher stitching line, but forgot to take a new photo.
Steps 33-34:
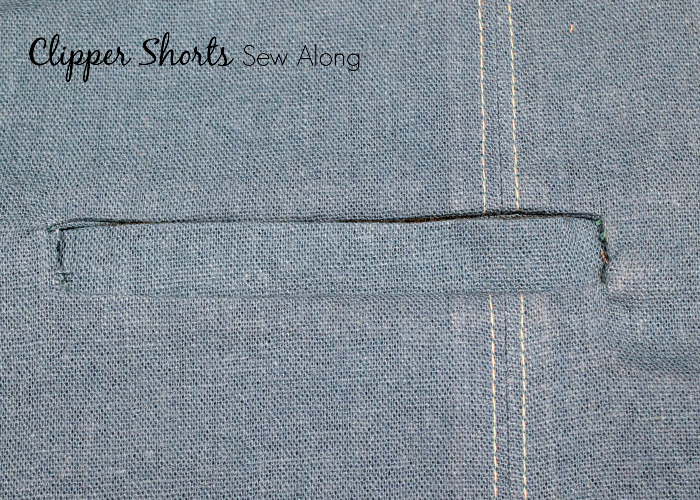
Push the pocket bag and the welt through the opening to the wrong side of the shorts. Â Press everything smoothly away from the welt opening, making squared edges.
Step 35:

To help the welt lay smoothly, make a small snip at the edges of the welt on the backside.
Step 36:
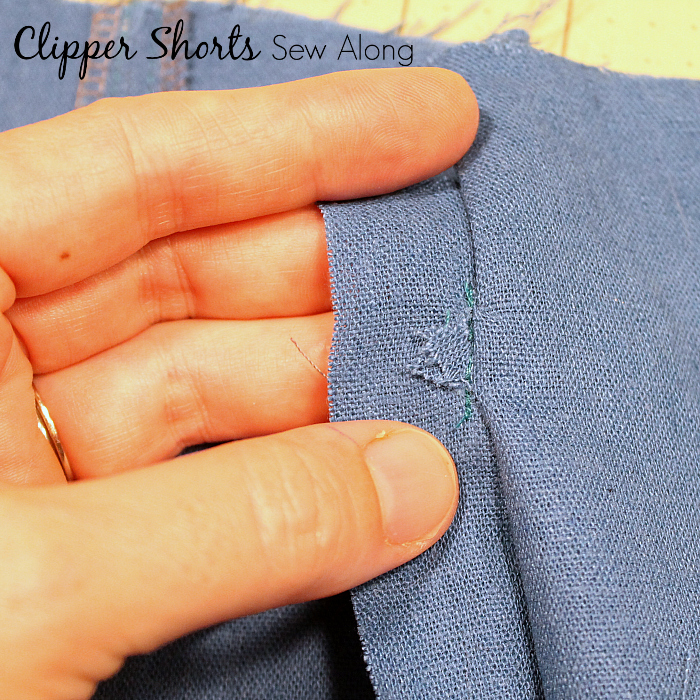
Make sure the welts are straight and square and the triangle tabs are making a perpendicular line between the two lines of stitching.
Fold the shorts front out of the way, exposing the triangle tabs, the edge of the welt, and the pocket bag. Â Stitch as close as possible to the edge between the two lines of stitching on each side.
Step 37:
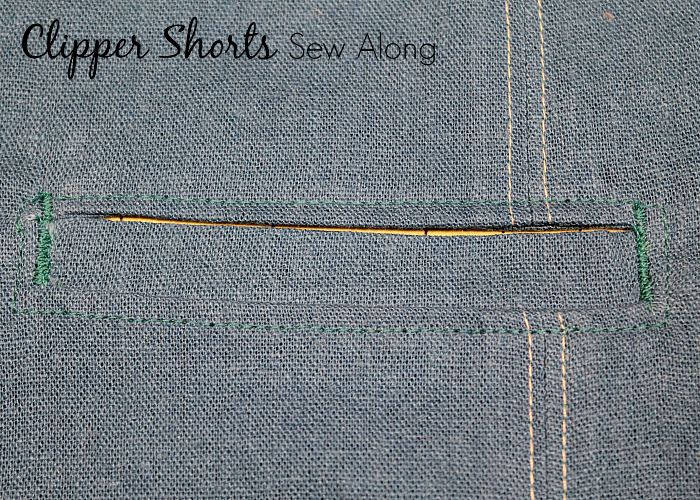
Topstitch around the welt opening.
*Optional: Sew a bar tack or tight zig-zag along the vertical sides of the welt. Â Mine extends higher than I intended; I should have made a practice bar tack to be sure the length was correct and then used my machine’s repeat feature to make them the same accurate length.
Step 38:
Fold the bottom edge of the welt bag to meet the top edge. Â Press.
Step 39:

Folding each side of the shorts out of the way in turn, sew around the three open edges. Â Finish the edges.
Welts are a wrap! Â Let’s get those shorts backs sewn together:
Center Back Seam
Step 40:

Well, I did it again and missed a few photos. Â I’ll take new ones with a different pair but I didn’t have time before today’s post.
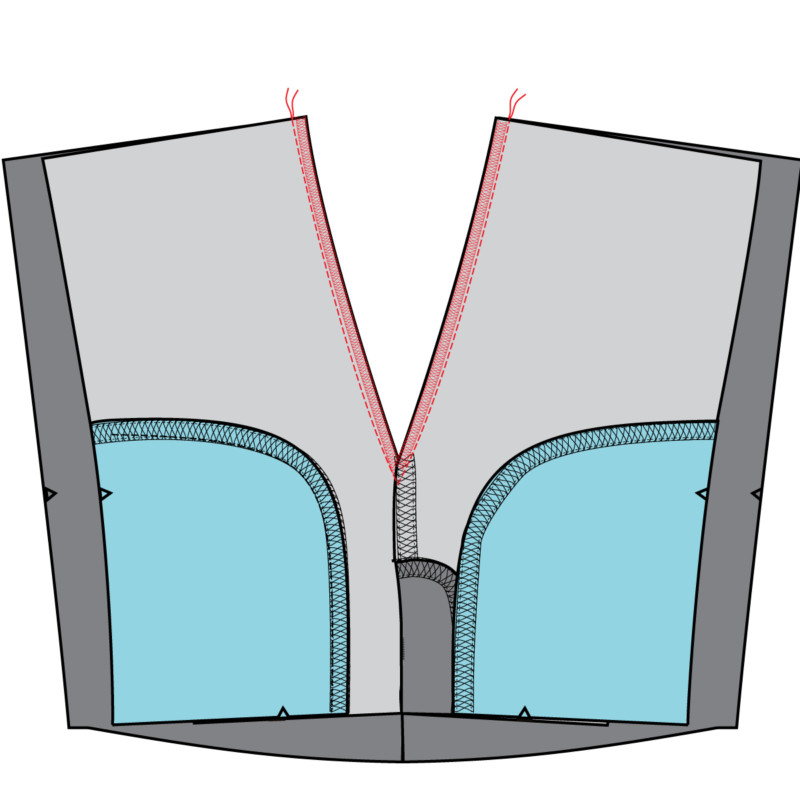
With RST, align the two shorts back pieces at the center back seam. Â Sew. Â Finish the edge.
Step 41:

Press seam allowances to the wearer’s left. Â A tailor’s ham or rolled up towel will help support the curve while pressing. Â Topstitch from the crotch edge to the back waist edge.
Inseam and Side Seams
Step 42:
With RST, sew the front inseam to the back inseam, matching the center seam. Â Finish seam allowances.
*Optional: Press seam allowances to the front and topstitch.
Step 43:
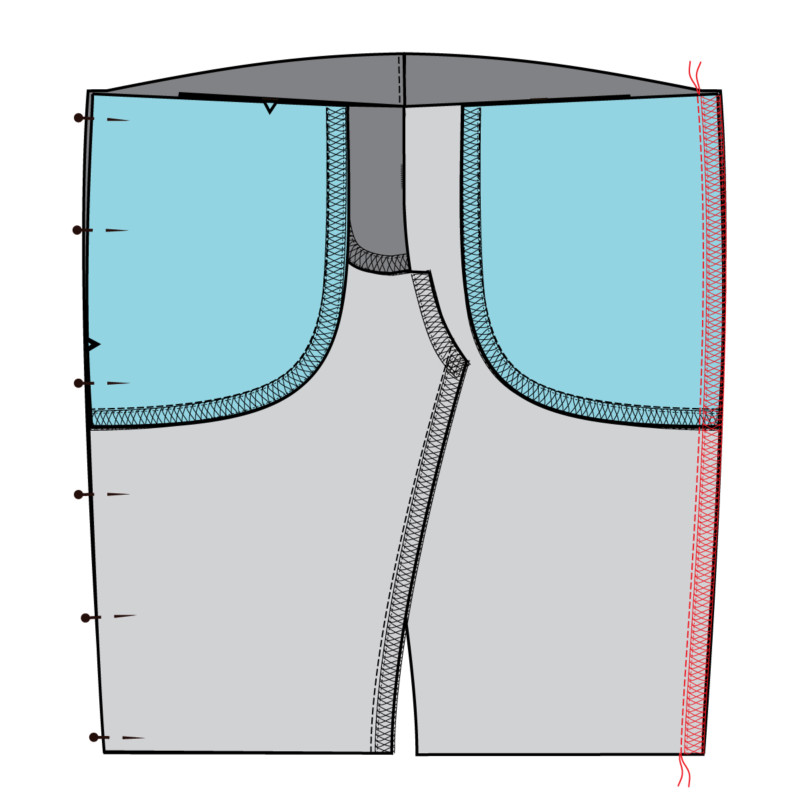
With RST, sew the shorts front to the shorts back at the side seams. Â Finish seam allowances.
Step 44:
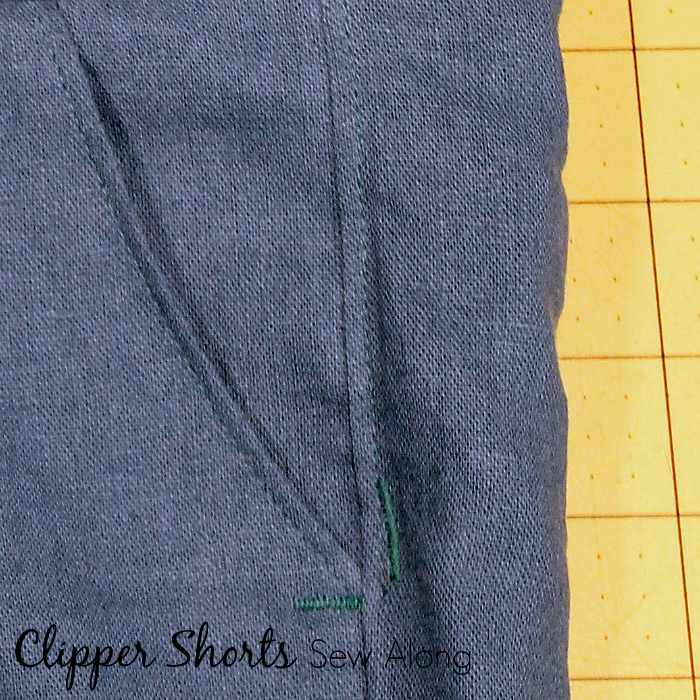
Press side seam allowances to the back.
*Optional: Topstitch the side seam from the top to the bottom of the pocket opening. Â Make a vertical bar tack at the bottom of the topstitching and a horizontal bar tack at the bottom edge of the pocket. Â This will reinforce the pocket to keep the opening from ripping with hard use.
That’s Day 3Â – how’re you doing?
Tomorrow we’ll add the waistband and hem. Â Share your in progress Clipper Shorts on Instagram with hashtag #clippershortspattern and tag me @jennuinedesign.
No comments yet.