
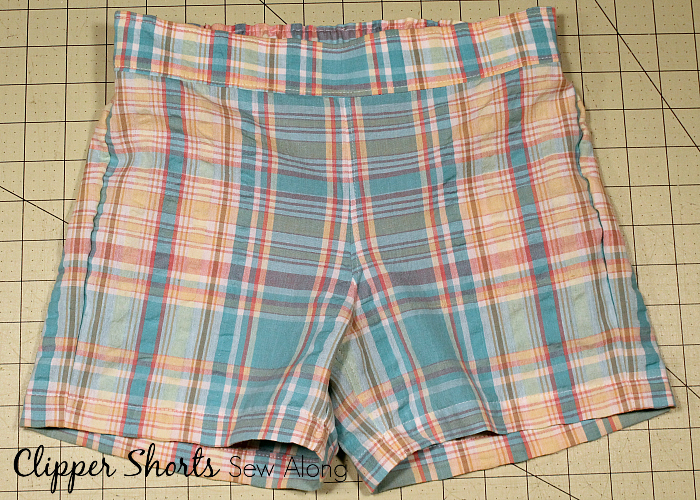
It’s the last sewing day of the Clipper Shorts Sew Along!  You should have the shorts constructed and ready for the waistband. Check back for Day 1, Day 2, and Day 3 posts if you need to catch up.
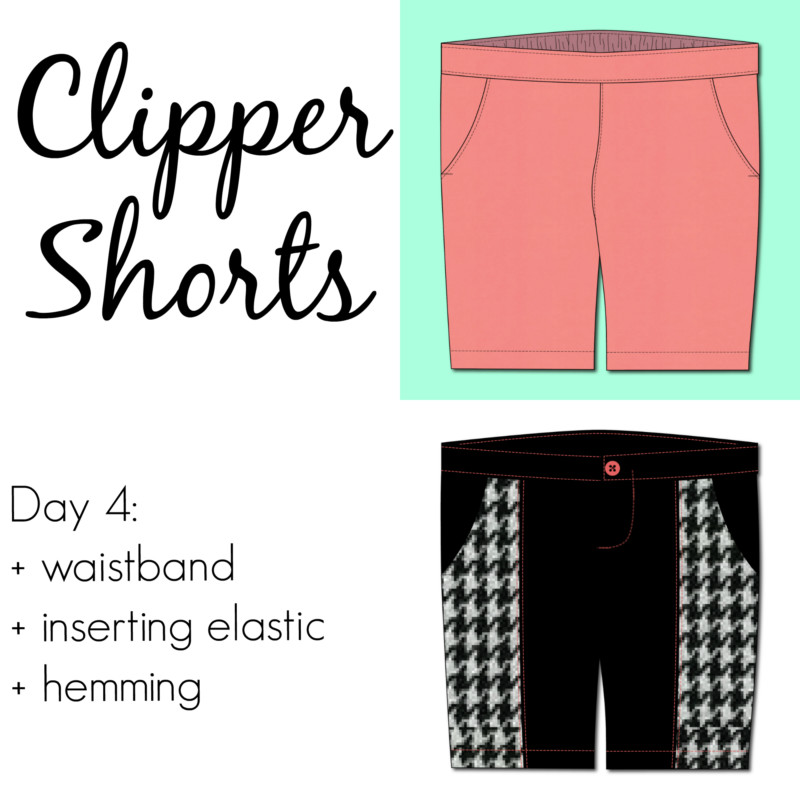
The rest is easy – just adding the waistband, inserting the elastic and hemming!
Waistband
Step 45:
If adding waist ties and/or the three part waistband with button/buttonhole, transfer the markings to the front waistband piece(s)
Step 46:

Press front and back waistband pieces in half to provide a crease at the top of the waistband for later steps.
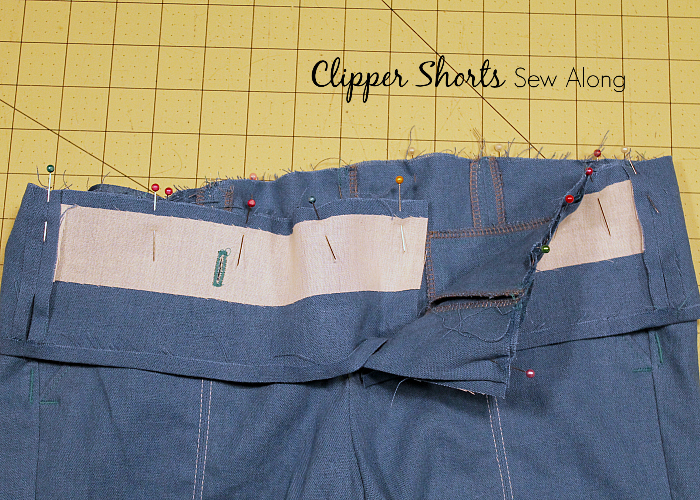
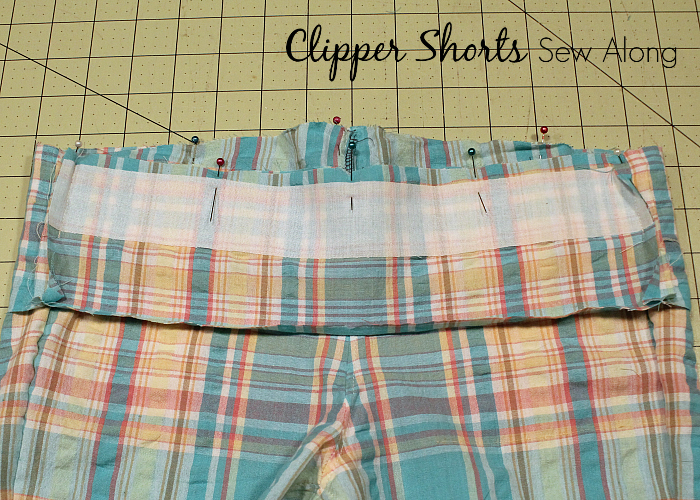
Fuse interfacing to the wrong side(s) of the waistband front piece(s), aligning the interfacing with the top edge to the crease. Â The interfacing is placed on the half of the waistband with the markings made in Step 45. Â This photo is of the Shorts A with a two-part waistband. Â You’ll also see photos below of the Shorts C I made with the three-part waistband.
Step 47:
If adding ties to the waistband, sew small buttonholes or eyelets at the markings on the waistband front. Â Make a test hole on scrap fabric to check size and placement first. Â Note that I haven’t added the large buttonhole to close the shorts as that needs to be sewn after the waistband is complete.
Step 48:
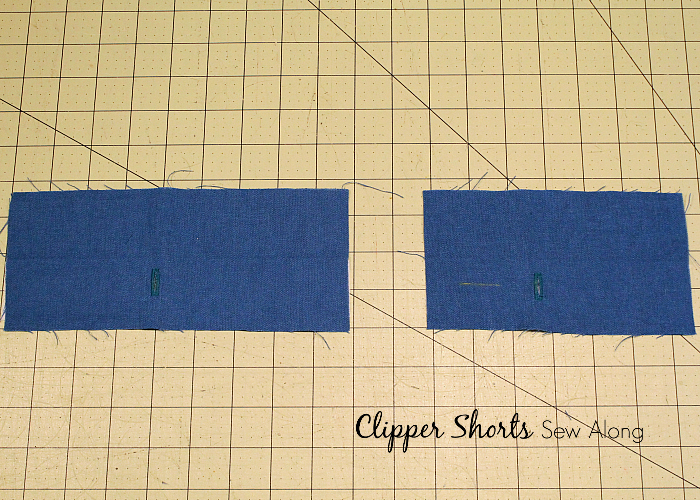
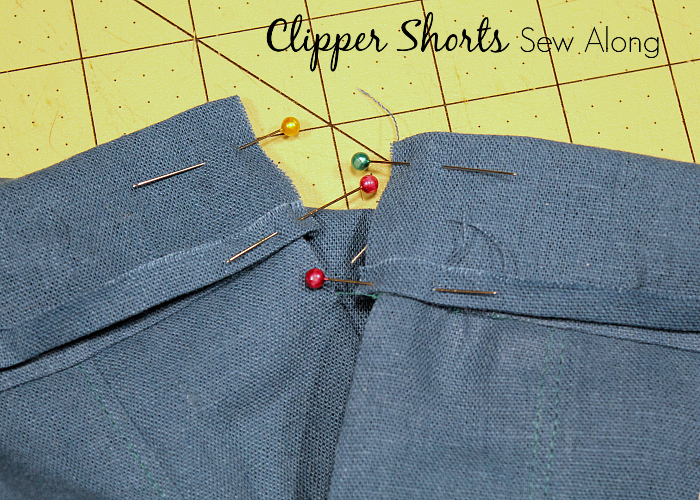
With RST, sew the short ends of the waistband pieces together. Â On each side of the non-interfaced half, leave a 1″/2.5cm opening to allow the waistband elastic to be inserted. Â Press seams open.
Step 49:
On the edge of the waistband that will be the lining, press the edge under 3/8″/1cm, forming a memory hem. Â This will help with securing this edge in later steps.
You can also bind this edge with bias or twill tape as in a Hong Kong seam and then leave it extended when securing the lining edge of the waistband to enclose the top edge of the shorts.
Three-part Waistband
These steps are for sewing the three-part waistband used with the half fly option. Â If you’re making a two-part waistband on a faux or no fly short, skip to Step 55.
Steps 50-51:
With RST, align and pin the waistband to the shorts. Â Match side seams and back center using the notches at the fold line of the waistband. Â Match notches for the fly overlap so the waistband is extended beyond the fly edges.
Sew.
Step 52:
Press the waistband away from the shorts, with the seam allowances also pressed upward. Â Fold the waistband onto itself with RST, and the crease pressed in Step 40 folded back to the wrong side.
Step 53:
Sew the short edges of the waistband, continuing in a straight line from the edges of the center front and the fly guard.
Step 54:

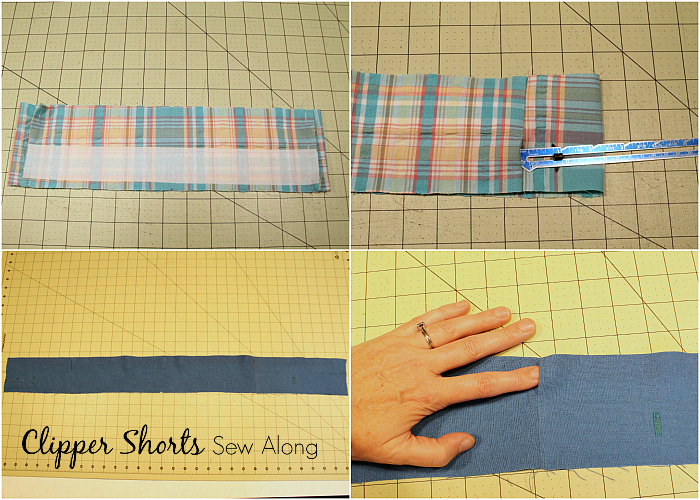
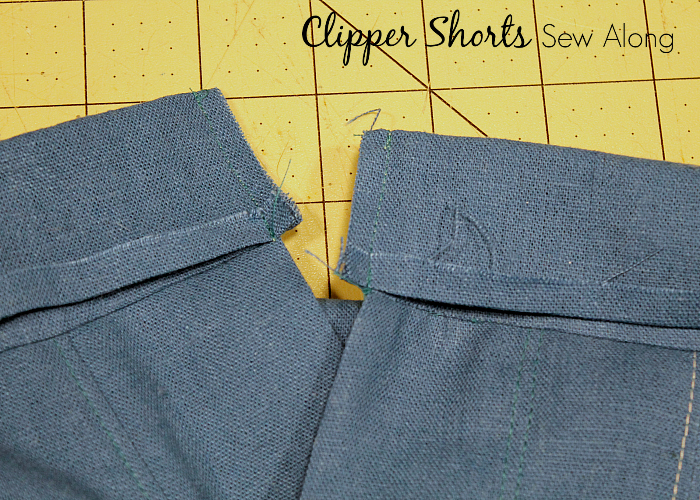
Flip the waistband right sides out and push the corners out with a point turner or chopstick. Â I intentionally have not instructed to clip the corners of the seam allowances at the waistband edge, as the straight edges turned inside will help support a crisp corner of the waistband. Â If you’re finding the bottom edge bulky near the attachment to the shorts, that area can be trimmed back carefully.
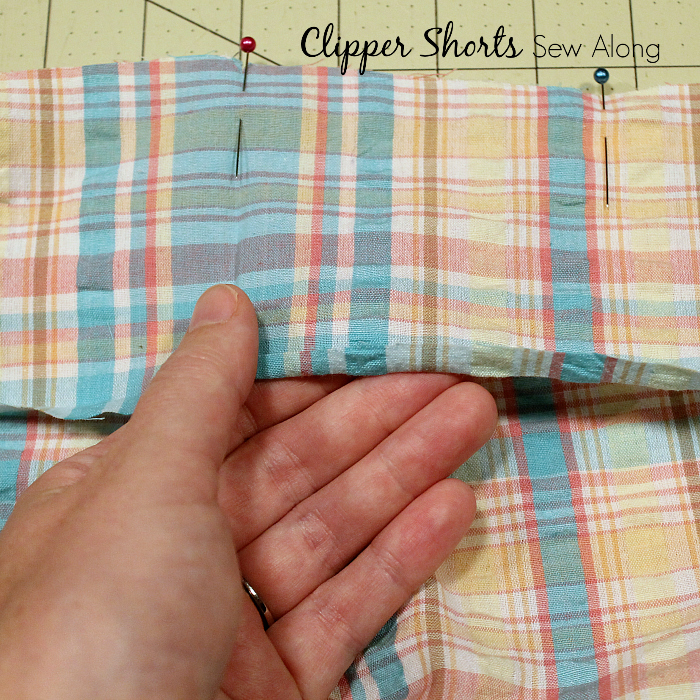
Turn the creased edge under and pin from the right side of the shorts or use a product like Wonder Tape to hold it in place so the folded edge covers the seam allowances from attaching the waistband. Â Topstitch/edgestitch all the way around the waistband. Â I like to start/stop at the center back. Â This is a good spot to put a size label if you’re adding one.
Skip down to inserting the elastic at Step 59.
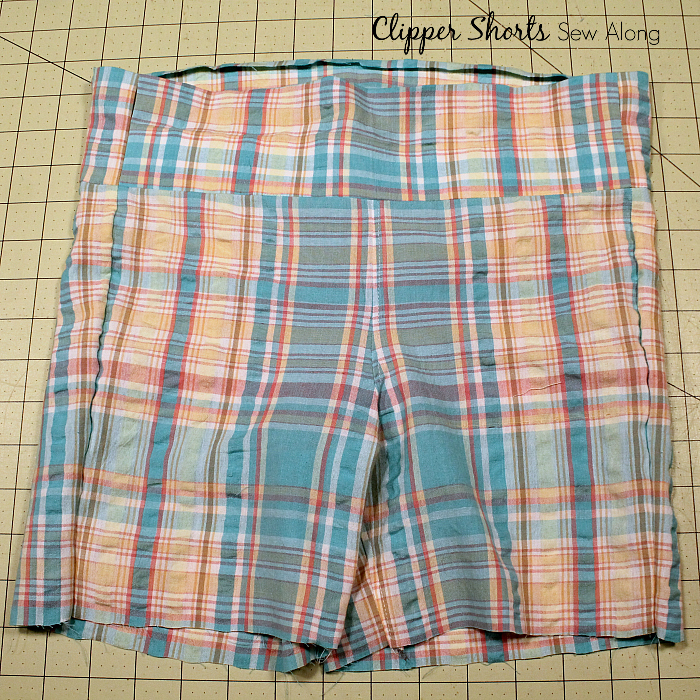
Two-part Waistband
Step 55:
With RST, align and pin the waistband to the shorts. Â Match side seams and back and front center using the notches at the fold line of the waistbands.
Steps 56-57:
Sew waistband. Â Press waistband away from shorts, with the seam allowances also pressed upward. Â If you’re adding ties and want to tack them in place on the front instead of securing at the side seams, do this now. Â The pair I’m showing here are the most basic and I haven’t added any ties.
Step 58:
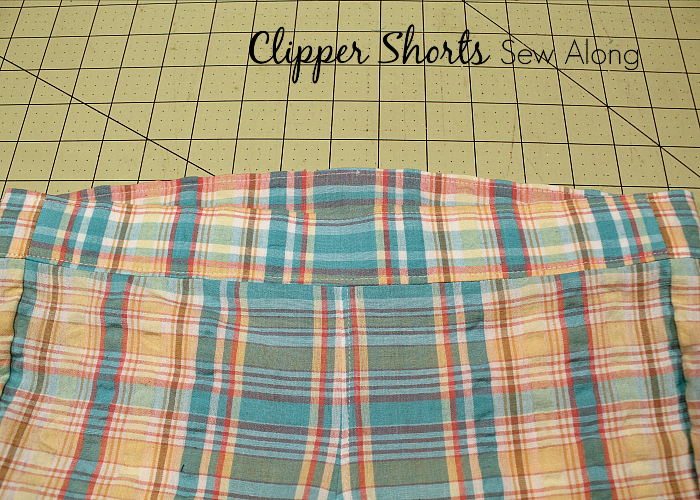
Turn the creased edge under and pin from the right side of the shorts or use a product like Wonder Tape to hold it in place so the folded edge covers the seam allowances from attaching the waistband.  Topstitch the waistband just above the line from attaching the waistband and edgestitch the top of the waistband to create a neat edge.  This is a good spot to put a size label if you’re adding one.
Inserting Elastic
Step 59
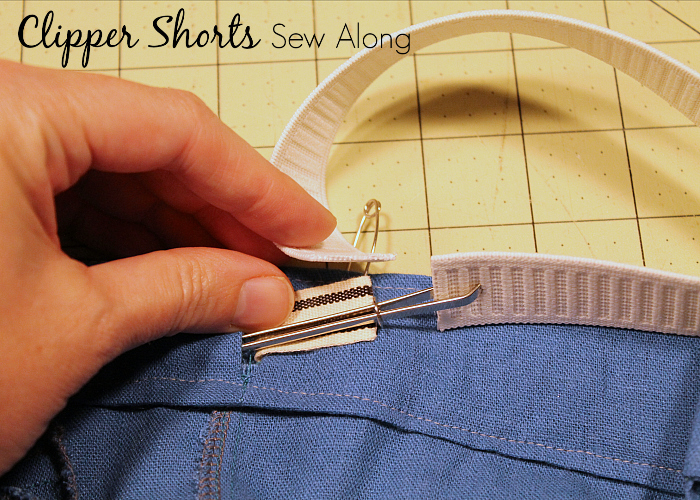
Using a bodkin or safety pin, thread the elastic through the opening at the side seam. Â I pin the free end just outside the opening to keep it from accidentally slipping inside. Â Ignore the ribbon showing underneath the bodkin; I flipped my order of adding elastic and ties when I was sewing.
Step 60:
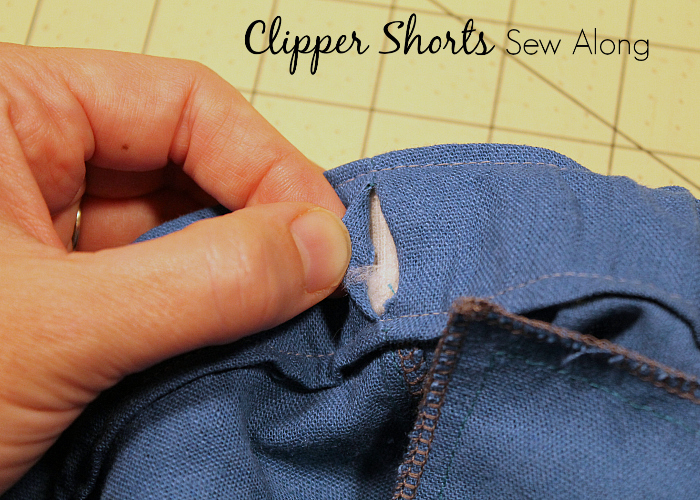
For regular elastic, carefully tuck the last 1/2″/1.2cm into the opening towards the front on one side at a time. Â Stitch in place securely following the side seam of the waistband from the right side. Â If adding ties, make sure to keep the opening to the front waistband of the shorts open, or slip the ties in before securing. Â Mine are both there and overlapped in opposite directions so the stitching will secure both. Â You can leave the openings as is, or hand sew them closed.
For buttonhole elastic, extend the ends of the elastic towards the waistband front.  Sew buttons to each side about 1/2″/1.2cm towards the front – after adding ties if you’re using that option.
Step 62:
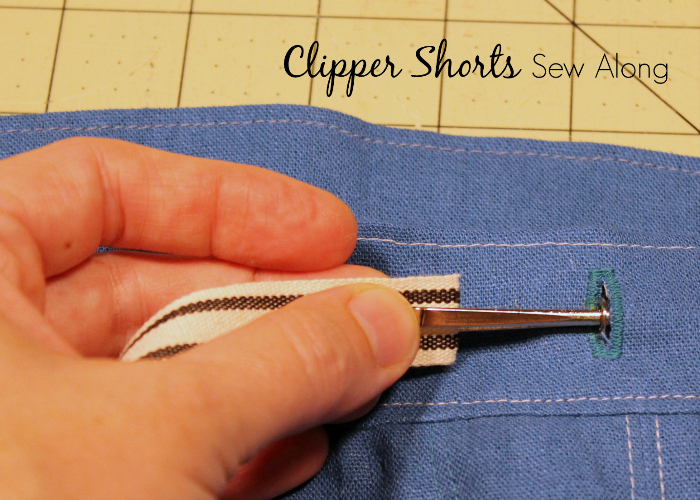
If adding ties to the waistband, using a bodkin or safety pin, thread them through the openings and secure at the side seams.
Step 63:
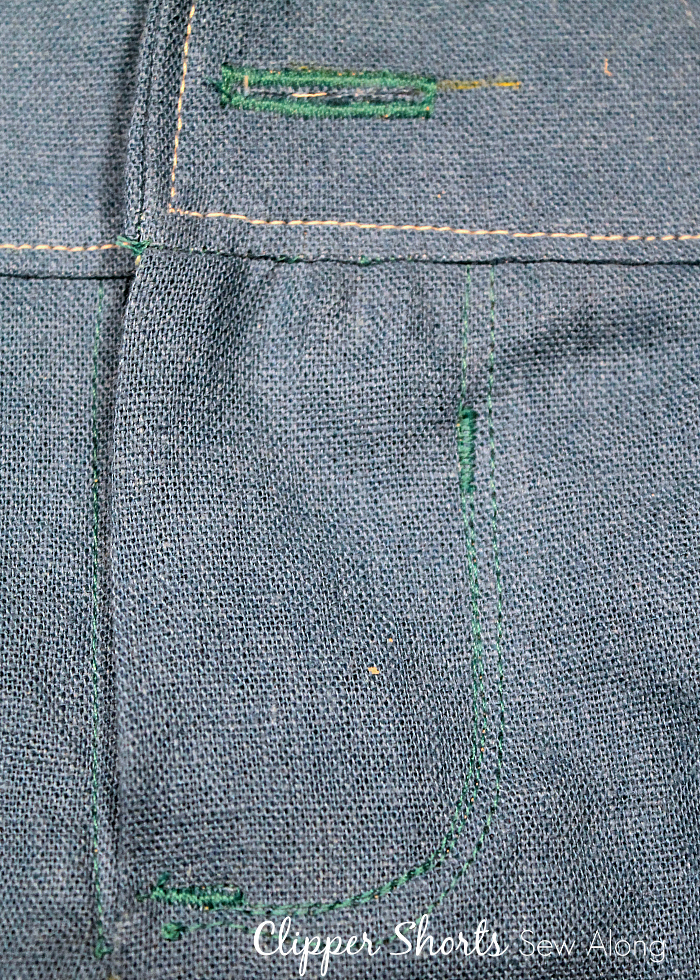
For the half fly option, add a buttonhole to the wearer’s left at the marking, or add a plastic snap. Â Make a practice buttonhole first using the same fabric and number of layers as the waistband. Â Carefully open the buttonhole and trim any threads from the opening.
With the fly guard positioned behind the fly extension, make a horizontal bar tack where the stitching at the fly extension meets the topstitching at the center front and a vertical bar tack about 3/4″/2cm below the waistband. Â These are made through all layers including the fly guard to hold it in place forming the half fly. Â You can also sew over the curved stitching from one bar tack to the other to further secure the half fly and keep the opening from gaping.
Step 64:
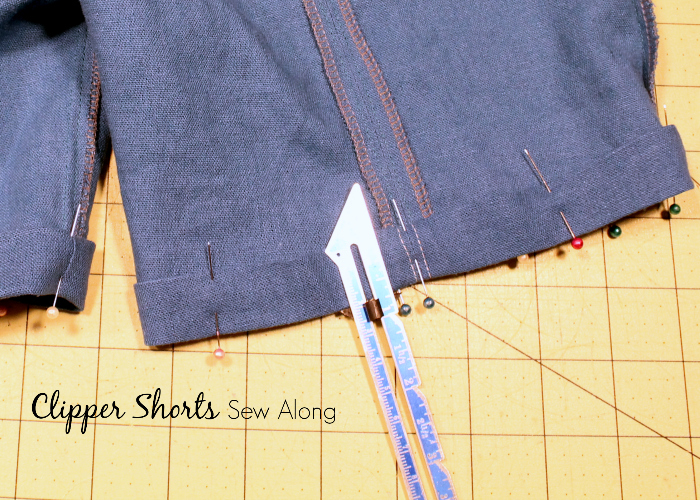
Press the bottom edges of the shorts under 1/4″/6mm and again 3/4″/2cm.
Step 65:
Sew from the right side of the shorts 5/8″/1.6cm from each of the bottom edges.
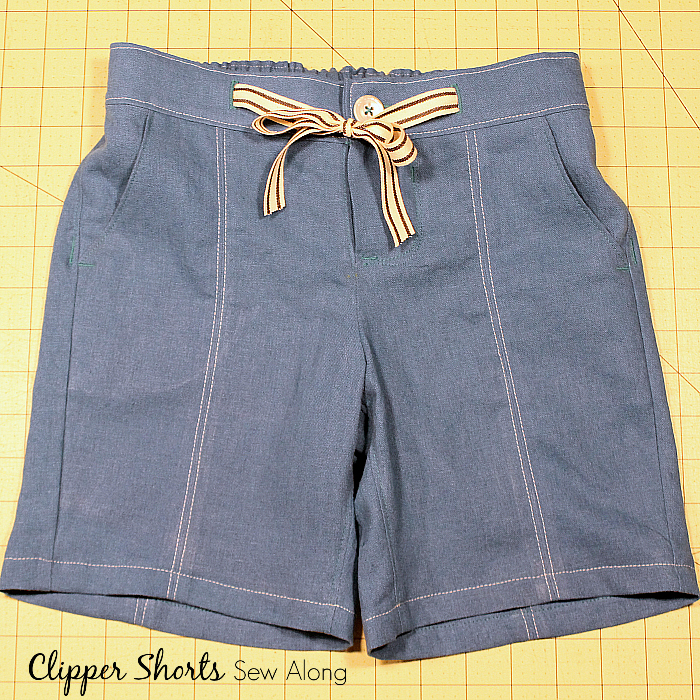
For the half fly option, sew a button at the button marking, or aligned with the inner edge of the buttonhole opening.
Tie the ties if you’ve added those and give it a good press!
Your Clipper Shorts are all done – give yourself a pat on the back! Â I still need to finish the floral pair and grab modeled photos because tomorrow we’ll have a fashion show to see all our Clipper Shorts in use.
Share your in progress Clipper Shorts on Instagram with hashtag #clippershortspattern and tag me @jennuinedesign.
No comments yet.