
We’re kicking things off on Mother’s Day for Mother to Be, Being, Been in a big way! Kirsten of kojodesigns graciously agreed to share her kojotutorial for a “Girly, Ruffle-y Maternity Skirt” originally appearing in May 2010 for the Maternity “trimester” of the competition series.
Before we head into today’s inspiration post – here’s where you’ll be posting your fabulous entries – Mother to Be Flickr Group. If you have difiiculty uploading to the pool, please send me your photo and information at deshazer(dot)jennifer(at)gmail(dot)com.
PLEASE BE SURE YOUR ENTRY:
- Has a title with your name in it: The title of your project should contain your name (Ex: “Pink Nursing Top by Susan”
- Is labeled: in the description area of your project, please include your NAME, the PATTERN you used if applicable, the FABRIC you used, and — if you would like — a LINK(optional) to your website where we can see more. Please feel free to write more in the description area if you would like!
Now, on to our inspiration piece from Kirsten:
kojotuturial: girly, ruffle-y maternity skirt

Do you ever have a day when you look in your closet with an, “Ugh”? That’s been me this week. My regular clothes look tight and funny and not great… and my maternity clothes from Burke are both too big and too geared-towards-winter (not to mention, I was teaching full-time when I was pregnant with Burke, so that makes my old maternity wardrobe far more ‘professional’ than I’m needing now).
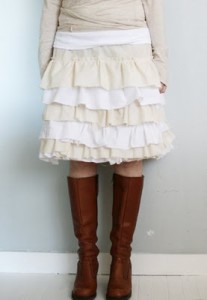
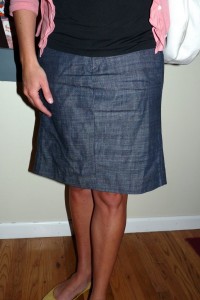
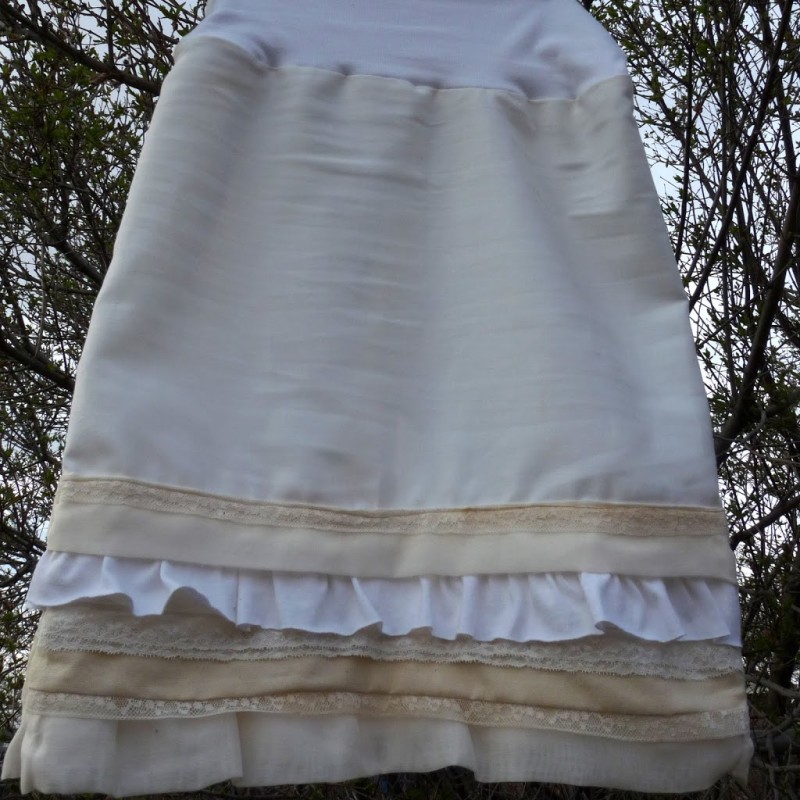
I’ve been wishing for something pretty and feminine that actually fits. Then I saw this petticoat by alisaburke (above left). Isn’t it lovely? I’m not needing to add any fluff or breadth to my skirts (I have plenty of homegrown fluff and breadth currently), but I loved the idea of pairing the pretty white ruffles of the petticoat with the homemade by jill pencil skirt (my version above right) to add a little loveliness to my maternity wardrobe.
If you’re wanting to do the same you’ll need:
-about a yard of white fabric (mine is cream broadcloth)
– strips of other white fabric, lace and trim to make the ruffles
-a too-tight tshirt for your belly band
-a sewing machine and thread
-a fabric pen
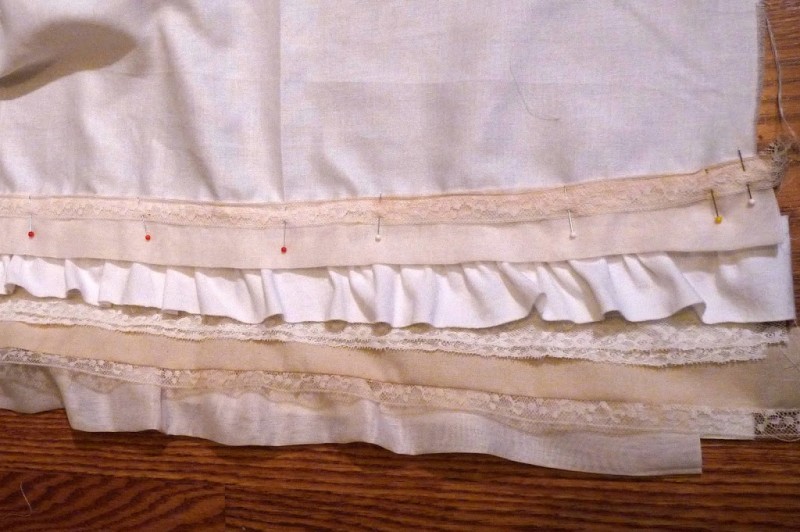
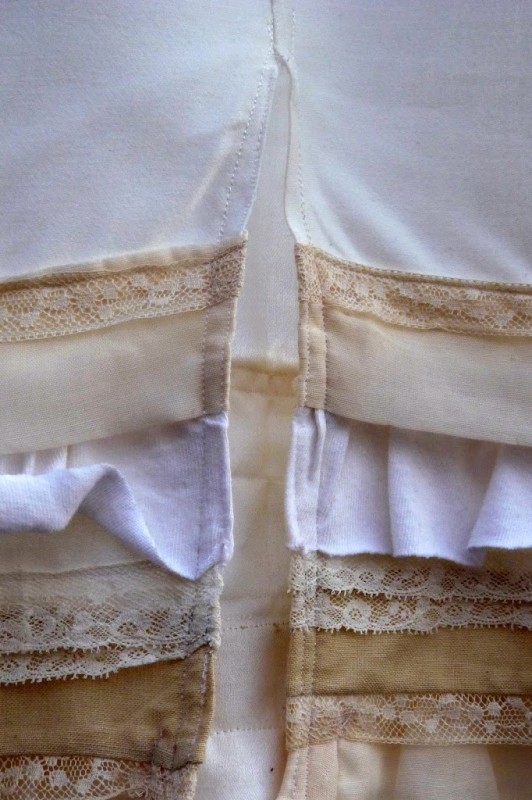
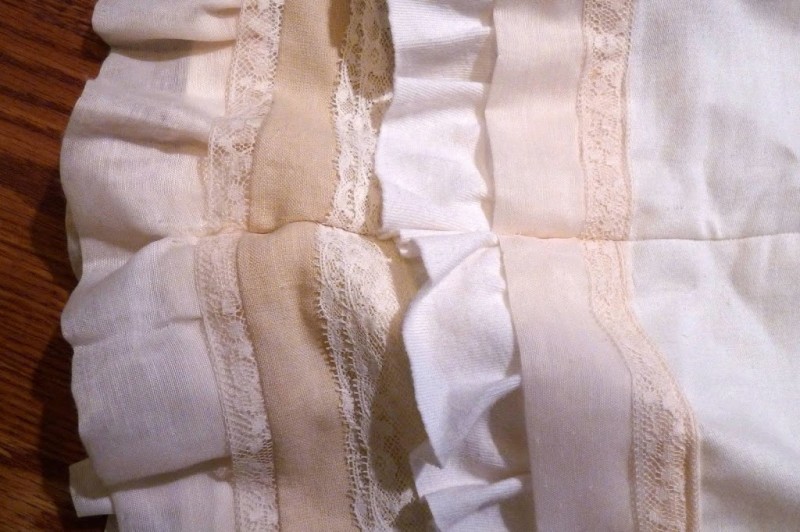
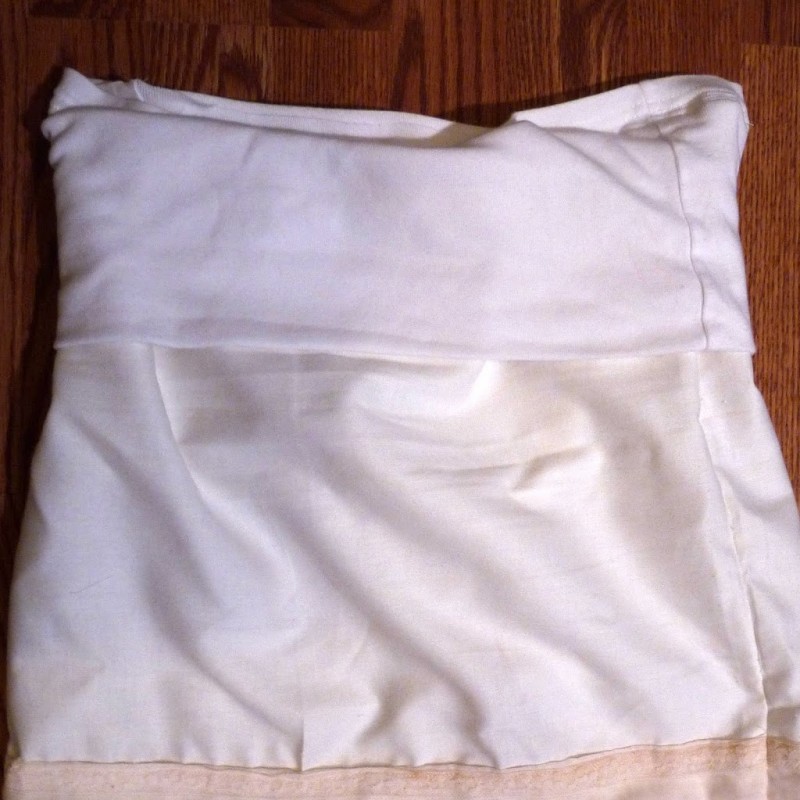
1. With your long rectangular piece of fabric (that will soon wrap around, skirt style), start adding rows of ruffles to the bottom. I used the finished edge as the hem (it was covered by ruffles anyway). I added some lace trim, a row of jersey (old white tshirts cut in long 2″ strips and ruffled), muslin and some sheer lining-esque material for the rows of ruffles. You could go wild and ruffle the whole skirt if you’re leaning more towards the petticoat feel.
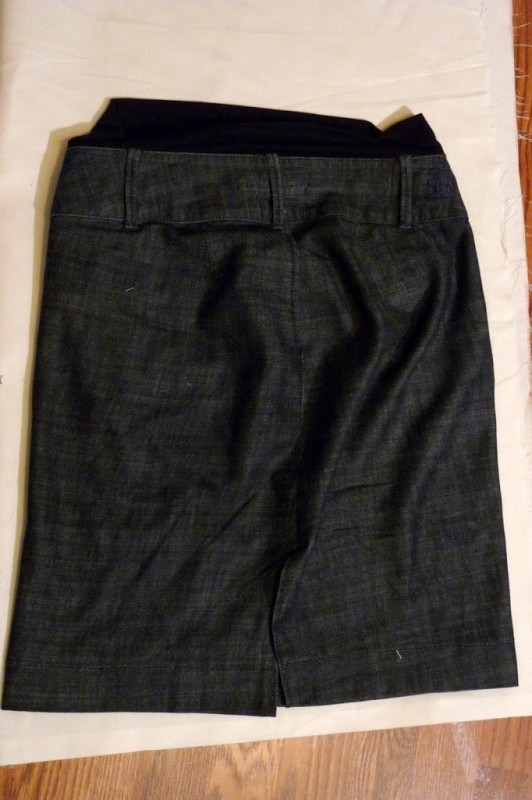
2. Fold your fabric in half. One half will be the front of the skirt, one half will be the back. If you have a maternity pencil skirt that fits, use it as your template to trace (on the wrong side of the fabric). If not, you can pretty easily use a pre-maternity skirt to trace your pattern (you’ll be adding a belly band to the top and the bottom of the skirt sizing is pretty similar to pre-maternity sizing). I made my skirt about 20 inches long (that’s the length minus the belly band), but this is sort of a preference thing. You might even make it longer than you think, try it on, and pin at the length you like.
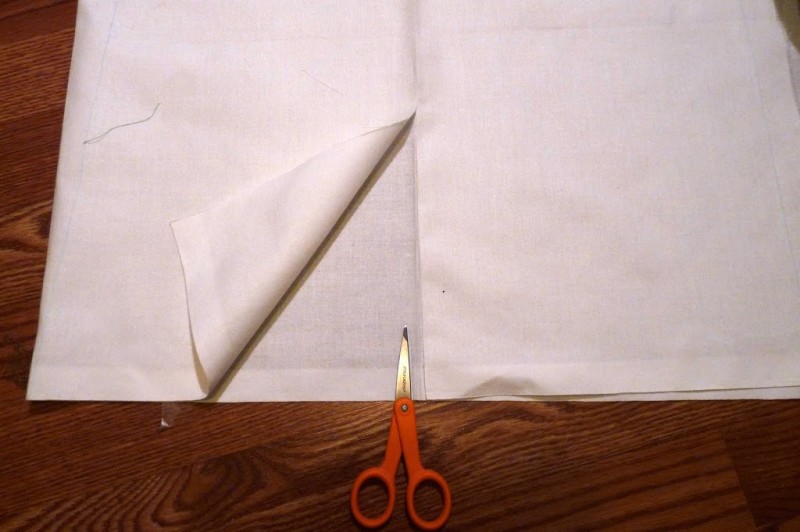
3. Once you have your lines traced, mark the middle of the ‘back’ of your skirt and cut a slit (mine was about 10″). Go ahead and iron and finish off the edges of each side of your hem. Then reinforce the top of your slit with a few stitches as well.
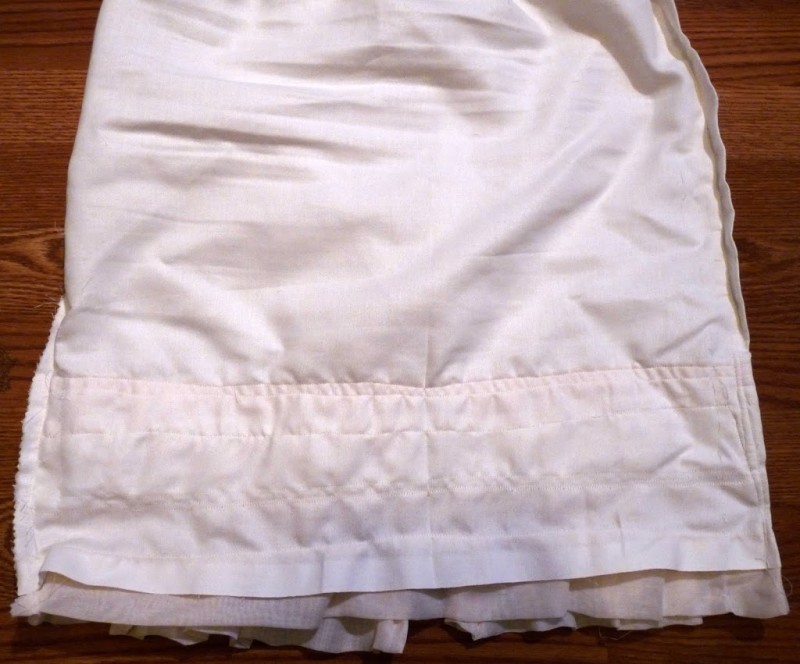
4. Following your template lines, stitch straight lines up the sides of your skirt. Make sure you match up your lines of ruffles so that you don’t stitch them in place where they don’t line up with each other.
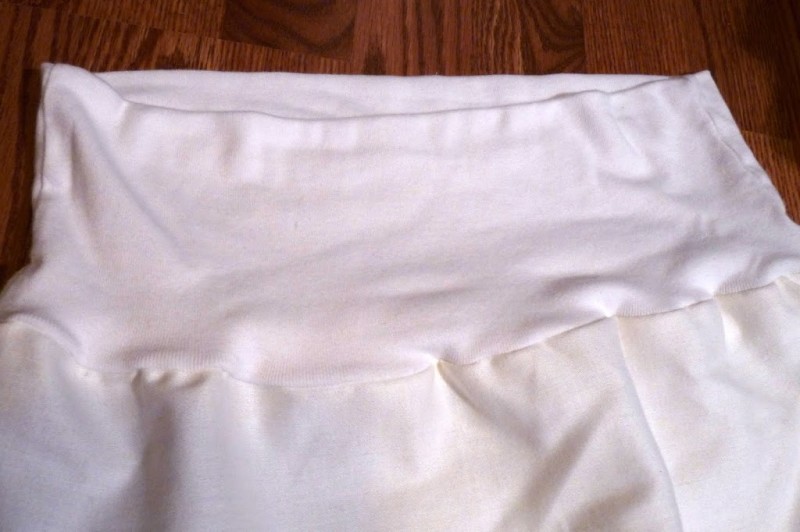
5. Now that the bottom of your skirt is finished, you’re going to attach the belly band. For my belly band, I cut off a too-tight tshirt under the armpits and folded it in half lengthwise (creating a little tube with two pieces of tshirt fabric all the way around). Pin the open end of the tube (where you still see two pieces of fabric, not a crease) to the outside top edge of your ‘skirt.’ The jersey will be smaller than your skirt, but you’ll stretch it as you stitch the pieces together. I pinned the side seams in place first so they’d match, then chose a spot that was both the middle of the tube and the middle of the skirt and pinned there. That put the fabric in the right place so I could add more pins as needed. Sew the two tubes together. I reinforced by stitching over that line a couple of times so that the belly band stays put.
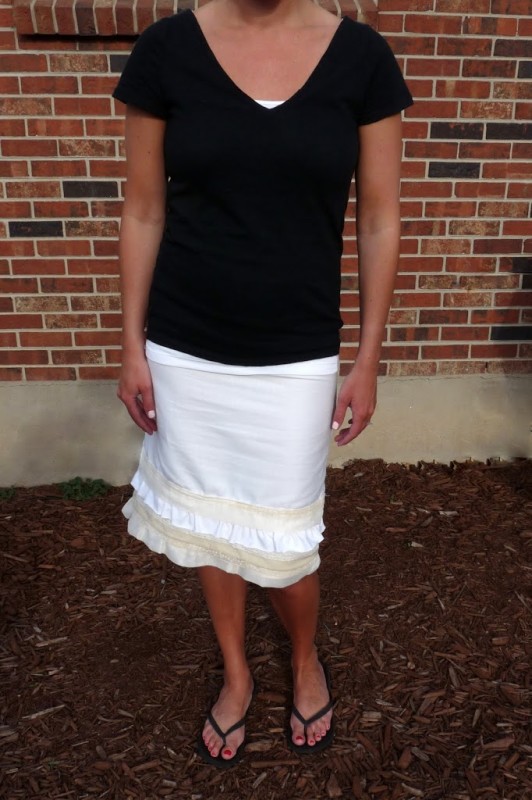
*Sidenote- I feel more than a little weird showing my growing belly to the wide world via the internet, so y’all will have to bear with me through some sort of awkward pictures here for a bit…
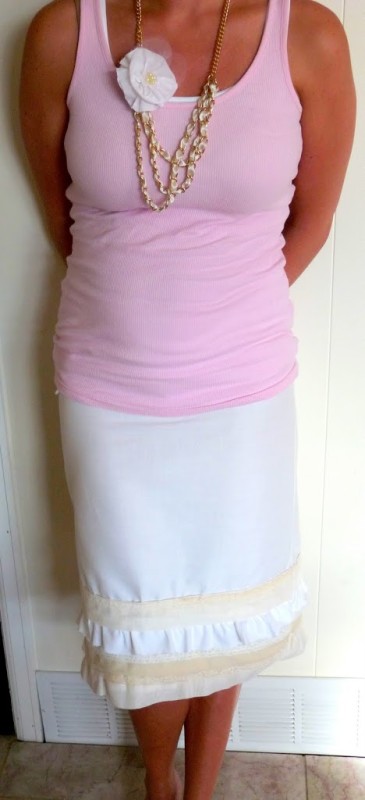
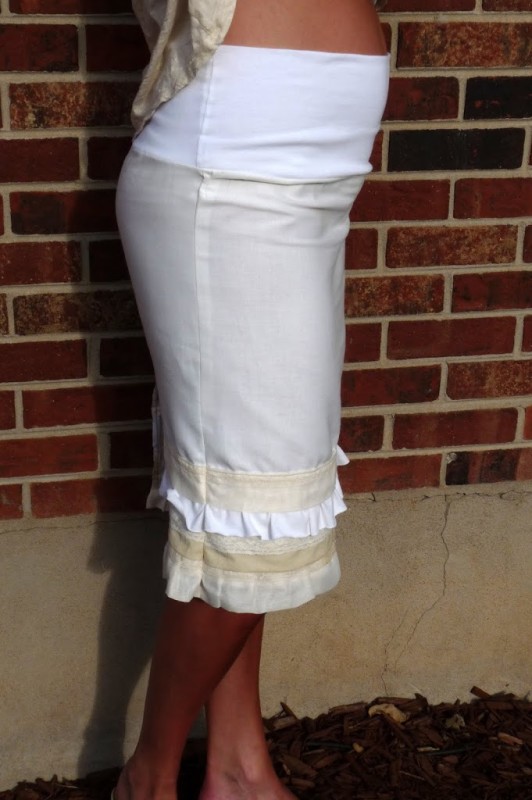
6. Pair with a flowy shirt and wedges, or even a t-shirt and flip flops, for a go-to girly look!
ps- The rows of ruffles are not low maintenance, but I think you could easily make yourself a less frilly, less labor intensive version of this skirt as well. In fact, I am pretty sure I am going to try just such a thing; I’ll show you when it’s finished.
——————————————————————————–
I’m definitely adding one of these lovelies to my maternity sewing queue – I love that it’s below the knee – I’m not a fan of showing off my “sturdy” knees but I like my calves, so this fits the bill perfectly!
SO EXCITED TO SEE all these entries!
Cute cute. And I’m all uploaded to the site…I head out of town tomorrow, so I can’t wait to see the whole pool when I return!