

Our final guest for the Lost Arts of Sewing is April from Wildflowers & Whimsy. April and I go waaaay back to when we both competed in Project Toddler Runway – a great children’s sewing series hosted by Shwin & Shwin back in 2011 when I was a newbie blogger. Since then, we’ve been bloggy buddies and I’ve followed along with her great projects and posts. I thoroughly enjoyed her Sewing School series – check it out for a great resource of sewing tips and techniques.
Aaaand, she’s the nicest person AND sister ever! She proved it when she made one dress and dramatically altered another for her sisters to compete in a pageant. Wow!!

April does a nice job of wrapping the series up by taking a technique we saw early on and showing how it can be applied in another way and creates her own pattern for a fun sundress. She also gives her own discussion of the differences between shirring and smocking, so I’ll spare you a duplicate lesson from me.
Now here’s April!
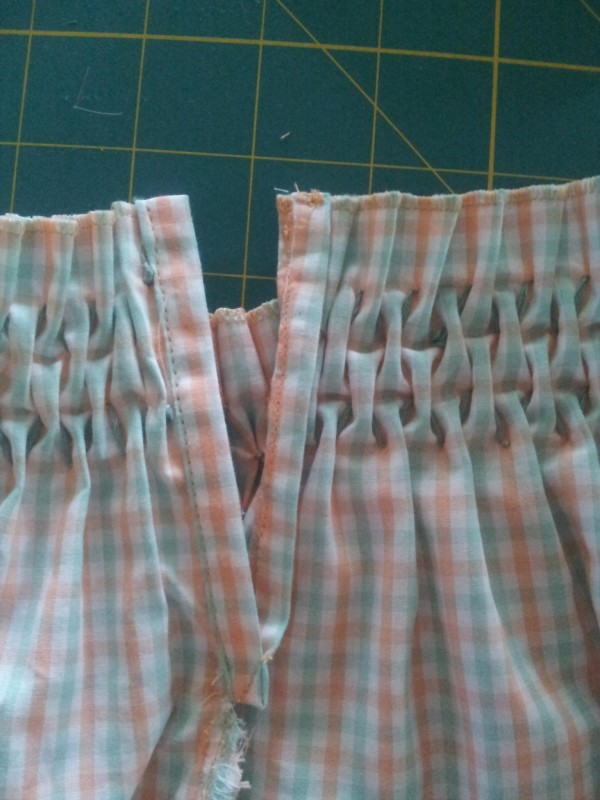
When Jenn asked me to be part of this series I knew I wanted to do a smocked dress. I’ve had an idea for a pattern in my head for a couple years now but have never actually gotten around to drafting it. The main reason is probably because I had no clue how to go about smocking something, much less how to draft a pattern for it. I figured if I committed to this series, it would be just the push I needed to finally do it, but after quite a few failed attempts, I went into full blown panic mode wondering what on earth I’d gotten myself into. And then, we were discussing shirring in a sewing group I’m a part of and we got on the subject of shirring vs. smocking. It always bugs me when I see something shirred labeled as smocked. They are similar, but definitely not the same. Shirring is when fabric is gathered using elastic whereas smocking is a type of embroidery used to gather the fabric and give it some elasticity. Nowadays smocking is considered decorative, but in the days before elastic, it was used purely for the practical purpose of giving necklines, cuffs, and bodices stretch when it was preferable not to use buttons. Anyway, that’s when I got the idea to do a smocked sundress. I’ve always loved the look of honeycomb smocking so I decided to go with that stitch. Karen of Butterflies and Faeries did such a great job explaining how to do honeycomb smocking the other day I won’t go through it again, but I will add that if you use a check or gingham fabric, you can use that as your smocking guide. I’m all about shortcuts! lol Here’s how I made my sundress:

1) Measure the chest and add 1-2″ for ease. This is how wide the smocked section should be. Cut a rectangle double that width +1″ for seam allowance. (I suggest adding about 5″ extra just in case. You don’t want to smock all that and then not have enough. Trust me.) Measure from under the armpit to about mid thigh and ad 1″ for hem to determine the length. Hem the top edge and then do 2 or 3 rows of honeycomb smocking until you reach the appropriate width. Make sure to leave 1/2″ on each side of the smocking for seam allowance.

2) With RIGHT sides together stitch the short sides together stopping about 4″ from the top. This seam will be the center back. Snip to the stitching right were the stitching ends.

3) Use bias tape to encase the raw edges that are left. It should be one continuous piece. Add buttons or snaps for a closure.
4) Press the back seam to one side. One side of the bias tape should extend out past the end of the dress and the other side should be folded under the dress. Stitch the side of the bias tape that is folded under to the dress along the top edge.

5) Cut 2-4 strips for the ruffle that are 6″ long x the width of the fabric. How many will depend on the total width of the dress fabric and how ruffle-y you want the ruffle. Ideally it should be 2-3x the total width of the dress fabric. Stitch the ruffle sections together at the short ends forming a large tube; hem. Then, run a gathering stitch along the top edge and gather it down so that it is the same size as the dress fabric. Stitch them together with RIGHT sides facing. Press the seam up.

6) Cut 4 strips of fabric 12″ long x 2″ wide. Fold it in half so that the long sides meet and stitch one of the short sides and the long side with right sides facing. Turn right side out and press. Repeat with the other 3.

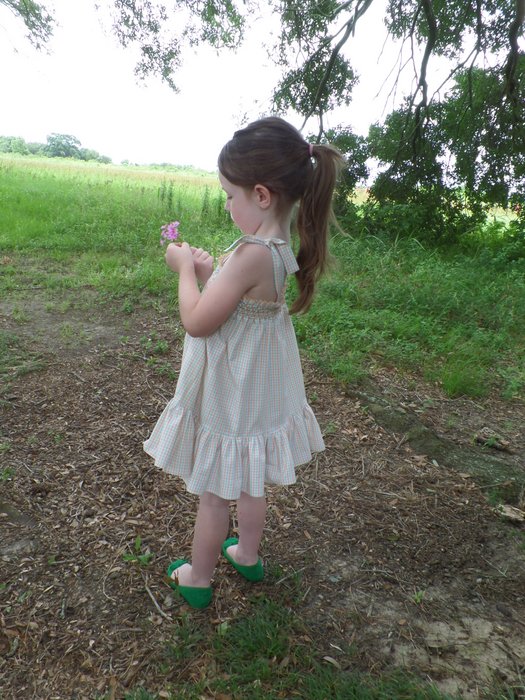

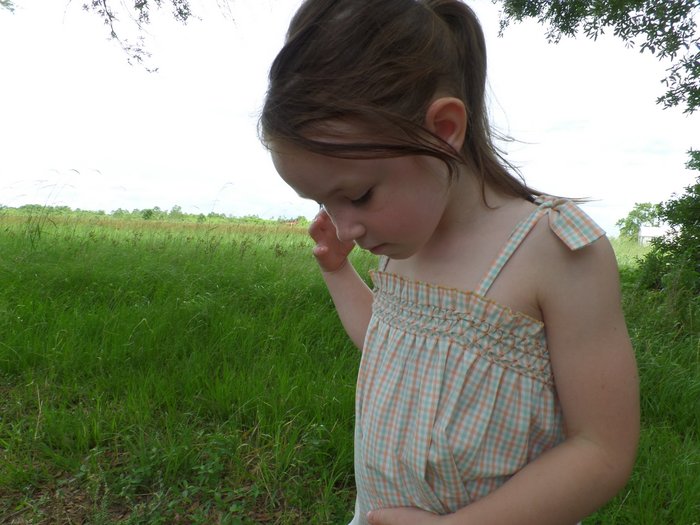
The dress is super cute and it doesn’t hurt at all that your daughter is adorable!!
I’ll be announcing the winner of the PeekaBoo Pattern Shop five pack in a separate post – watch for it!


Thanks for having me Jenn! This series definitely took me out of my comfort zone. I really enjoyed it!
Thanks for having me Jenn! This series definitely took me out of my comfort zone. I really enjoyed it!
The sundress is adorable, April! Simple and sweet and perfect for hot summer days!