
One of the pieces I shared yesterday for my Momiform MAKEover was a pair of Hudson Pants by True Bias.
If you’ve been reading A Jennuine Life long, you’ve seen that I have a slight obsession with the Mini Hudson Pants and have made several pair for my daughters: for the pattern tour, as part of my Top Stitchers entry, and a matching pair to mine for Arden that I will talk about next week.
Here’s a little sneak of Arden’s pair of matching Mini Hudson Pants. Â Aren’t we cutie twins? Â Arden has said in no uncertain terms that we will NOT be wearing them at the same time in public. Â Boo, there goes my plans to dress in matching outfits ;)!
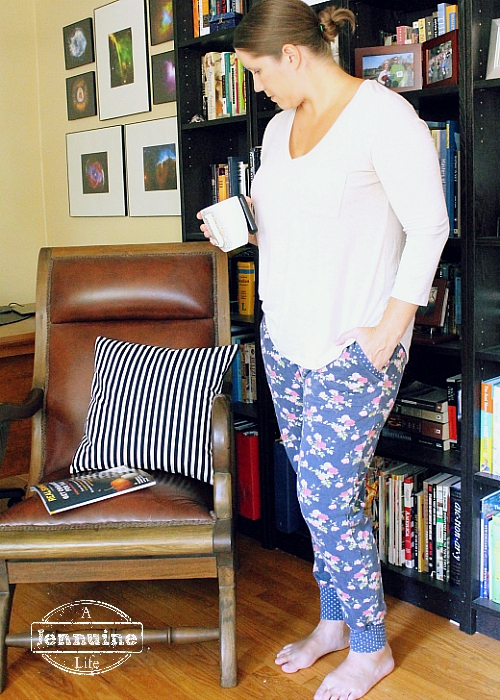
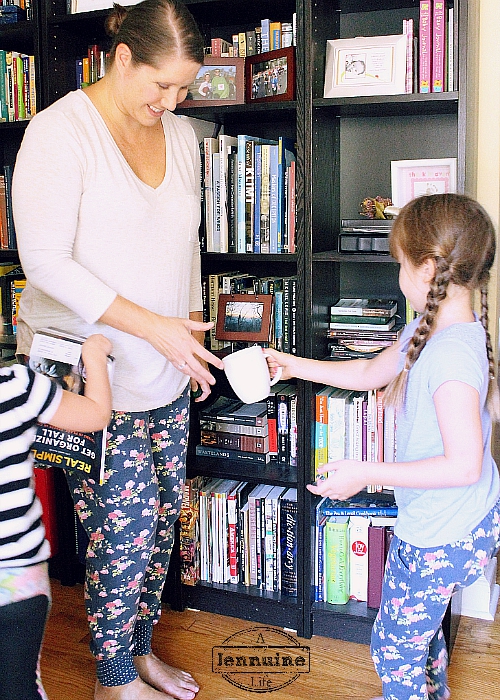
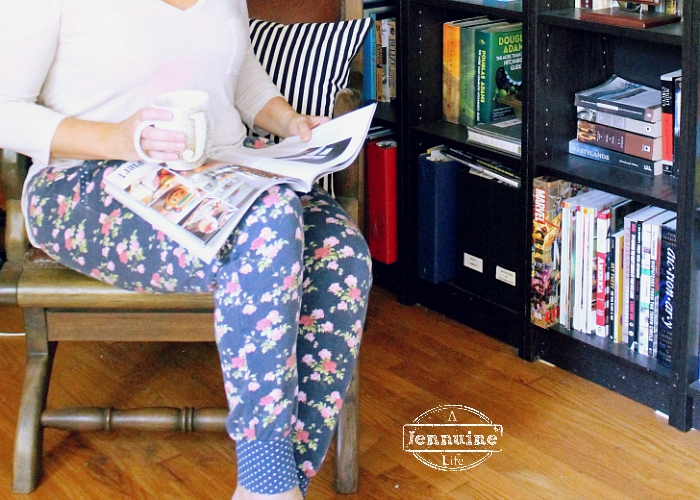
I tried to incorporate my girls into the photos for the Momiform MAKEover posts, since they are such a big part of my life.  Here I was trying to show them taking care of me on a lazy day at home by bringing me coffee and a Real Simple magazine.  ‘Cuz that totally happens!
The only reason I waited so long was I was afraid they wouldn’t be flattering for my shape.  Then a couple of my sewing friends with similar proportions posted theirs and I was sold!  And they do work quite well for me, I think.  Aren’t I sly with the camera remote shutter release in my pocket?
My measurements are 39″ waist and 45″ full hip. Â I made a size 16 in this pattern.
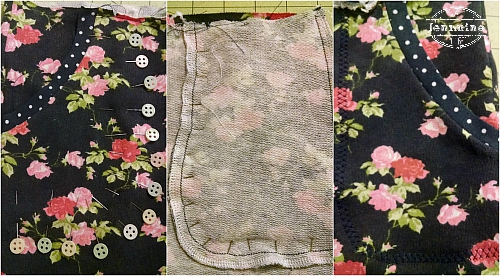
I mentioned yesterday that I made one change to the pattern aside from omitting the drawstring – stitching the pockets in place. Â I did this on Arden’s as well, and I took some mobile phone pictures to show how I did it.
- Smooth the pocket bag into place so it lays across the front neatly. Â Pin in place from the front side so the pin disappears into the fabric along the stitching or serged line. Â I did this by feel and flipping it back and forth to check.
- This is how it looks on the backside. Â I like to stitch on my machine and then serge seams for additional security.
- Then sew with a narrow zig-zag or a wider decorative stitch, lining up the center of the presser foot at each pin where it disappears into the fabric. Â I used a lattice stitch on Arden’s and a simple stretch stitch on mine.
Another way to accomplish this would be to take your pocket lining piece and trim away the seam allowance and use that as a guide to draw a line with chalk or water soluble pen. Â I did it my way because I think it’s quicker and you’d need to pin the pocket into place anyways.
So now I have cozy and cute Hudson Pants for myself, pockets that will stay put, and plans to make many more!
Outfit Details
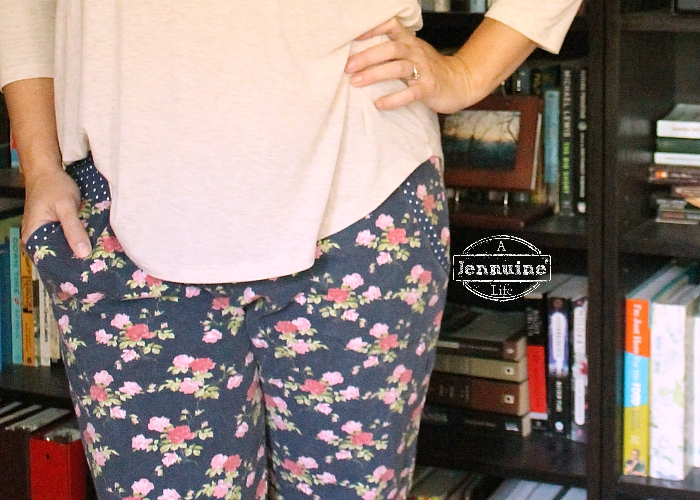
Pattern: Hudson Pants by True Bias
Fabrics: Floral French Terry and pin dot jersey both from Raspberry Creek Fabrics
Shirt – Target
Really COOL! Love your French terry in a lovely floral fabric. Clever to sew down the side pockets so they don’t move! Thanks for sharing. Sarah Helene in Minneapolis