

We prepared the pieces for binding by trimming the corners. Â We did only the bottom of the front piece and the top of the back piece and then later trimmed the bottom of the back to match. Â I used a glass to trace the curves and assisted Arden in cutting them out. Â Little hands sometimes have a hard time cutting multiple layers as they need to be able to squeeze the blades of the scissors together, something most of us don’t think about when cutting. Â If your tiny sewist is having trouble with the fabric slipping between the two blades as they pass instead of cutting, help them get the blades to cut by rotating their thumb in or out as necessary.
I used bias binding I had left over from making Arden her Hello Kitty Toddler Sleeping Bag last year.  I made it following a fabulous tutorial by Whipstitch to make loads of bias using the continuous bias tape.  For this project you won’t need very much, so cutting a few strips on the bias at 2.5″ wide and attach them together.  Iron in half along the length with wrong sides together.
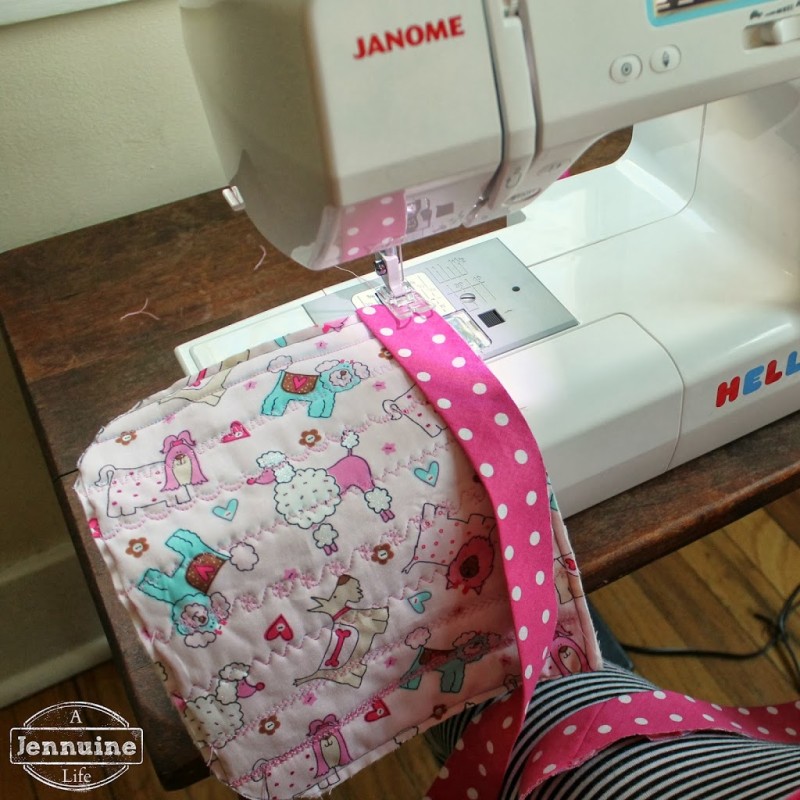
With raw edges aligned, sew with about 3/8′ seam allowance along the top edge of the front of the bag. Â I don’t usually pin for binding, but if Wonder Tape, or Wonder Clips would work well for this step if you prefer. Â This will be the front of the bag, so choose which side you want showing. Â Cut off the remaining binding.

Next, wrap the folded edge of the binding to the back. Â Select a wide stitch like a zig zag or a decorative stitch; Arden chose a squiggly line, stitch 20 on her machine. Â Stitch down the center of the binding from the front side.
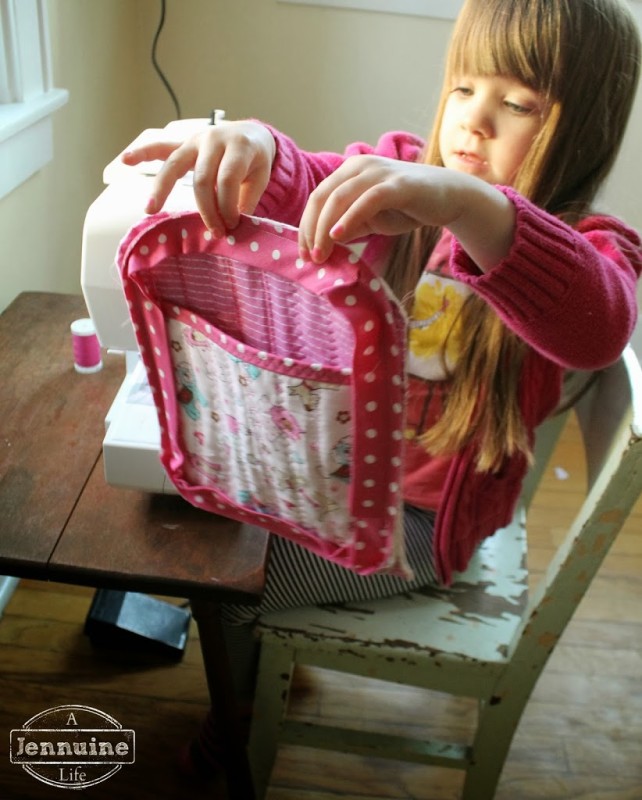
I wasn’t able to take photos of the next step as I needed to help Arden more for this part. Â Similar to the binding on the top edge of the front, now we’re binding the entire bag with the front laid on top with bottom edges aligned. Â Begin by folding about 1/2″ of the binding to the outside so the raw edge will be hidden when you wrap it. Â Sew around the perimeter, curving around the edges as you go. Â This might require assistance from you, or again using Wonder Tape or Wonder Clips might prove useful. Â Overlap the end of the bias over the part you folded over to begin. Â Trim away excess binding, and trim the curves on the back piece to match the front. Â You may also find it useful to grade, or trim the seam allowance a little to help the binding wrap to the backside.
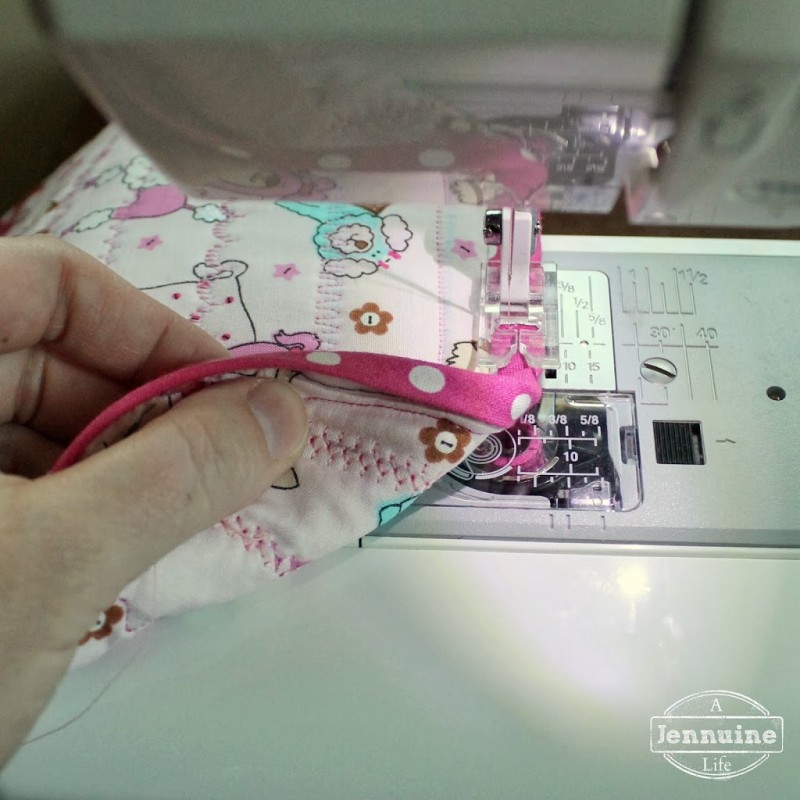
Arden lost a bit of steam at this point, so I finished the last step for her. Â Wrap the binding to the back as before, and sew with the wide stitch down the middle from the front side.
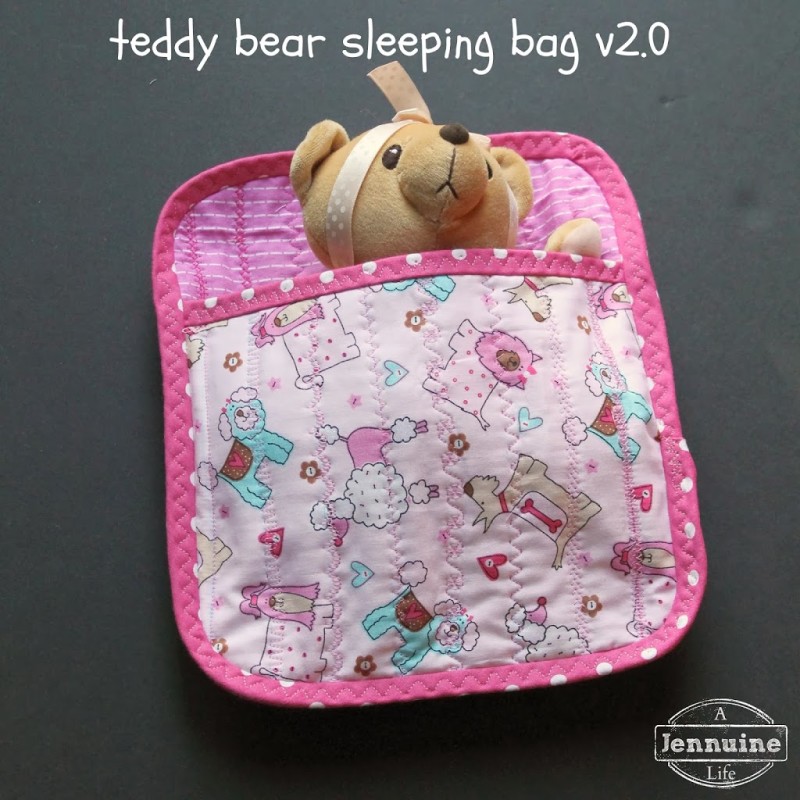
Put your bear to bed and enjoy! Â Soon you’ll be making sleeping bags for all your toys!


Thank you Jenn for the tutorial and review of this machine. My now 7 year old daughter really expressed interest in sewing after spending time around my crafting room with me so about 6 months ago I started teaching her on a mechanical New Home. In January I moved her to my 1961 White Featherweight, which she loves. I’ve been eyeing the Janome 18750 for her for two years, and tonight I won an auction on eBay for a steal on a new one. She will receive it at Christmas/Birthday time. I too am a fan of Janome and their affiliate machines like New Home, and the Kenmore 385., Elite line.
My daughter is well into sewing solo, and has made several “creations” and doll clothes, but I think I’m ready to take her to the next level of patterns. Thanks for these easy ones, I’m sure she will have fun stitching them up! You’ve given me some great ideas, both for my daughter, and for when I am instructing my sons or others!
These are wonderful lessons. They can be easily adapted to an older child by combining more than one lesson to keep their interest. I love that you have been able to break these lessons down to a level that someone so young can grasp and enjoy. Thank you for sharing.
Great tutorial Jenn! I’m definitely going to try it this summer with my 9 year old boy. He’s learning to sew and is super excited. This will be great because he has tons of stuffed animals that need this.
-Reyna
reynalay.com
G’day
A big thank-you for the sewing lessons. I have a six year old Grand daughter who has been asking me to show her how to sew, especially each time I surprise her with a new outfit for her American girl doll. We have made bunk beds from cardboard as I’m very pro RR & R and making sheets, pillow cases to go with it would work in well with your lesson plan.
Now I can look forward to having special memories around my favorite hobby.
What a wonderful series of projects! Thank you so much for this well written and well planned set of beginning sewing lessons which certainly start children off on the right foot. I especially liked the stress of safety and understanding of both the machine and the process of sewing. This series will be so helpful to get my grands introduced to the wonderful world of sewing. Just think of all the stuffed friends and dolls who each have their own sleeping bag. Sewing stash here we come…….
Thank you so much for this feedback! My younger daughter just turned four and I will begin teaching her, and plan to add more projects to the series.
Thank you Jenn. I am going to teach my grand daughter using your lessons.
Would you possibly have these lessons in a pdf printable version, as I am wanting to teach the neighbor girl to sew. I love your format, your approach, and thorough approach.
I don’t, but that’s definitely an idea for the future. I let my younger daughter turn six before starting to teach her, so maybe I can revisit the series with her and offer a different format.