
I know the wait for the new Jalie patterns to release was filled with anticipation. At long last they are here and they are fabulous! While I eventually want to sew many others from the collection, I focused my sewing for the release promotion to two: Michelle #3911 and Simone #3908.
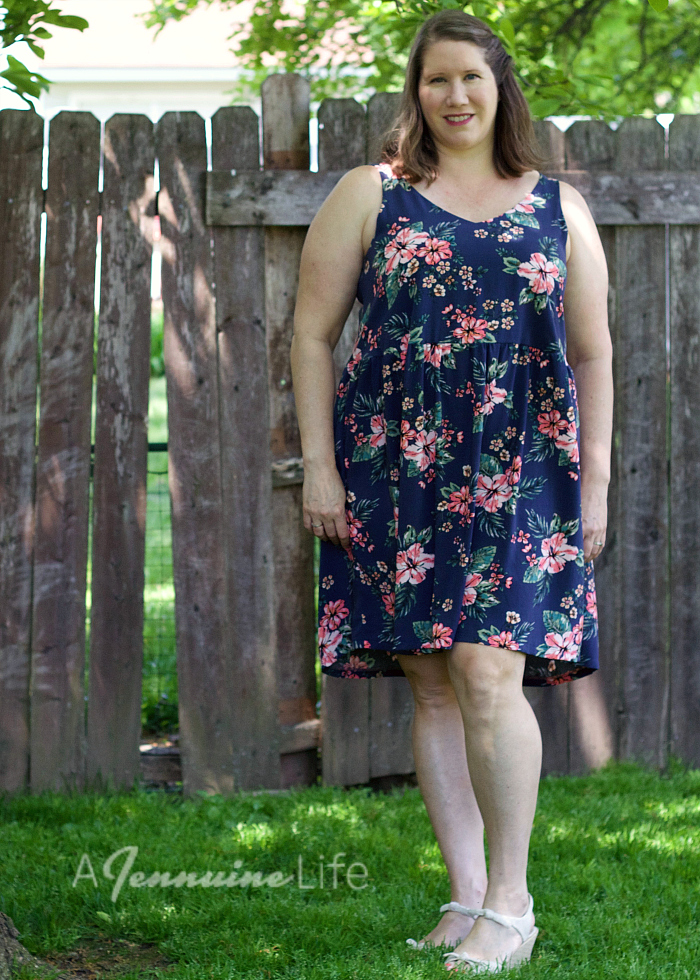
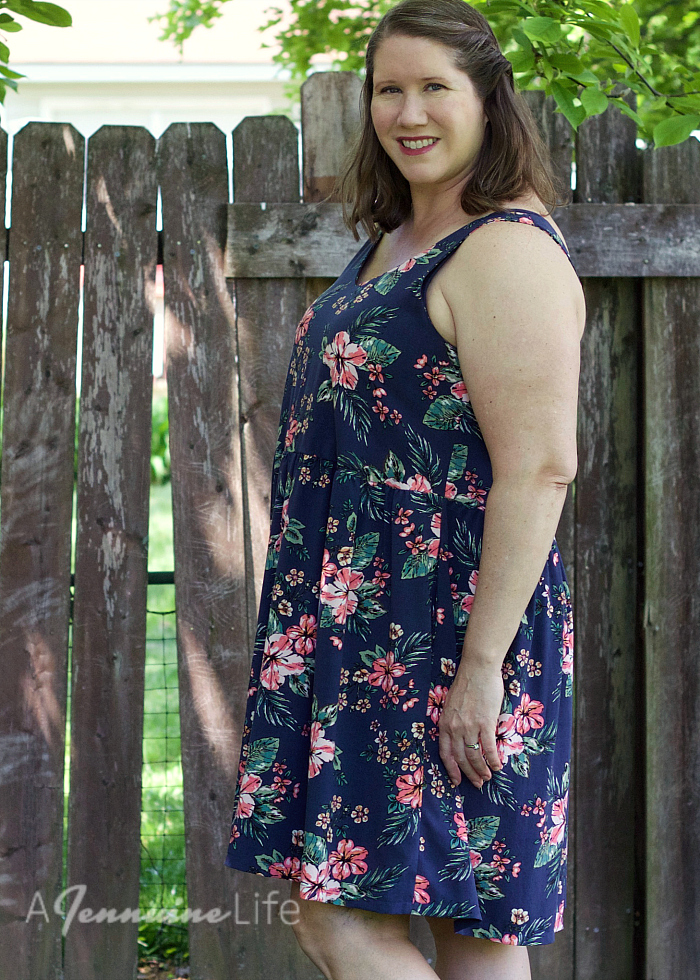
The Michelle pattern can be made as a tank or dress. I started with a dress using a lovely floral rayon challis from Raspberry Creek Fabrics. You’ll see this again when I share what I made for Arden – I love it that much!
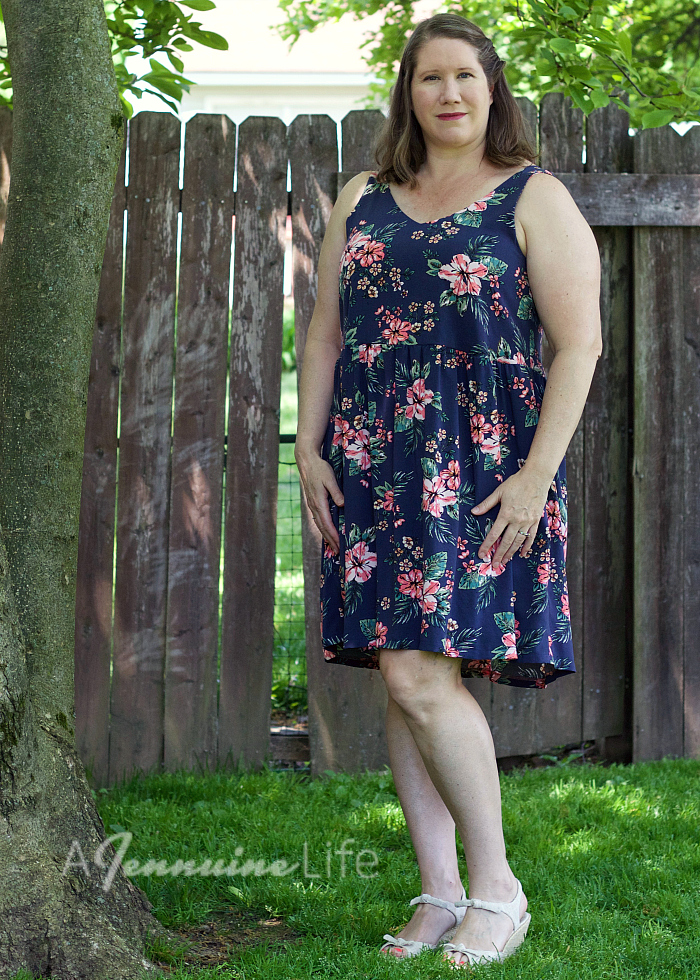
Michelle covers sizes from 2/F to 24/GG, or 21″ to 51″ chest/bust. That means I can make it for my kids and myself. The front and back are the same which makes cutting a lot faster, and if you’ve got a print where placement could be problematic you can just use the opposite side!
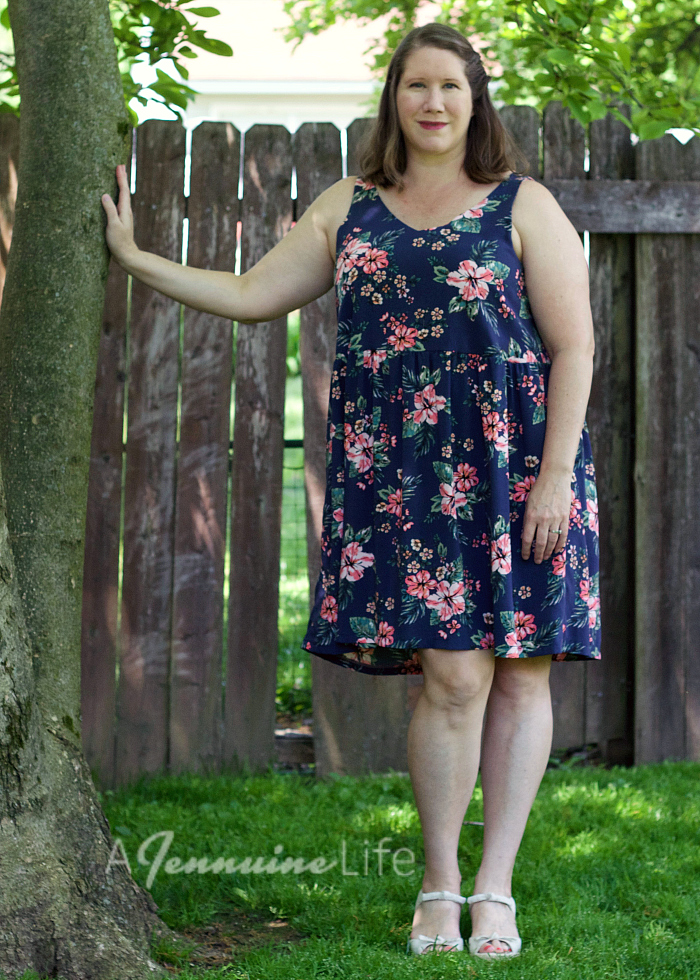
I made size BB for my 44″ full bust. My other measurements technically put me into a larger size at the waist and a smaller size at the hip, but as you can see the silhouette doesn’t require that much fitting accuracy.
As you can see my bra straps are fully covered, and to save my shoulders I am wearing wide and cushioned straps. There’s a step in construction where you can adjust the straps of the tank to your preference.
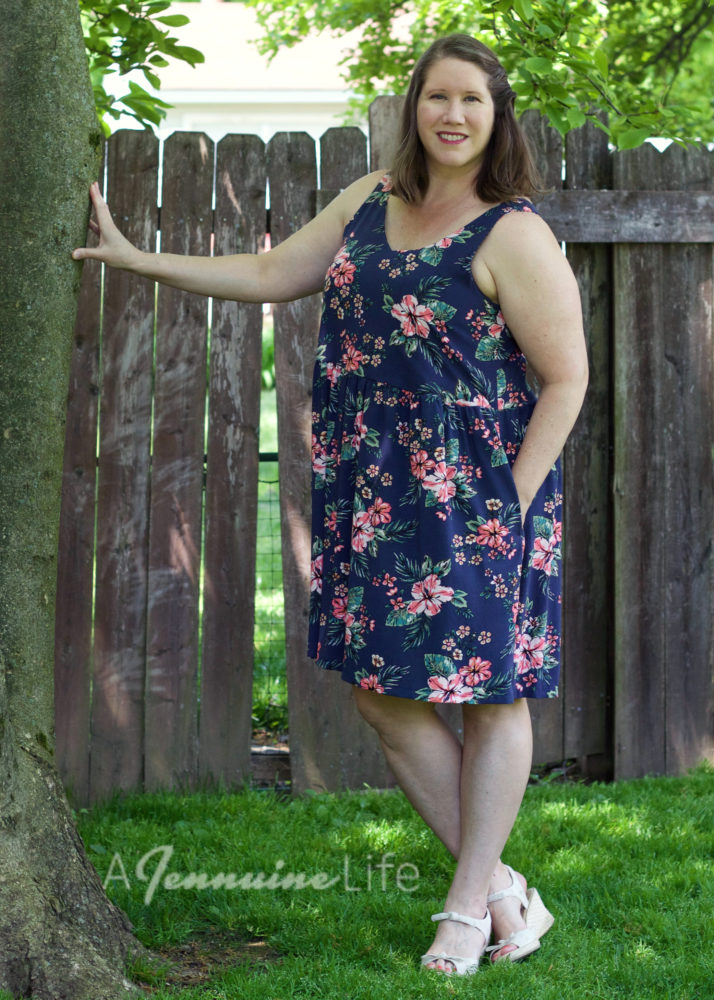
And… pockets of course! Simple inseam pockets can be added to the dress version.
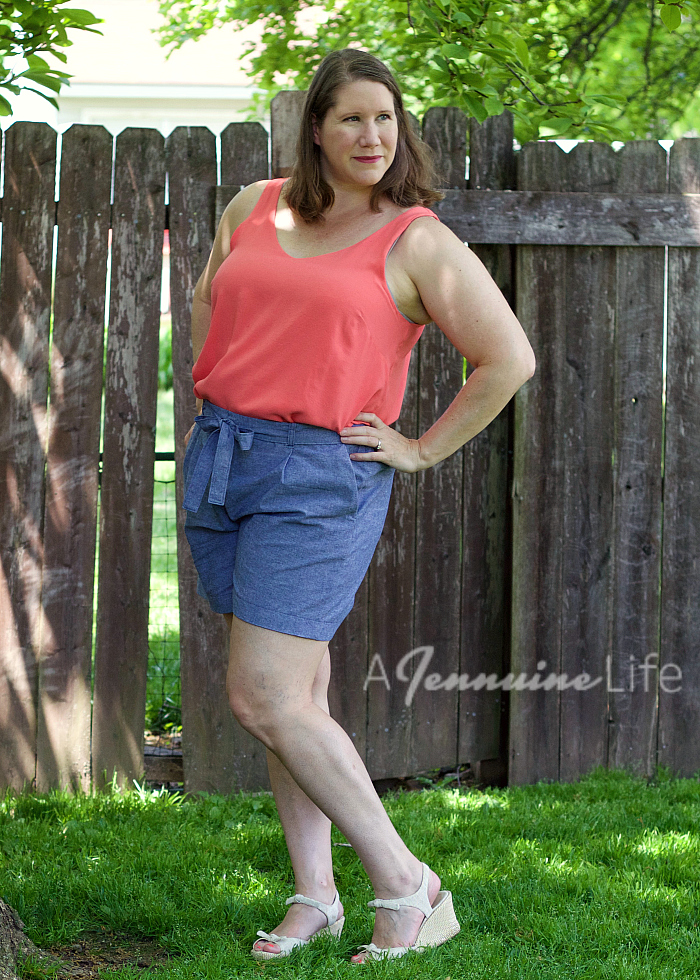
That brings me to the tank version of Michelle, paired with Simone in shorts length. I made a very key change to Michelle for my tank – adding darts so the front would flow over my breasts without gaping at the armscye.
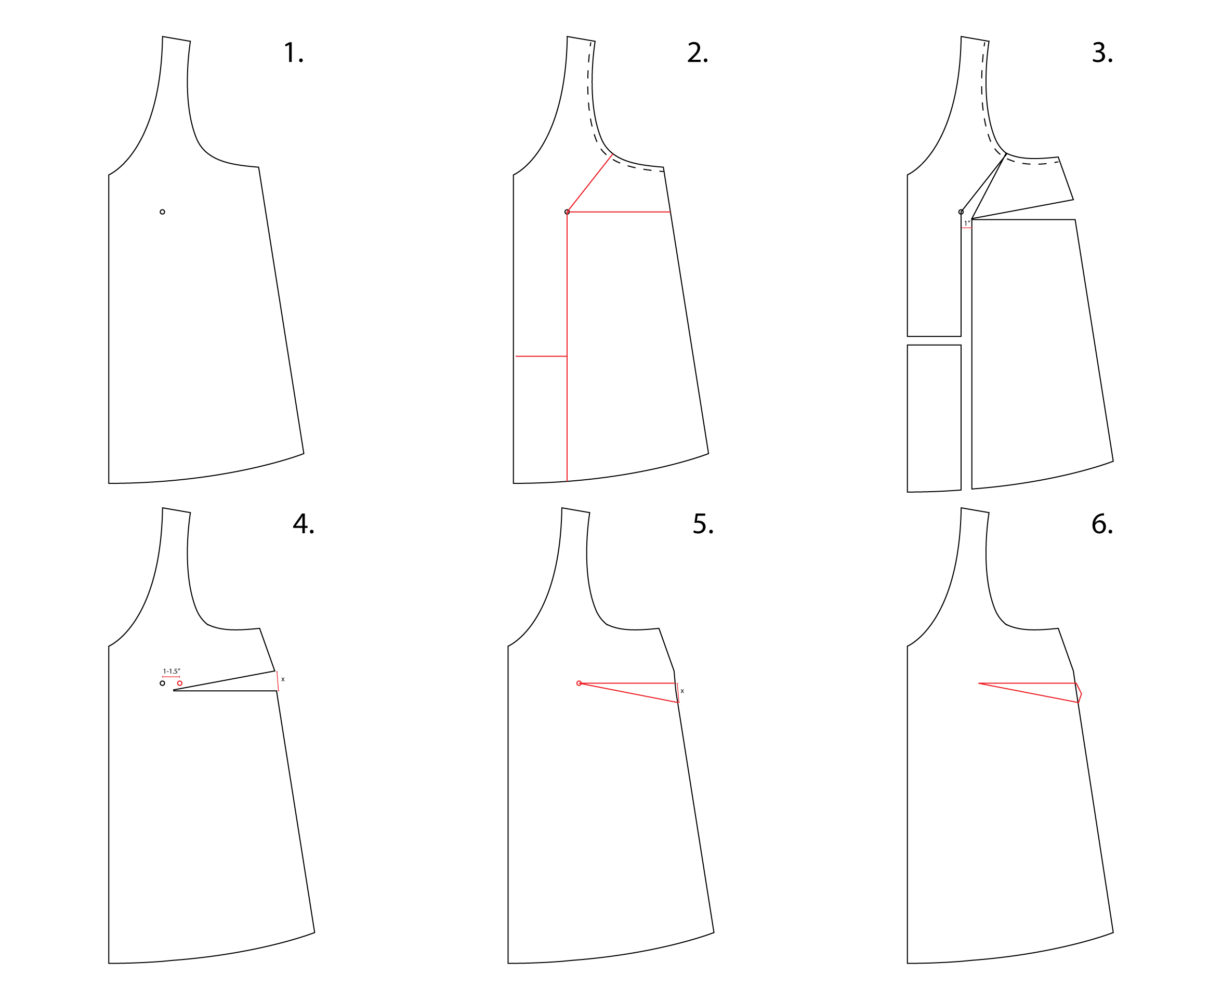
Here’s a quick graphic of how to add a dart to a pattern without a dart:
1. Determine where your apex/nipple would be on the pattern. For Michelle, remember that the shoulders are sewn at ~1.25″/3cm. I also measured how far from the center fold to make the mark.
2. Mark the seam allowance along the armscye. This is less vital on a sleeveless garment like Michelle. Then mark a horizontal line to the side seam, a vertical line to the hem, and another at about 45Ëš to the armscye. One more horizontal line from the center fold to the vertical line.
3. Cut along the marked lines, leaving tiny “hinges” at the armscye where the seam allowance is marked and at the apex. Slide the pieces open until the vertical space has the additional amount needed. I added 1″ for a 2″ total FBA.
4. Fill in the open spaces with scrap paper. Mark the dart apex 1-1.5″ from the body apex. This is done so the dart ends to the side of the breast mound. A dart ending at the apex/nipple would be very visible and not the desired shape. Generally the larger the bust the further from the apex you want the dart to end. Measure the distance between the opening created at the side seam in Step 3.
5. Draw the dart legs. The top leg is horizontal from the dart apex marked in Step 4. The bottom leg is angled downward to meet the side seam at the same point as the measured opening from Step 4.
6. Draw the dart bulk, or the excess fabric needed at the side seam to match when the dart is folded. The top half continues the line from under the armscye and the bottom half should reflect the angle of the bottom of the side seam. Check the dart bulk by folding the dart out in the paper pattern to make sure it meets the side seam evenly.
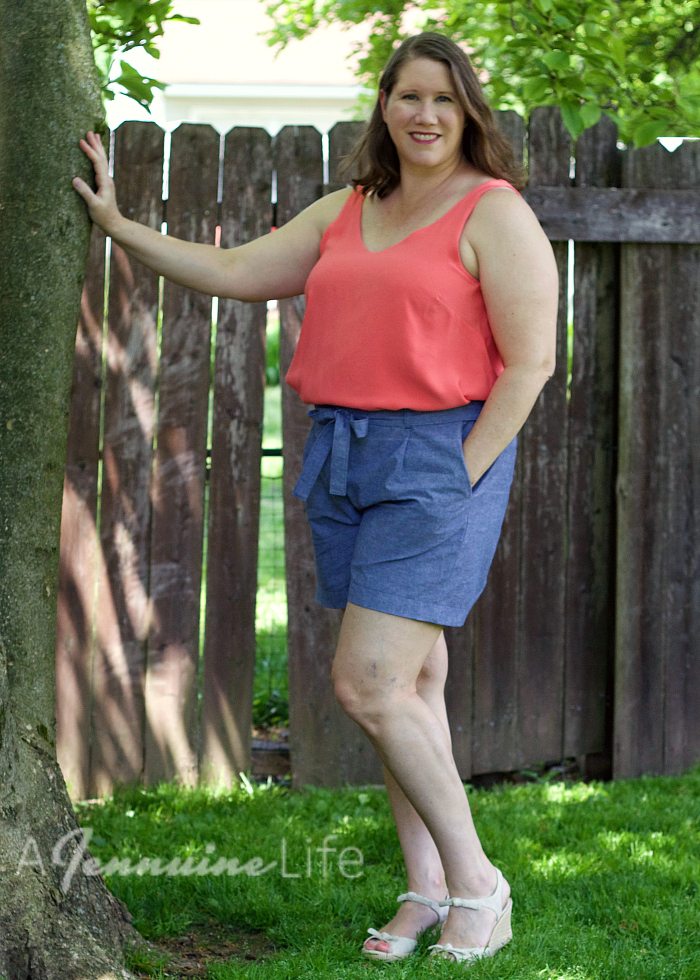
I like the fit I get from the added dart, but it is a tradeoff from the ease of a single pattern piece and reversibility as designed. My Michelle tank is made with a coral rayon challis from Raspberry Creek Fabrics. This fabric is really light and breezy, and has a little bit of a crepe-y texture.
My Simones in shorts length are made from a nice medium weight chambray from Raspberry Creek Fabrics. I added 2″ in length for personal preference. I made size CC based on my waist measurement. Simone covers sizes 2/F to 24/GG or full hip 22″ to 54″.
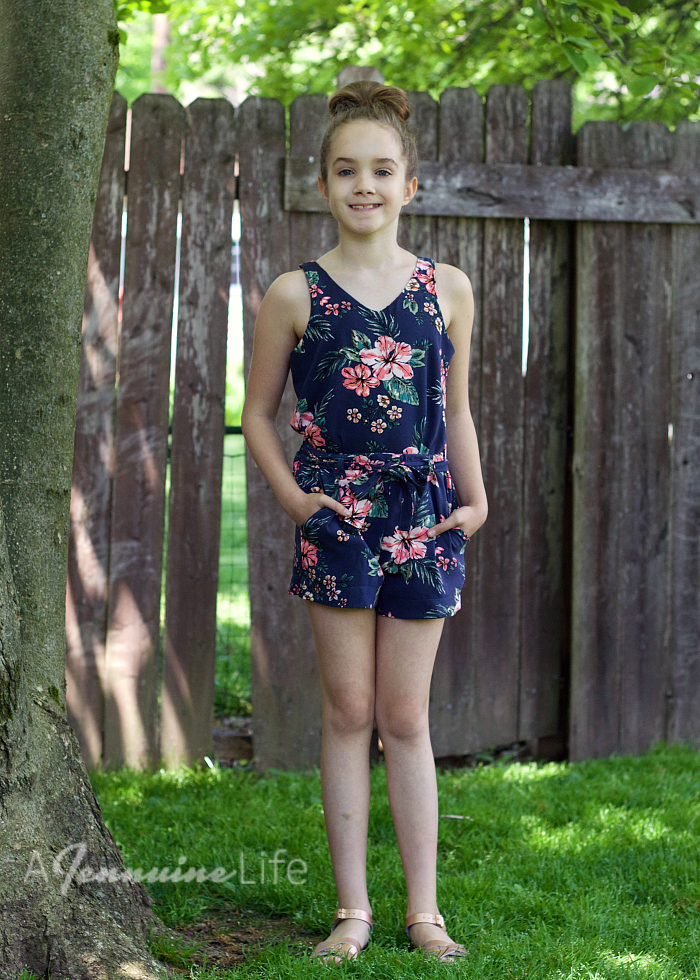
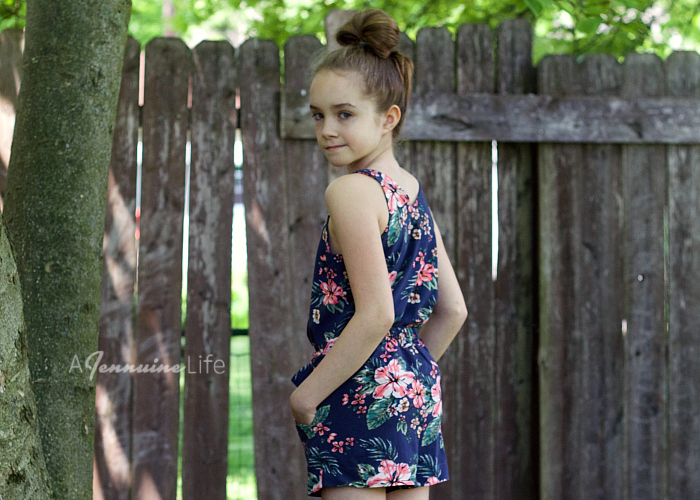
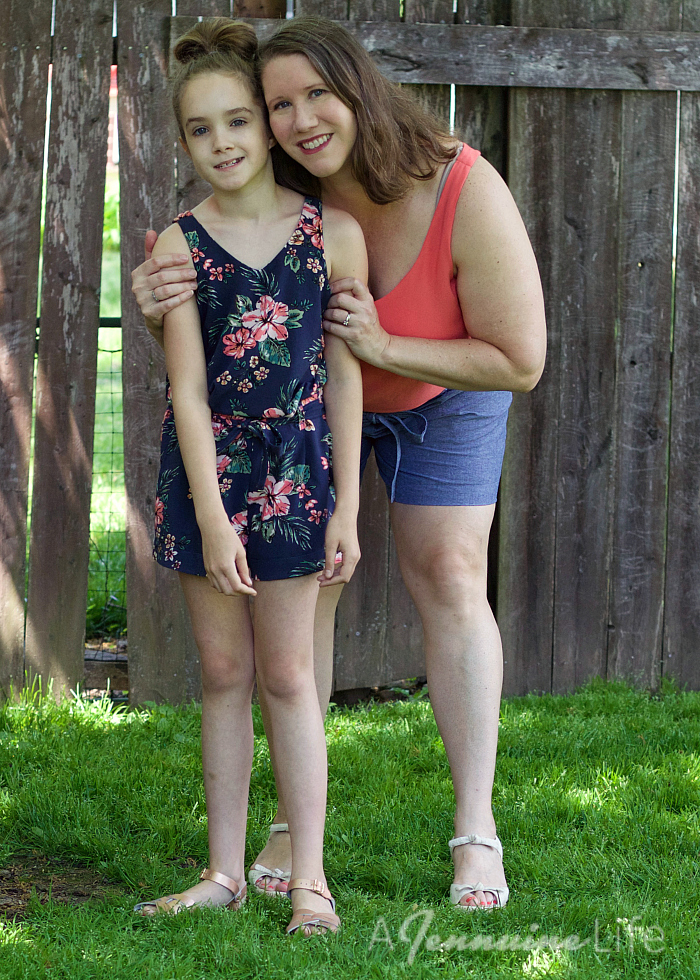
Arden also got the Michelle/Simone treatment! Initially I was going to make a sort of capsule wardrobe for myself with two tanks and two shorts but I didn’t conserve fabric the way I intended and didn’t have enough for a pair of Simone for myself… but there was plenty for Arden’s much smaller size N.
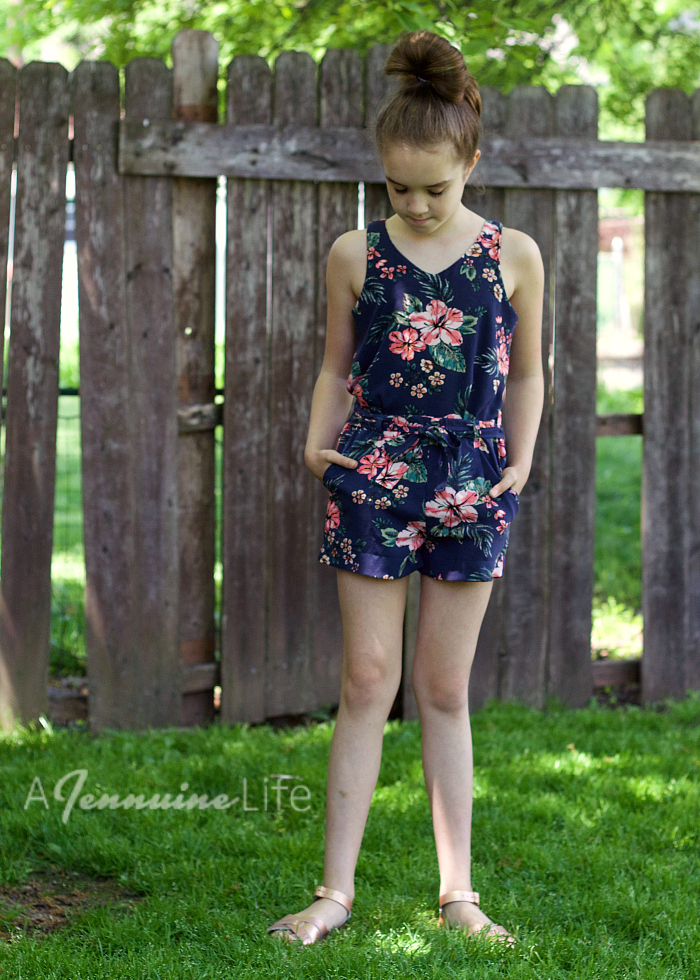
Again, I really liked this fabric – it has a little heavier feel than most rayon challis, and is not as fussy to sew because of that. So I ordered more so I could make myself the shorts I had planned and when that arrived so quickly (yay super fast shipping from Raspberry Creek Fabrics!) that I whipped out a Michelle tank for her to make a faux romper (faumper?).
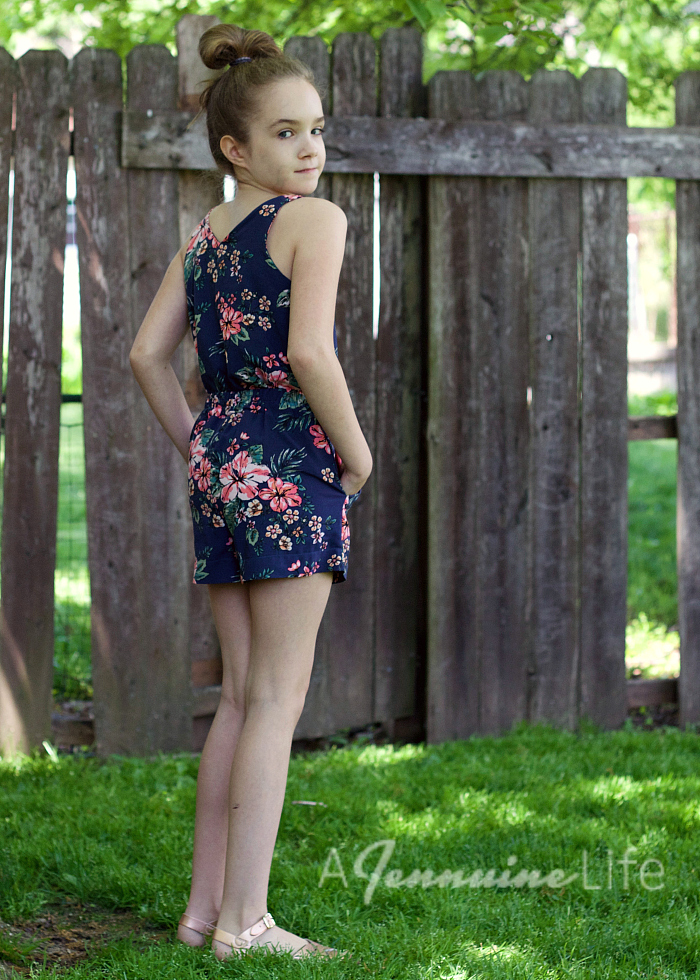
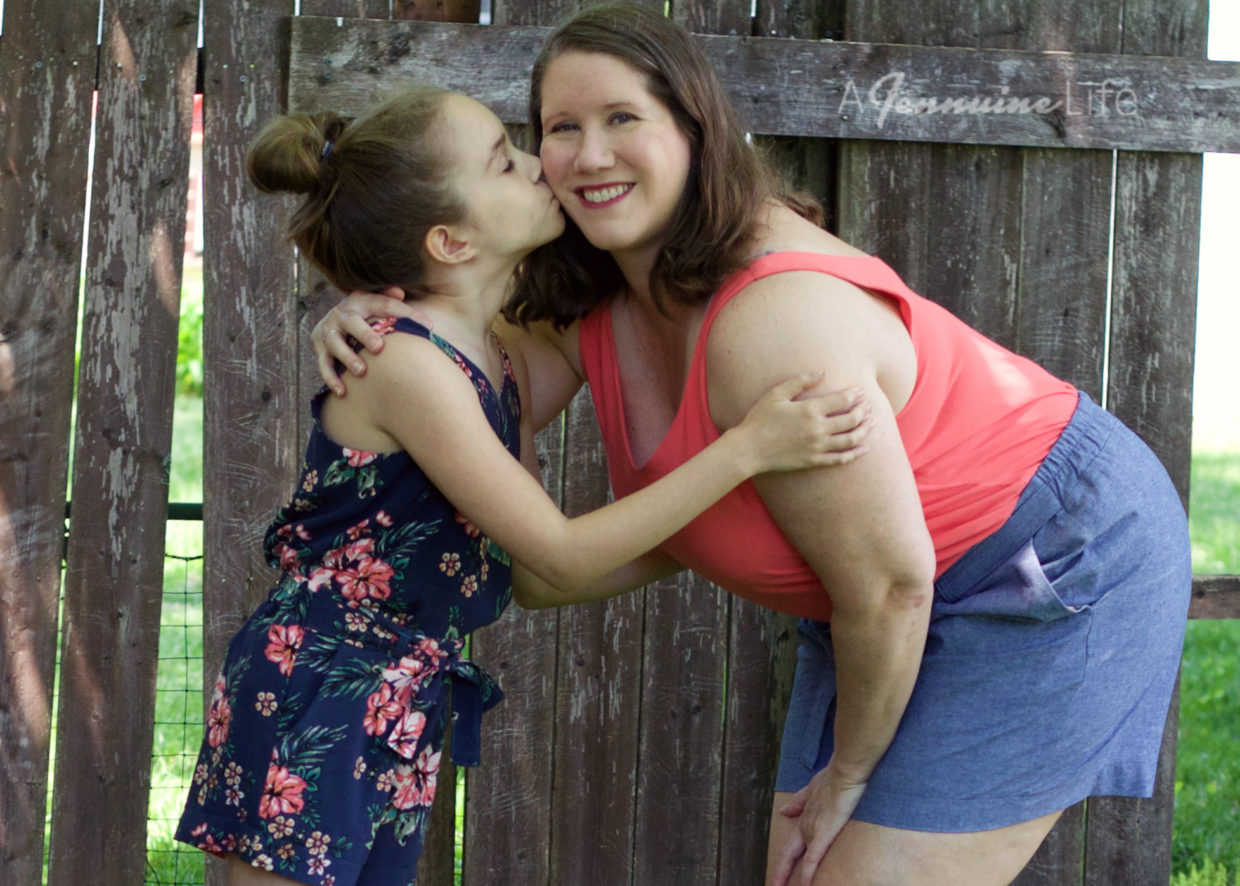
I’m so in love with this outfit on Arden! The pieces will mix and match with other items in her wardrobe, or worn together like this she’s so effortless and chic.
After we took photos we walked over to the annual art show in the park right by our house. I couldn’t stop looking at her and marveling at how grown up she looks. Can someone freeze time, please?
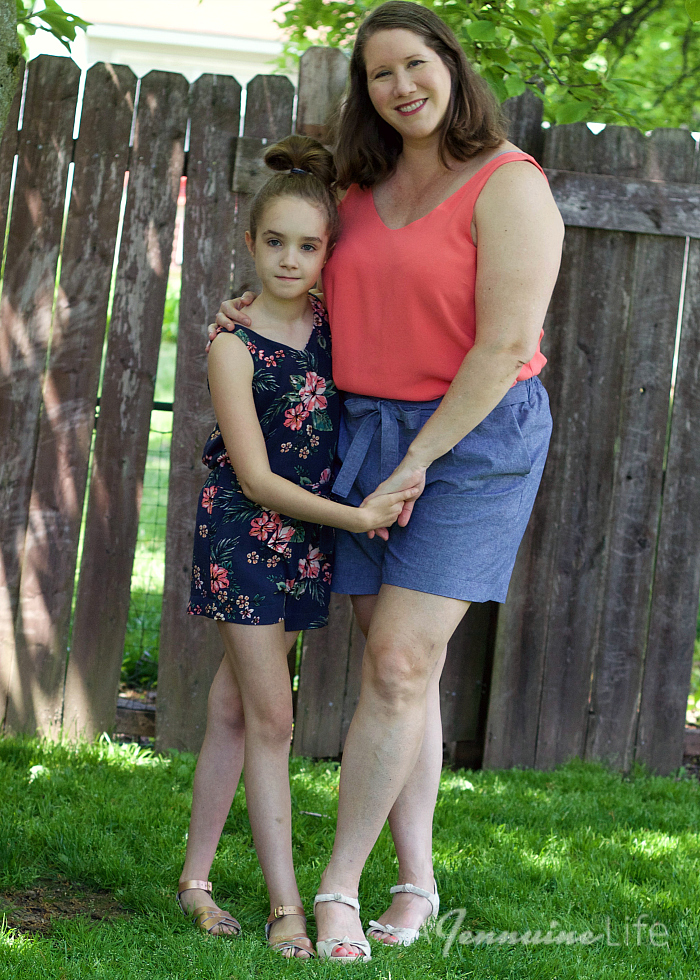
We absolutely needed to get a photo of the two of us together in our coordinating outfits. I thought it would be a bit much to wear my dress with her – we would have looked like a tropical garden!
Be sure to join the Sewing With Jalie group on Facebook, and follow on Instagram. Hashtags to follow are #MaVieEnJalie #JalieLife and the pattern specific tags are #JalieMichelle and #JalieSimone.
There will be so much inspiration with the promotional team coming up. I’ve only seen a sampling of them and I’m blown away! There will be posts all the way through May 27, so we’ve only just begun. I think Tania might be next on my table, or maybe Nikita…??
I love your “faux romper”! A jumper you can still use the bathroom while wearing 😀
Beautiful on both of you Jen and a great review! I have not been sewing much but am thinking of getting some new Jalies. And yes,Arden has grown so much!