
Today we welcome Michelle from Falafel and the Bee who is the first guest for the series. She’s sharing a blanket stitch embroidery technique for a finishing touch on garments. I became smitten with Michelle’s whimsical contributions as she sewed along with Project Run & Play, particularly her Art Inspired Dress which she based on a Norman Rockwell painting and recreated with her stunning photo shoot.

Loveliness, pure loveliness.
Now for a little history of the technique Michelle is sharing: A blanket stitch is a decorative and functional stitch traditionally used to finish an unhemmed blanket. The stitch is two-sided meaning it can be seen on both sides of the blanket. It can also be used to applique a design for embellishment. The first publication of the term “blanket stitch” was in L. Higgin’s 1880 Handbook of Embroidery manual, in which he described it as an edging for tablecloths or similar items. It’s similar to a buttonhole stitch, but is usually worked in larger stitches and with heavier yarn or thread, such as embroidery thread or waxed cotton.
Sources:
So without further delay, here’s Michelle:
I was so thrilled when Jenn asked me to be a part of this series!
Then the panic set in.
I am not a strong hand-sewer. Truth be told, I avoid it at all costs. But then I started to think about all the work I admire and realized what made them all special was the little extra hand-sewn goodness added by the person, usually to show how very much they care.
So, if you are like me, come and start at the beginning. We’ll do it slow and take baby steps, together.
Today I am demonstrating the “Blanket Stitch” on a fleece pullover that I made (see tutorial here).
Gather:
::some embroidery thread::
::a large needle::
::a garment that needs a little detailing::
Step 1:
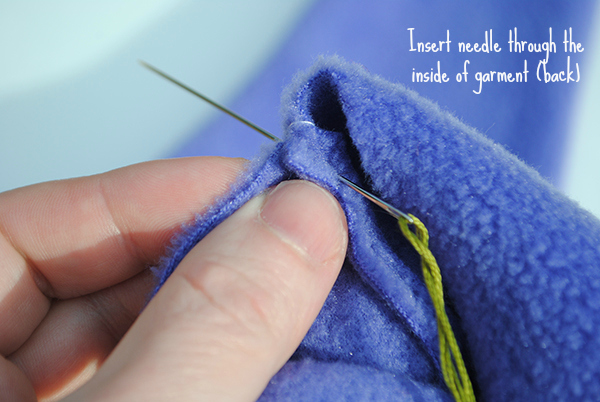
Do not knot the thread, and pull it through from the inside out.
Step 2:
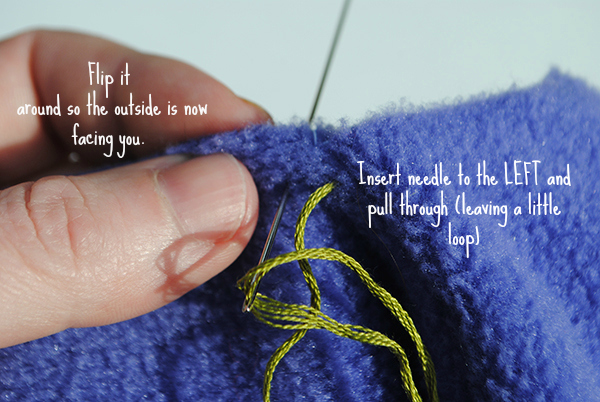
Hold the garment with the right side facing you. Take the needle and insert it to the Left of the first stitch. Make sure to leave a little loop.
Step 3:
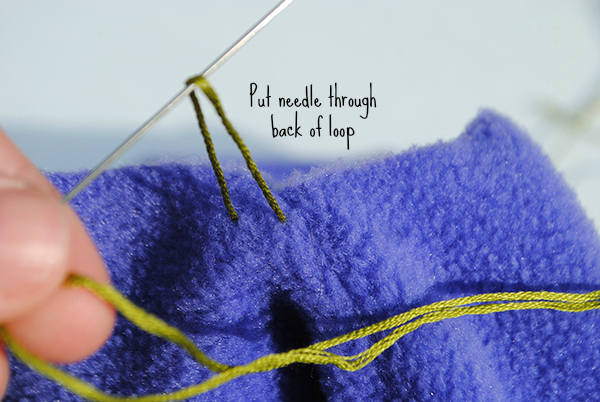
Put the needle through (from the back, going away from you) the loop.
Step 4:
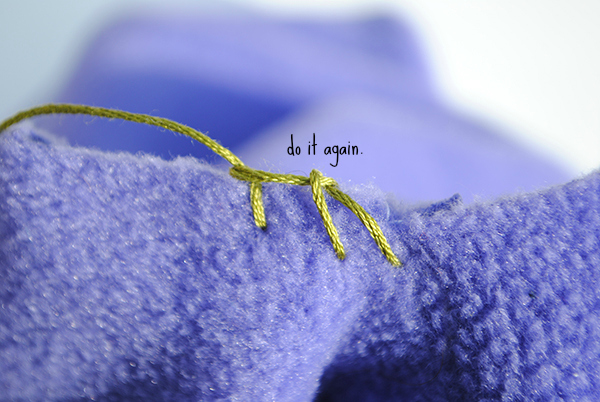
Repeat.
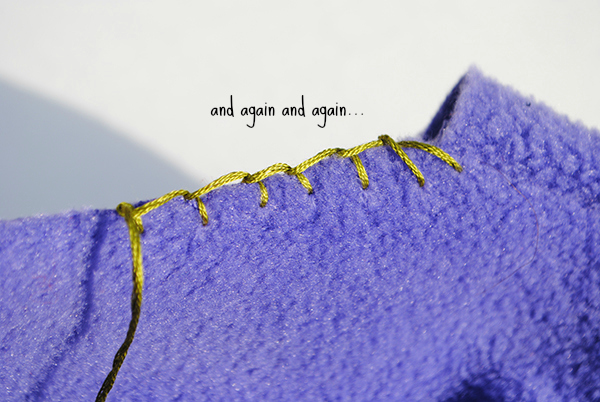
And Again.
Step 5:
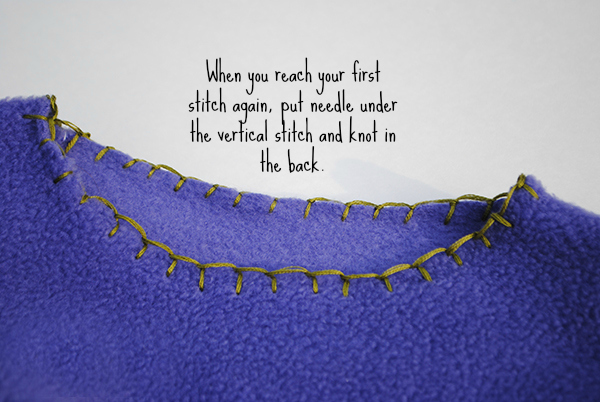
When you reach the place you started, put the needle through the first vertical stitch. Knot in the back. Cut the hanging thread, and you’re done!
Step 6:
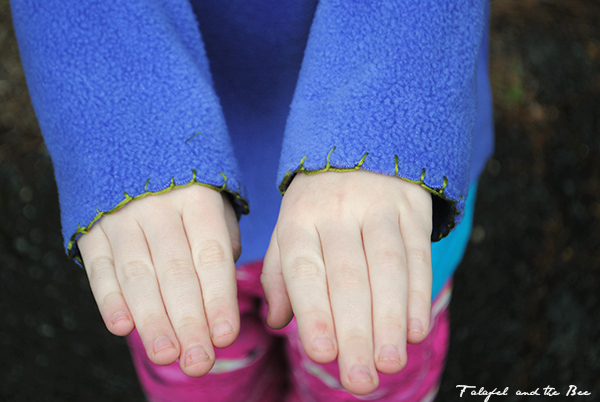
Do it to the sleeves!
Step 7:
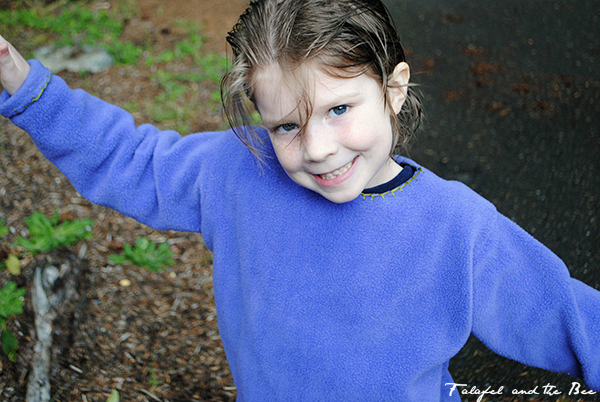
Place on sassy child and admire your hard work!
I hope you enjoyed that little tutorial. I know this has inspired me to step out of my comfort zone, and try something new. And you know what?
I like it!
Thanks, Jenn, for including me in this fantastic series.
Thank you Michelle, for sharing your learning experience with us. I love trying new things and I am so glad this series prompted you to take a nice giant step into hand sewing and embroidery!
What a great finish for the fleece pull-over! I love how you used contrasting thread to highlight the embroidery to make it a feature of the pull-over and not just a finishing technique. I especially like the look shown in one of the last pictures where the cuff is turned back. It shows to advantage there. Great job!
Thanks Karen!
And THANK YOU Jenn for including me in this series!
I had fun!
~Michelle