
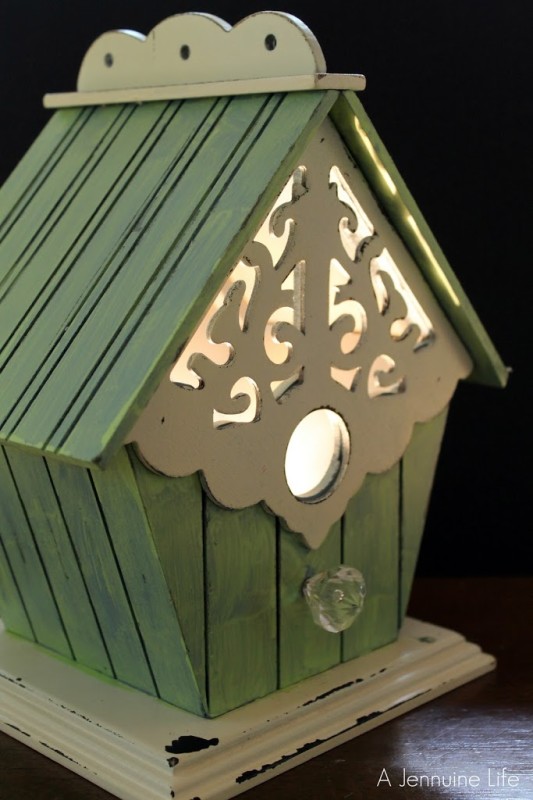
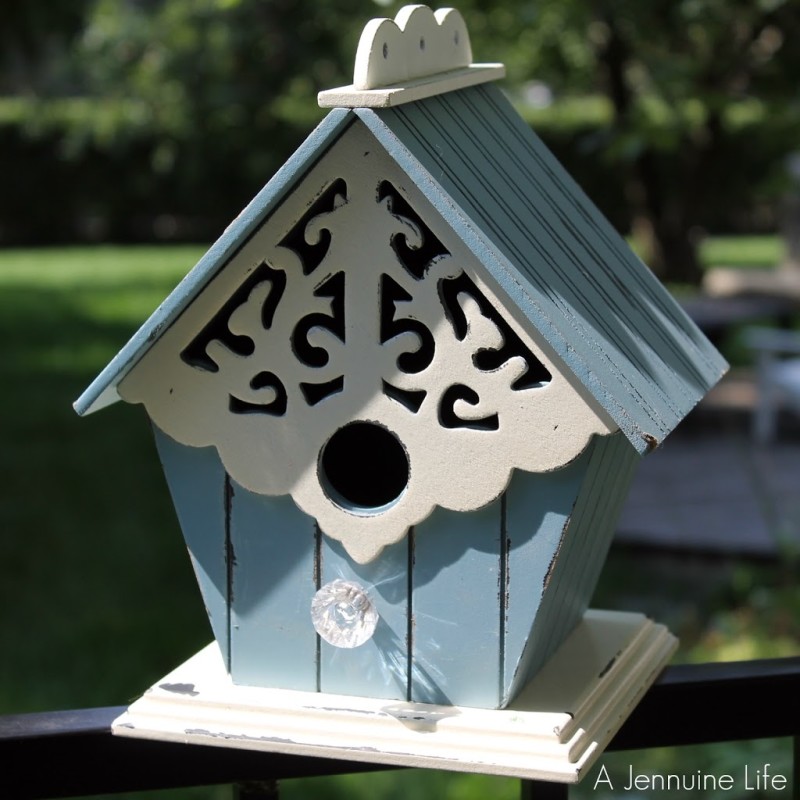
Inspiration struck for my bird and tree-themed nursery when I saw this decorative bird house on sale 50% off at JoAnn’s. It was perfect…. except for the color.
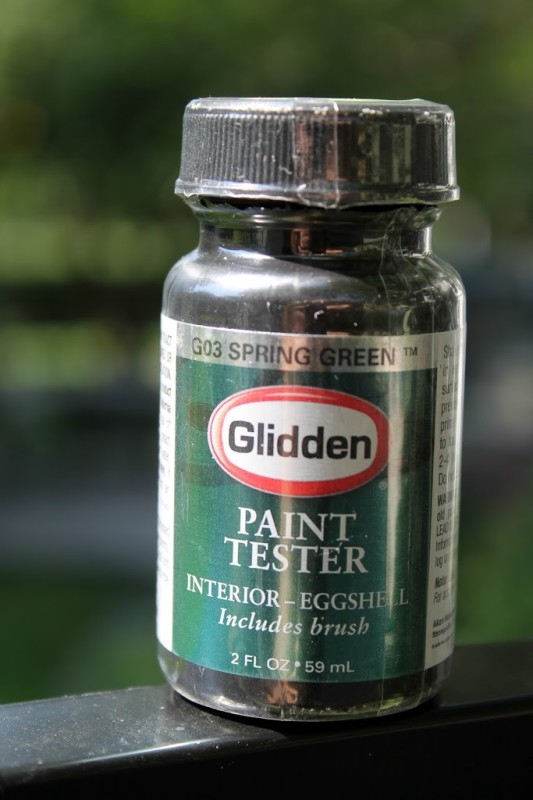
So I picked up a little paint tester in a color I liked better and painted it with a mostly dry brush.
I wasn’t going for perfection, so you can see the brush strokes and some of the blue bleeding through.
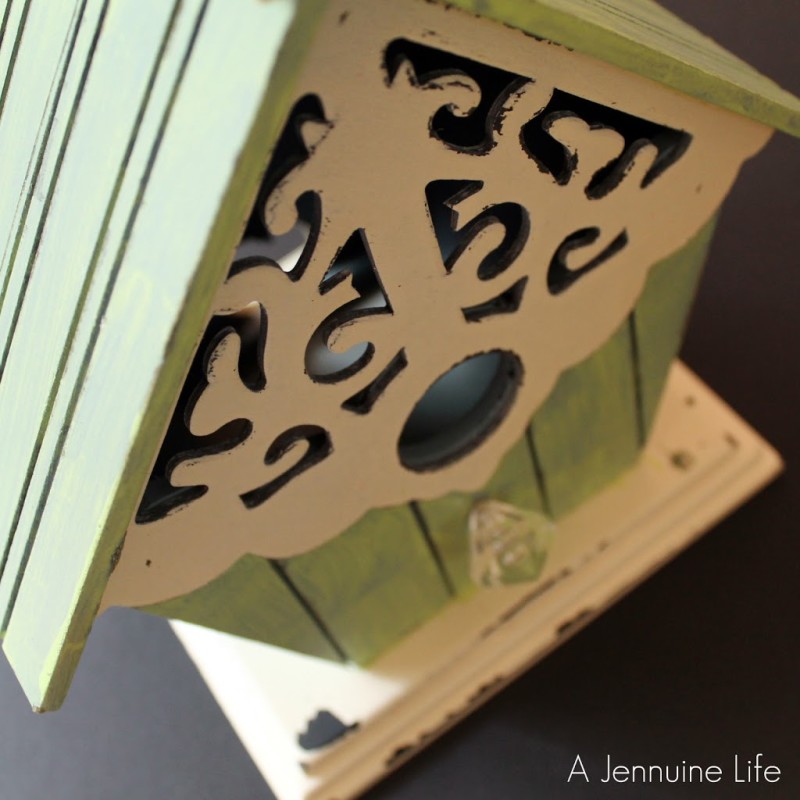
I think it works with the chippy look it already had.
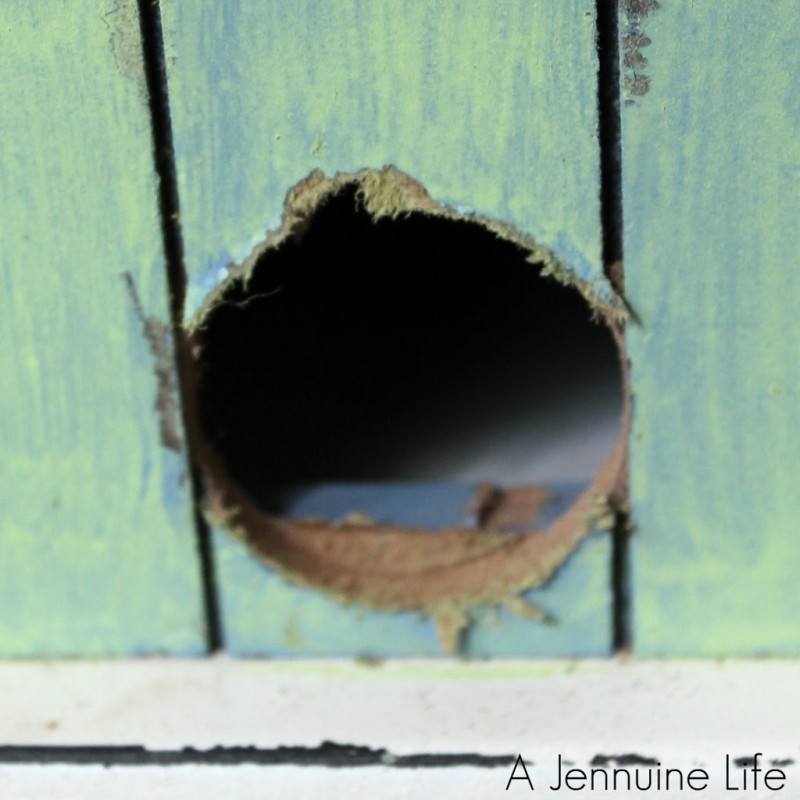
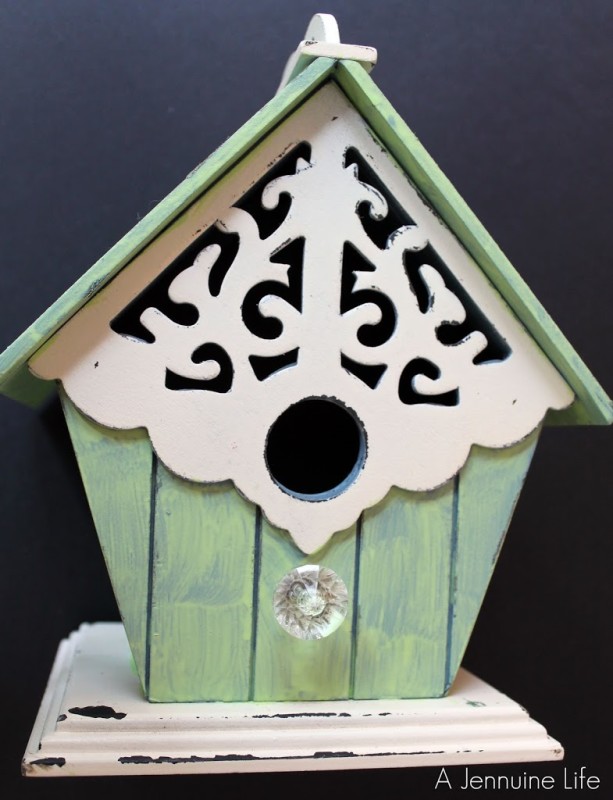
Then I drilled a hole in the bottom of the backside of the house with a paddle bit.
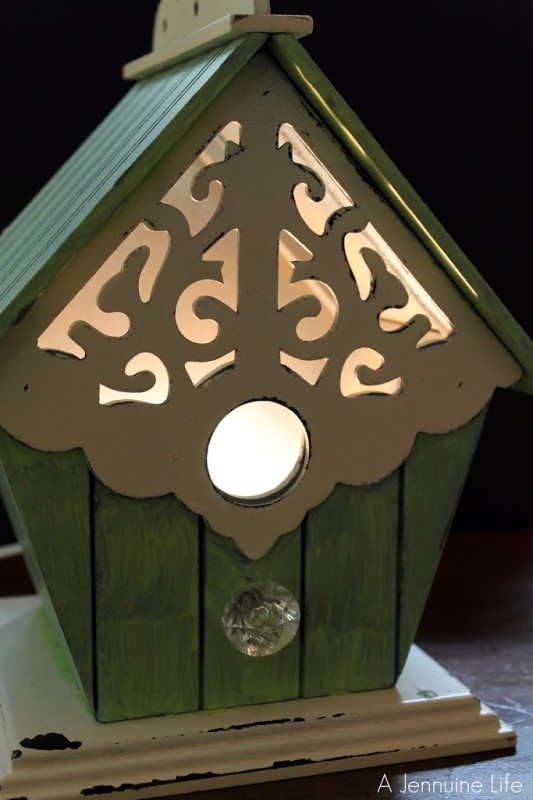
And added a little light with a clip to hold it in place that I borrowed from another lamp we had in the house. I’d like to figure a way to add some tissue paper to the backside of the fretwork cutouts and hole on the front so the light is a little softer. I’m also considering rubbing it down with a dark stain to add to the distressed look a bit.
This is so cute. I love birdhouses. I am sure if the bulb is a soft, low wattage bulb it won’t be too bright.
Love it! My daughters’ room is also birdhouse theme, so I will be using this!
great idea! i might copy you
Love this! I’d be honored if you’d link it up tomorrow to our Things I’ve Done Thursdays party!!
Melanie
bearrabbitbear.blogspot.com
What a fantastic idea!! To add the tissue paper you can lay the birdhouse down so the fretwork is on top then cut a piece of tissue paper and stick it into the hole. Then use your fingers to add glue (Elmer’s should work) on the inside around the fretwork and rock the birdhouse so the tissue paper falls forward and sticks to the glue. Use could then use a long skinny brush or chopstick thru the back light hole and smooth out any wrinkles. Just kept it face down until the glue dries. FYI-instead of tissue paper you could also use a piece of colored vellum-that’s stiffer and would have less wrinkles.
What a great idea. I love birdhouses and this is so clever. I would be so happy if you shared this project on my Inspiration Board {link party}.
http://carolynshomework.blogspot.com/2011/09/inspiration-board-link-party-16.html
Hope to see you there.
carolyn – homework
This is so clever and fun! I love it! Just shared it with my FB fans! Thanks for linking up!